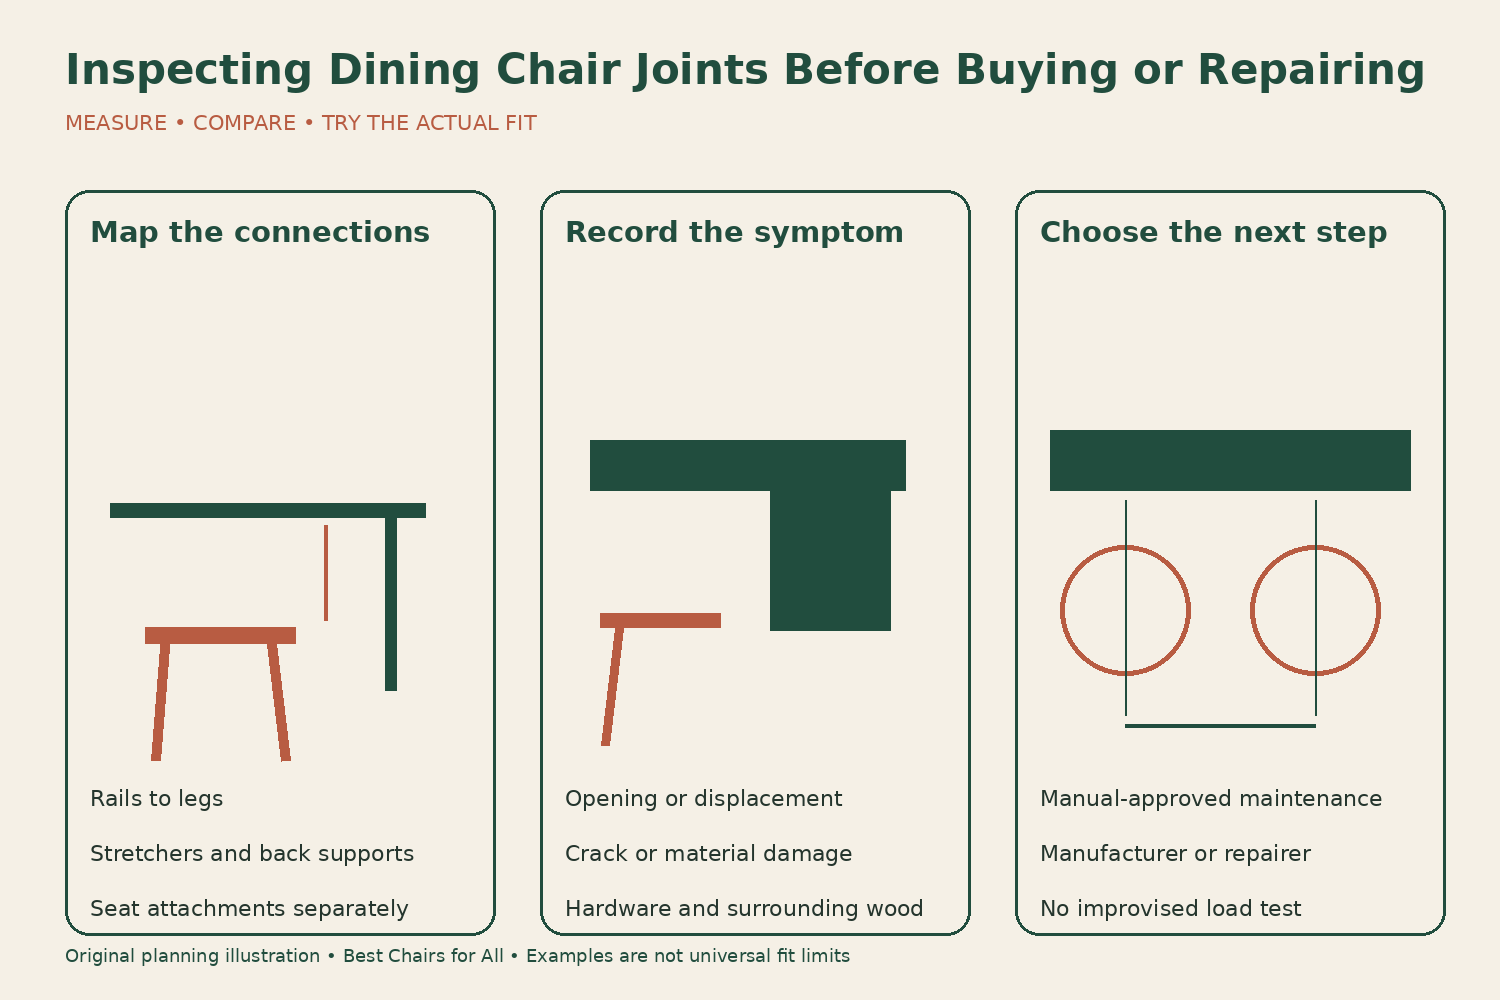
Inspect dining chair joints by identifying how the parts connect, looking for changes at those connections, and separating cosmetic marks from movement or damage. Keep the chair empty during the inspection. Do not rock on two legs, bounce on the seat, or overload it to prove strength. If you find an opening joint, a crack, or a damaged connection, stop using the chair and seek manufacturer or qualified repair advice.
Begin with identification and condition
Find the maker, model, and any labels beneath the seat. Photograph them before turning your attention to individual joints. Search for the assembly instructions and current service information. A chair assembled with bolts requires a different approach from a glued wood frame, and a metal frame may contain both welded connections and screw-mounted seat parts.
Note any known history: recent move, fall, water exposure, previous repair, or new noise. For a secondhand chair, ask whether it has been disassembled, refinished, or modified. These details do not diagnose the fault, but they help a manufacturer or repairer understand what may have changed and which components deserve attention.
Support the empty chair securely while viewing its underside, protecting both the frame and the work surface. Get help with a heavy or awkward chair. Do not balance it precariously on the table edge. If upholstery or an enclosed mechanism prevents inspection, do not cut a dust cover or dismantle an assembly simply to satisfy a generic checklist.
Map the load-carrying connections
On a conventional wooden chair, locate the joints between the seat rails and legs, the lower stretchers, and the back supports. A removable upholstered seat may be attached separately to the surrounding frame. On a metal chair, note welded corners, bolted sections, the seat attachment, and any connection between a base and an upper shell.
Sketch the chair and label the connections you can see. Give each one a simple identifier, such as front-left rail or rear-right stretcher. This makes photographs and later service messages clear. “The chair is loose” is less useful than “the rear rail moves where it enters the right back leg.”
Some joints are concealed. A smooth external surface does not show how long a dowel or tenon is, how well a glue line was prepared, or what fastener lies beneath upholstery. Do not claim to verify hidden structural quality from an external inspection. Record the limit of what you can observe and ask for construction information when it affects a purchase.
Look for gaps and witness marks
Inspect where connected pieces meet. A new gap, displaced finish line, visible withdrawal of a stretcher, or rubbing mark can show that the relationship has changed. Photograph the area with a ruler beside it if scale would help, without forcing the joint open. Compare with the matching joint on the other side when the design is symmetrical.
A visible seam is not automatically a defect. Some furniture is designed with separate parts, expansion allowances, or decorative joint lines. Check the manufacturer’s drawings and compare the exact construction. The useful distinction is between an intended seam and an opening or movement that should not be present, not simply whether you can see where two parts meet.
Wood responds to its environment. Stickley’s furniture-care guidance discusses humidity, temperature changes, and expected movement in solid wood. Environmental movement can help explain a change, but it does not make a loose load-carrying joint acceptable. A chair that has become unstable needs assessment even if the room recently became very dry or damp.
Distinguish finish damage from a crack
Look closely at a line that appears to cross a component. Is it only in the coating, or does it continue into the wood, around an edge, or through a connection? Good light and photographs can help, but avoid scraping the finish or inserting a tool to find out. A suspected structural crack should be treated as unresolved until an appropriate person assesses it.
On metal, inspect visible weld areas for separation, distortion, or damage. Surface discoloration and a weld defect are different issues, but a home visual check cannot establish the remaining strength of a questionable weld. Do not bend the frame, file the area, or add a home weld as an exploratory repair. Contact the manufacturer or a qualified repairer.
Also inspect the material around fasteners. A screw can be present while the surrounding wood is split, an insert has moved, or a hole has enlarged. The important connection includes both the hardware and the material receiving it. Simply counting screws does not establish that the joint is sound.
Check accessible hardware against the manual
Compare visible bolts, washers, and brackets with the exact assembly diagram. Look for missing components, a fastener sitting at an unusual angle, or a part that appears displaced. Do not assume two nearby screws serve the same function. Some fasteners secure a seat pad; others connect load-carrying frame sections.
If owner retightening is specified, use the correct tool and the manufacturer’s method. Stop if a fastener spins without securing, will not align, has a damaged head, or requires unexplained force. Avoid an electric driver’s high torque unless the instructions permit it. Overtightening can damage threads, inserts, or wood and turn a manageable service issue into a larger repair.
IKEA’s furniture repair and spare-parts resources illustrate the value of identifying the product before seeking hardware. A visually similar replacement may have a different length, thread, or shoulder. Obtain the approved part rather than selecting a screw solely because it fits the opening.
Keep inspection separate from glue repair
A glued joint is not repaired merely by covering the visible gap. Adhesive choice, access to bonding surfaces, fit, alignment, and clamping all affect the work. A chair can appear tighter after an improvised treatment while the underlying joint remains unsuitable for use. Inspection should identify the concern and appropriate next step, not automatically become a regluing project.
Titebond’s technical FAQs explain that many wood glues are designed for bare wood and that coatings can limit the bond. Its instructions also distinguish clamping and curing requirements. Those details show why adding an unspecified glue to an assembled, finished chair is not a reliable universal repair method.
For valuable, antique, or previously repaired furniture, consult an appropriate furniture repairer or conservator before applying adhesive. Some treatments can complicate future work or affect original finishes. Photograph the joint as found and avoid adding nails, brackets, wedges, or filler merely to make the chair feel firm for a sale or gathering.
Inspect all chairs in a set individually
A problem in one chair is a reason to look at the others, but do not assume they all have the same condition. Give each chair its own identifier and record which connections are affected. Chairs used most often, dragged across different surfaces, or exposed to a spill can have different histories despite matching in appearance.
If buying a set secondhand, inspect each example before agreeing that the set is ready for use. A seller may show the soundest chair first. Check for mismatched hardware, altered leg lengths, unusual glue squeeze-out, and repair marks. These clues call for questions; they do not by themselves prove a repair was competent or incompetent.
Keep any suspect chair clearly out of ordinary use while awaiting advice. Do not leave it at the dining table where a visitor may sit before hearing an explanation. A label or separate location can help prevent accidental use, but follow any specific manufacturer or recall instructions about handling the item.
Check recalls when the chair is identifiable
Use the exact model and underside identifiers to search an official recall source. The CPSC notice for certain Ana dining chairs, reviewed November 6, 2026, is an example of a chair-leg hazard with a specific remedy and identifying details. The appropriate response to an affected chair comes from that notice, not from a home joint-repair plan.
Do not infer a recall match from a similar silhouette or conclude there is no issue merely because a chair has not visibly failed. Read the full notice, compare the relevant model details and dates, and contact the named company if uncertain. A recall check complements inspection; neither one replaces the other.
Create a repair handoff record
For each concern, record the chair identifier, joint location, visible symptom, when it appeared, and whether the chair is out of use. Attach one overall photograph and a close view with useful scale. Add the model label and any previous repair information. This gives a repairer a clear starting point without requiring you to diagnose hidden construction.
Ask what work is proposed, which components are affected, whether other joints need assessment, and what instructions apply before returning the chair to use. For a new chair, contact the seller about warranty or replacement before making alterations. Preserve receipts and correspondence so the repair path is documented.
The result of a useful inspection is a clear decision: the chair appears unchanged under the manufacturer’s normal checks, needs a specified owner maintenance step, or should remain out of use pending service. It is not a home certification of load capacity. Careful observation and accurate identification make that decision more reliable than forceful testing or an improvised cosmetic fix.
Before sending photographs, include enough of the surrounding frame to show which way the chair faces. A very close picture can hide whether a crack is at the front leg, rear support, or seat rail. One marked overview and one clear detail usually explain the location better than many unlabelled images. Keep the original files so a repairer can ask for a different view without losing the record of the initial condition.
Something unclear or out of date? Send a correction with this article’s title and the detail to check.
Sources, research & corrections policy ↗