Start a wobbly dining-chair check with the empty chair and the floor. A chair can rock because one foot sits on a different surface, a protector is missing, an assembly is misaligned, or a structural connection is loose. These causes need different responses. Do not sit on a visibly damaged or unstable chair to investigate it, and do not shorten a leg or add glue before identifying the problem.
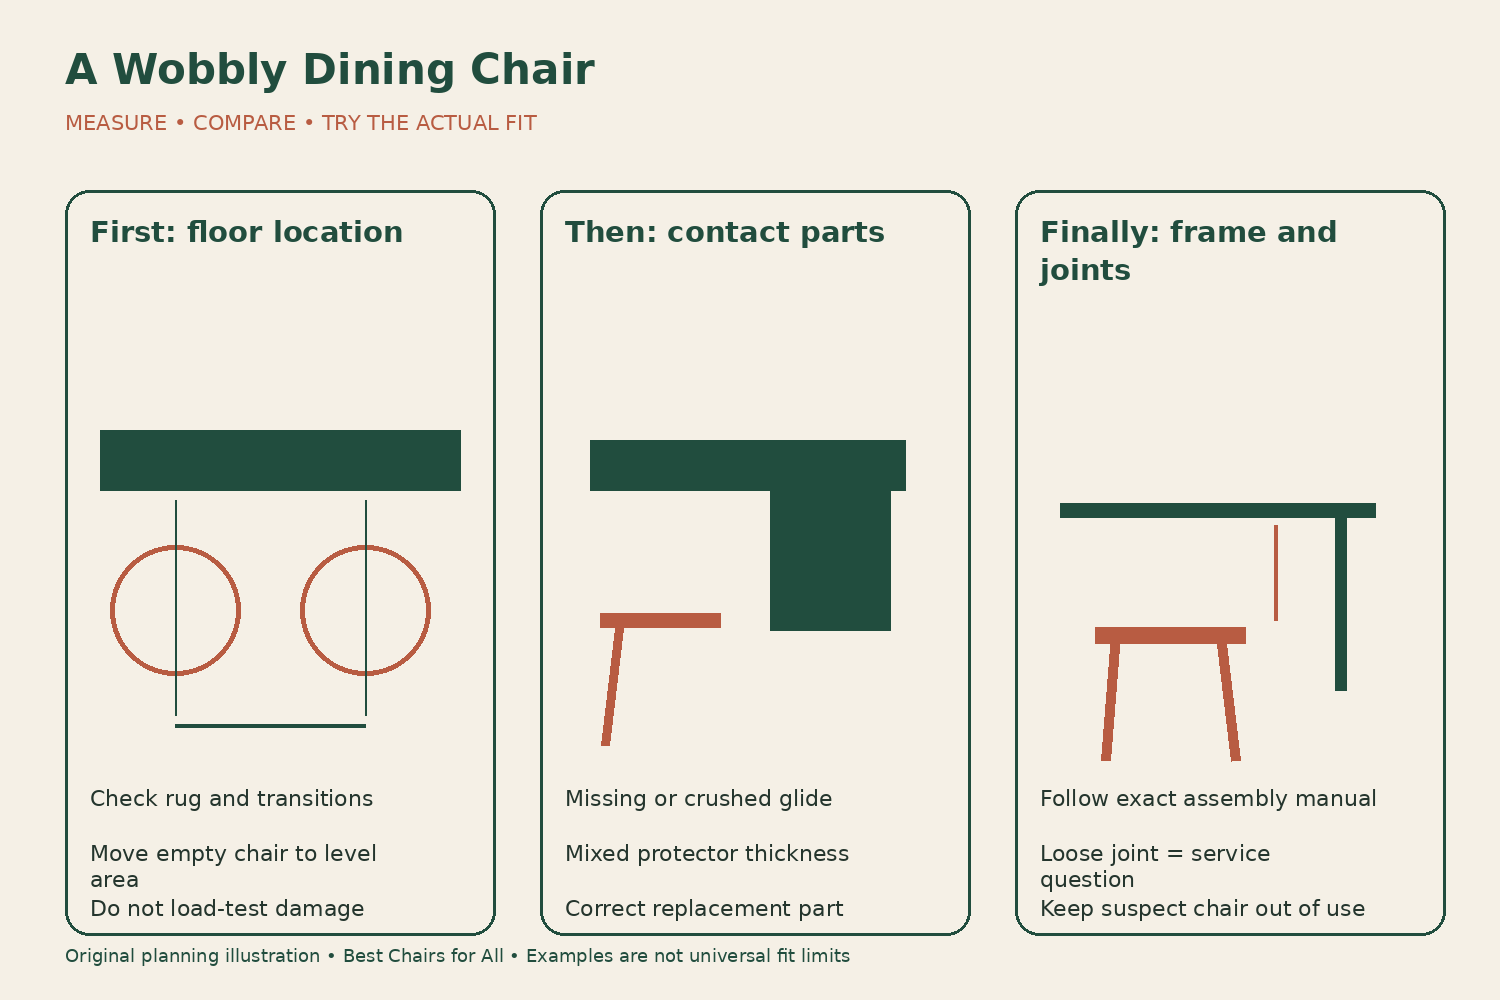
Remove the chair from normal use while checking
Move the empty chair away from the table so nobody sits on it accidentally. Note what happened: does it rock only at one place, has it started creaking, or does a joint visibly move? A sudden change deserves attention even if the chair was previously comfortable. Keep children and other users away from the work area while the chair is being assessed.
Find the product label and assembly instructions. Record the maker and model before adjusting anything. A bolted flat-pack chair, a glued wood frame, a cantilever, and a swivel chair do not share one repair method. If you cannot identify the construction or the source of movement, contact the maker or a qualified furniture repairer rather than experimenting with load-carrying parts.
Inspect first for obvious damage: a cracked leg, separated joint, damaged weld, missing hardware, or distorted frame. If present, stop the floor experiment and keep the chair out of use. A pad beneath a foot may make a damaged chair feel less wobbly without correcting the structural problem.
Test the location, using the empty chair
Look at the surface beneath all floor-contact points. Check for a rug edge, grout line, trapped debris, or a transition between flooring materials. Move the empty chair to a clear, known level area suitable for the furniture. Set it down normally and see whether all intended contact points rest as expected without applying a person’s weight.
If the rocking disappears at the new location, the original floor position deserves attention. Return the empty chair and rotate its position if practical, observing whether the uneven contact follows the floor location. This is a diagnostic clue, not proof that the chair is structurally sound. Continue the visual inspection and follow any manufacturer checks.
If the same foot remains raised on several suitable level locations, look more closely at the chair’s protectors, assembly, and frame. Do not immediately conclude that the leg is too long. Cutting or sanding changes the furniture permanently and can create a new mismatch if the original cause was a missing glide or a misassembled connection.
Inspect pads and glides
Compare the floor-contact components. Is one missing, crushed, peeling, or packed with debris? Has someone fitted different thicknesses under different feet? A protector can create an uneven contact plane without any difference in the leg itself. Photograph the arrangement before removing or replacing parts so you retain a record of the starting condition.
Use replacement protectors appropriate to the floor and the chair’s leg shape. For a fitted glide, ask for the correct part. Avoid stacking adhesive pads to hide unexplained movement or using a protector as a substitute for a damaged foot. The aim is to restore the intended floor contact, not to build an undocumented adjustment system.
Check that an installed pad sits fully beneath the contact area and does not slide to one side. A tilted foot or curved runner may need a purpose-designed component rather than a flat circle. Follow the chair and flooring manufacturers’ guidance, since a material suitable for one surface may be unsuitable for another.
Check assembly only as the manual permits
For a chair assembled with bolts, compare the hardware and orientation with the exact diagram. Look for an omitted washer, a part installed backward, or a connection not seated as illustrated. Some instructions require a particular tightening sequence or placing the chair on a level surface before final tightening. Follow the model’s sequence rather than copying a generic online procedure.
If the manual authorizes retightening, use the specified tool and any stated torque. Do not tighten until the wood crushes or the tool cannot move. Stop if a bolt spins without securing, the insert moves, the head is damaged, or parts do not align without force. Those are service questions, not reasons to use a longer screw or a more powerful driver.
IKEA’s furniture repair resources include routes for minor repair and spare parts. The practical lesson is to identify the product and obtain appropriate components. A replacement that looks close may differ in thread, length, or fit, so an apparently simple substitution can fail to restore the intended connection.
Recognize a loose glued joint
A wood rail that moves where it enters a leg, a stretcher withdrawing from its socket, or a gap opening during gentle handling can indicate a joint problem. Do not continue using the chair because an added pad stops it rocking on the floor. Floor contact and joint integrity are separate checks, and a chair may have problems with both.
A visible gap is not automatically a place to squeeze in glue. The repair depends on the existing adhesive, bonding surfaces, joint fit, alignment, and access. Titebond’s technical FAQs explain that many wood glues are intended for bare wood and that coatings affect the bond. They also provide adhesive-specific clamping and curing information, rather than one universal chair-repair timetable.
An unknown, valuable, or antique chair is especially worth discussing with an appropriate repairer before intervention. Avoid drilling nails across joints, adding corner brackets at random, or inserting wedges to conceal looseness. These changes may not address the failed connection and can complicate a proper repair later.
Consider environmental change without dismissing damage
Wood furniture responds to humidity and temperature. Stickley’s furniture-care guide discusses those influences and the need for appropriate care. A chair that changes after a season or move may have experienced environmental stress, but that explanation does not establish that its joints are sound or that it is safe to keep using while loose.
Record whether the chair was recently stored in a damp garage, placed near a heat source, or exposed to a spill. Share that information with the manufacturer or repairer. Do not deliberately soak, heat, or force the frame back into shape as an exploratory fix. A drying or conditioning guess can damage both the finish and structure.
If several chairs change at once, inspect each individually and review the environment. Matching symptoms are useful information, but one successful maintenance step does not certify the whole set. Keep separate notes so you know which chair received which part or repair and whether the movement returned.
Know when to stop owner maintenance
Stop when there is a crack, a broken component, an opening load-carrying joint, a damaged weld, persistent unexplained rocking on a level surface, or a fastener that will not secure correctly. Stop also when the next step would involve dismantling an enclosed swivel or lifting mechanism. A generic wobble article cannot supply a model-specific structural repair procedure.
Contact the seller for a new chair before altering it. Provide the model label, receipt, photographs, and a short description of the movement. Ask whether the appropriate remedy is a replacement part, an authorized service step, or a replacement chair. Retain the response instead of relying on an informal suggestion that does not identify the product.
For an older chair, a qualified furniture repairer can assess whether repair is practical and appropriate. Ask what will be checked before the chair returns to use. A visually tidy result alone is not enough to explain the condition of the frame, and a cosmetic refinish does not repair a structural fault.
Include a recall check
Search the identifiable product through an official recall source and the manufacturer’s notices. Reviewed on November 6, 2026, the CPSC Ana dining-chair recall describes certain chairs with a leg-breakage hazard and directs affected owners to stop using them and obtain the stated remedy. The notice contains model-identification details and exclusions that matter to matching.
Do not assume all similar chairs are affected, and do not assume an affected chair is acceptable because it only wobbles a little. If the identifiers match, follow the current notice. A home tightening or gluing attempt should not replace a recall remedy. Keep the underside label photograph available for the company’s support process.
Use a four-column diagnostic record
Make columns for observation, check performed, result, and next action. A useful entry might say: “Rocks beside rug edge; empty chair moved to level hard floor; rocking absent; review original floor position and inspect protectors.” Another might say: “Rear rail visibly loose; no loaded trial; chair removed from use; contact repairer.” These records keep facts separate from guesses.
If an approved maintenance step is completed, record the instruction followed, exact part used, and date. Reinspect according to the maker’s directions before returning the chair to normal use. If the symptom returns, stop repeating the same adjustment and report the recurring problem. Repeated loosening is information about an unresolved issue.
A sound outcome is an identified floor or protector issue corrected appropriately, a manual-approved assembly adjustment completed successfully, or a chair kept out of use for qualified service. The purpose is to resolve the cause of the wobble, not merely to make the chair feel steady long enough for the next meal.
After moving a chair back to its dining position, recheck the empty contact with the original surface. A successful adjustment performed elsewhere can leave the initial rug edge or flooring transition unresolved. Record whether the chair is intended to stay in a particular position, and tell other household members about that placement rather than allowing the same unexplained symptom to be rediscovered at every meal.
Something unclear or out of date? Send a correction with this article’s title and the detail to check.
Sources, research & corrections policy ↗