Clean resin wicker chairs with the method approved for the actual weave and frame, beginning with loose debris and gentle tools. Work through the intersections, rinse as instructed and let the whole chair dry before replacing cushions or fitting a cover. Avoid pressure washing unless the manufacturer explicitly permits it; a powerful jet can disturb a weave even when the polymer itself tolerates water.
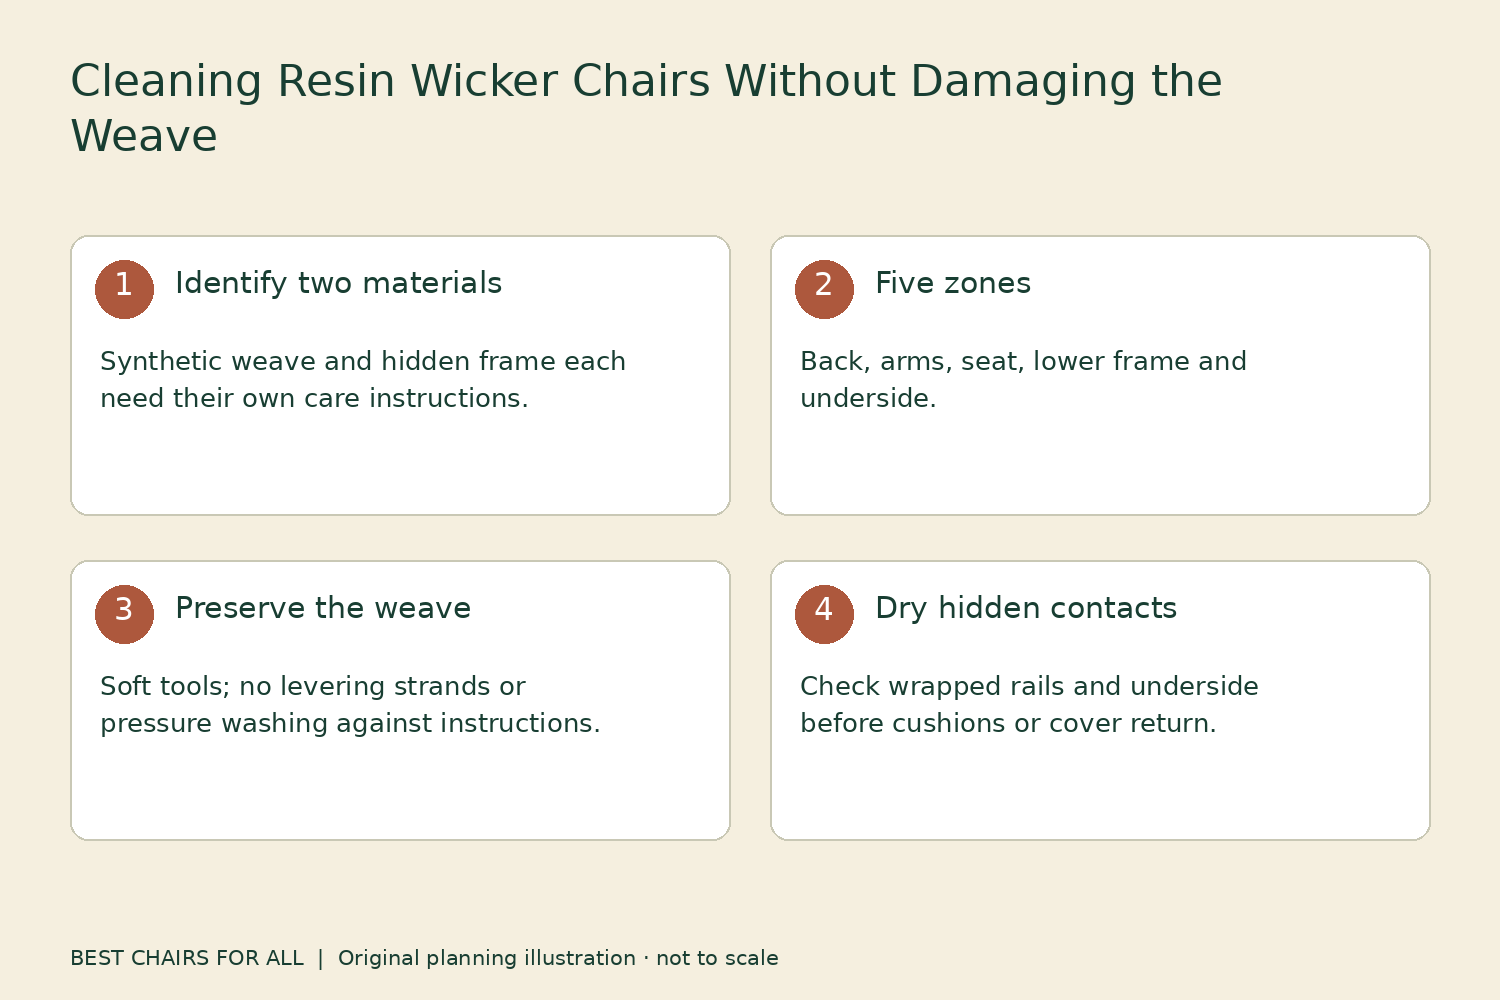
Before starting, confirm that the chair really is synthetic resin wicker. Natural rattan and coated natural-fiber systems can look similar but require different care. This guide focuses on a practical cleaning route for identified outdoor synthetic wicker, using SunVilla and Lloyd Flanders guidance as named examples, while treating the hidden frame as a separate material.
Verify weave and frame identity
Read the model label, materials page and care instructions. Record the named synthetic material and whether the manufacturer calls the collection woven vinyl, resin wicker or another defined system. Do not infer chemistry from strand color or texture. A brown woven surface can be synthetic, natural or coated natural fiber.
Identify the frame underneath. It may be aluminum, steel or another construction with its own finish and hardware. A cleaner suitable for the weave can still affect a painted fitting or nearby fabric. Remove loose cushions as permitted and keep their care instructions separate. Cleaning the chair does not require wetting its upholstery at the same time.
If you cannot identify a used chair, start by documenting it and seeking the maker’s advice. Avoid a broad soaking, bleach treatment or solvent test as an identification method. A conservative dry removal of loose debris with a suitable gentle tool is different from committing an unknown material to a full chemical wash.
Inspect before making the weave wet
Look for split strands, loose ends, displaced bindings and areas pulled away from the frame. Photograph damage rather than tugging on it. A loose-looking strand can be decorative or part of the support, depending on the design. If its role is uncertain, ask whether the chair should remain out of use until repaired.
Look beneath the seat and around the lower legs for frame damage or corrosion. A dirty weave can distract from a cracked joint or missing glide. Do not use cleaning as a way to hide a structural issue. Resolve bent members, loose critical hardware or unstable support independently of surface appearance.
Check where the weave meets sharp or protruding parts. Repeated abrasion may come from a frame edge rather than ordinary dirt. Aggressively scrubbing that area can worsen the damage. Show the manufacturer both the fabric or strand wear and the neighboring frame contact so it can assess the cause.
Divide the chair into cleaning zones
Use five zones: upper back, arms, sitting surface, lower frame and underside. The point is to avoid cleaning only the visible front faces. Weave intersections, arm undersides and attachment edges can retain debris. Keep a simple zone record if you are cleaning several similar chairs so a partially completed one is not mistaken for finished.
Work from cleaner upper surfaces toward dirtier lower areas where practical, using tools that will not carry grit back onto the seat. Place the chair on a suitable surface with space to reach around it. Lift or reposition it only through the handling points its instructions permit. Do not tip it onto a delicate woven arm to gain access underneath.
A hypothetical set of four chairs with five zones each creates twenty inspection-and-cleaning zones. This is a task-counting exercise, not an estimated cleaning time. It can help you divide the work into manageable batches while leaving each chair in a clearly recorded state. Finish and dry one batch rather than leaving every chair partly wet overnight.
Remove loose debris gently
SunVilla’s handwoven wicker instructions recommend a soft brush or a vacuum with a brush attachment for loose dirt. Use that method on the relevant SunVilla products, and follow the equivalent guidance for other brands. Let the tool lift debris rather than forcing it deeper between the strands.
Keep a vacuum nozzle from dragging hard against the weave. Reduce contact or use a suitable attachment where needed under the appliance and furniture instructions. Do not hook a stiff brush behind a strand and pull it outward. A tight intersection should be treated gently rather than opened up to make cleaning easier.
Avoid knives, metal picks and improvised sharp scrapers. They can nick a strand or remove a coating while appearing to clear a stubborn particle. If material is lodged around an attachment, ask the manufacturer for a safe removal method. Do not dismantle the weave or frame simply to reach dirt that ordinary cleaning cannot remove.
Wash using the named care method
SunVilla describes mild soap and water, a thorough rinse and air drying after debris removal. It specifically advises against pressure washing because that can loosen its weave over time. This is a model-family instruction to respect, not a test of how much jet pressure the material can withstand before visible damage appears.
Use the cleaner concentration and water conditions specified by your chair maker. If the instructions simply say mild soap and water, do not substitute a stronger deck cleaner because the chair sits on a deck. Ask support about any persistent stain that general cleaning does not address. Product location does not establish chemical compatibility.
Test a permitted cleaner in an inconspicuous area if the manufacturer directs it. Watch for unexpected color transfer, a sticky feel or a changing surface. Stop and rinse as appropriate under the instructions if an adverse reaction appears. Do not continue across the whole chair in the hope that drying will restore the original finish.
Treat intersections without distorting them
Use the soft tool to work along the existing pattern, reaching the surfaces around intersections without levering strands apart. Support the chair normally. Avoid pressing heavily on an unsupported edge or stretching a band outward to clean behind it. Cleaning should leave the original tension and alignment unchanged.
Sticky spills deserve prompt attention under the approved method. Remove what you can without rubbing a dirty cloth repeatedly across neighboring areas. Rinse the cleaned section sufficiently to remove soap residue. A shiny or slippery patch after washing can indicate remaining product, but do not invent a chemical diagnosis from appearance alone.
If green or dark staining remains, distinguish a persistent stain from debris trapped beneath the weave. Photograph it after the gentle wash and consult the maker for a specific treatment. Bleach advice for a removable cushion does not apply automatically to resin strands, their coloring or the frame finish underneath.
Give the frame its own care pass
Tropitone’s product care guidance separates painted finishes, hardware, fabric and other components. Its discussion of salt or chloride accumulation on finishes illustrates why cleaning the visible weave alone may be insufficient in coastal or pool environments. Use the actual chair manufacturer’s frame guidance for your product.
Reach accessible frame areas with the permitted soft cloth or brush and avoid leaving cleaner trapped between weave and metal. Do not remove permanent panels or unfasten structural attachments for routine washing. If corrosion or loose hardware is exposed during cleaning, document it and resolve it through the manufacturer’s service process.
Check glides and caps while working on the lower zone. A missing glide can expose metal and change how the chair contacts the patio. Replace it with the correct part instead of covering the leg end with tape or an approximate cap. A freshly cleaned chair still needs stable, complete ground-contact components before use.
Rinse and dry the complete chair
Use the rinse method the maker permits and direct water away from areas where it should not collect. Do not assume all hollow frame members drain in any orientation. Keep existing drainage paths clear without drilling or enlarging openings. Follow the specified storage and drying position for the chair.
Inspect the underside and the points where strands wrap around a rail. These locations can remain wet longer than broad exposed surfaces. Leave adequate drying opportunity before replacing cushions or enclosing the chair under a cover. A dry armrest is not proof that concealed contacts beneath the seat are ready for storage.
Drying time varies with the weather, weave density and frame construction. Avoid a universal timer. If an unexpected shower interrupts the process, reassess dryness rather than continuing the original schedule. Keep the cleaned cushions somewhere appropriate while the chair dries so they do not pick up fresh soil or moisture from the working area.
Use a zone-and-condition record
| Zone | Clean/check focus | Finish gate |
|---|---|---|
| Upper back | Intersections, top bindings and frame contact | Debris removed; strands undisturbed |
| Arms | Spills, undersides and loose ends | No residue or newly exposed damage |
| Seat | Weave alignment and support condition | Structural questions resolved |
| Lower frame | Finish, hardware, feet and glides | Correct components intact |
| Underside | Hidden debris and moisture | Dry before cushion return or covering |
Keep photographs of any defect with the model information. This record is especially useful for a set where one chair receives more exposure or use than the others. Compare actual condition rather than assuming every piece needs the same escalation. A chair beneath a tree can need more debris removal without needing stronger chemicals.
Avoid cosmetic shortcuts
Lloyd Flanders support distinguishes repainting guidance between its material systems and does not recommend painting its woven vinyl furniture. This is another reason to identify the collection before treating faded or marked strands. Spray paint is not a universal remedy for a synthetic weave that cleaning does not restore.
Do not use heat to soften strands or trim loose ends without an approved repair method. Those actions can alter the weave and hide a more significant problem. If the surface remains damaged after cleaning, seek a compatible repair or replacement assessment. The aim of cleaning is to remove contamination while preserving the construction that supports the chair.
Return cushions only when the chair and upholstery are ready. Put the care record somewhere accessible and remove spills and debris before they build up again. A gentle, complete routine that reaches the intersections and hidden frame is more useful than occasional aggressive treatment of the visible surfaces.
Something unclear or out of date? Send a correction with this article’s title and the detail to check.
Sources, research & corrections policy ↗