Check a camping chair before the trip while there is time to replace a missing foot, resolve a damaged connection, or select another seat. The useful inspection follows the load from the fabric through its attachments and frame to the ground. It also verifies the exact model, current safety information and intended setup. A chair that looks clean can still have an incomplete pole connection or a failing seam underneath.
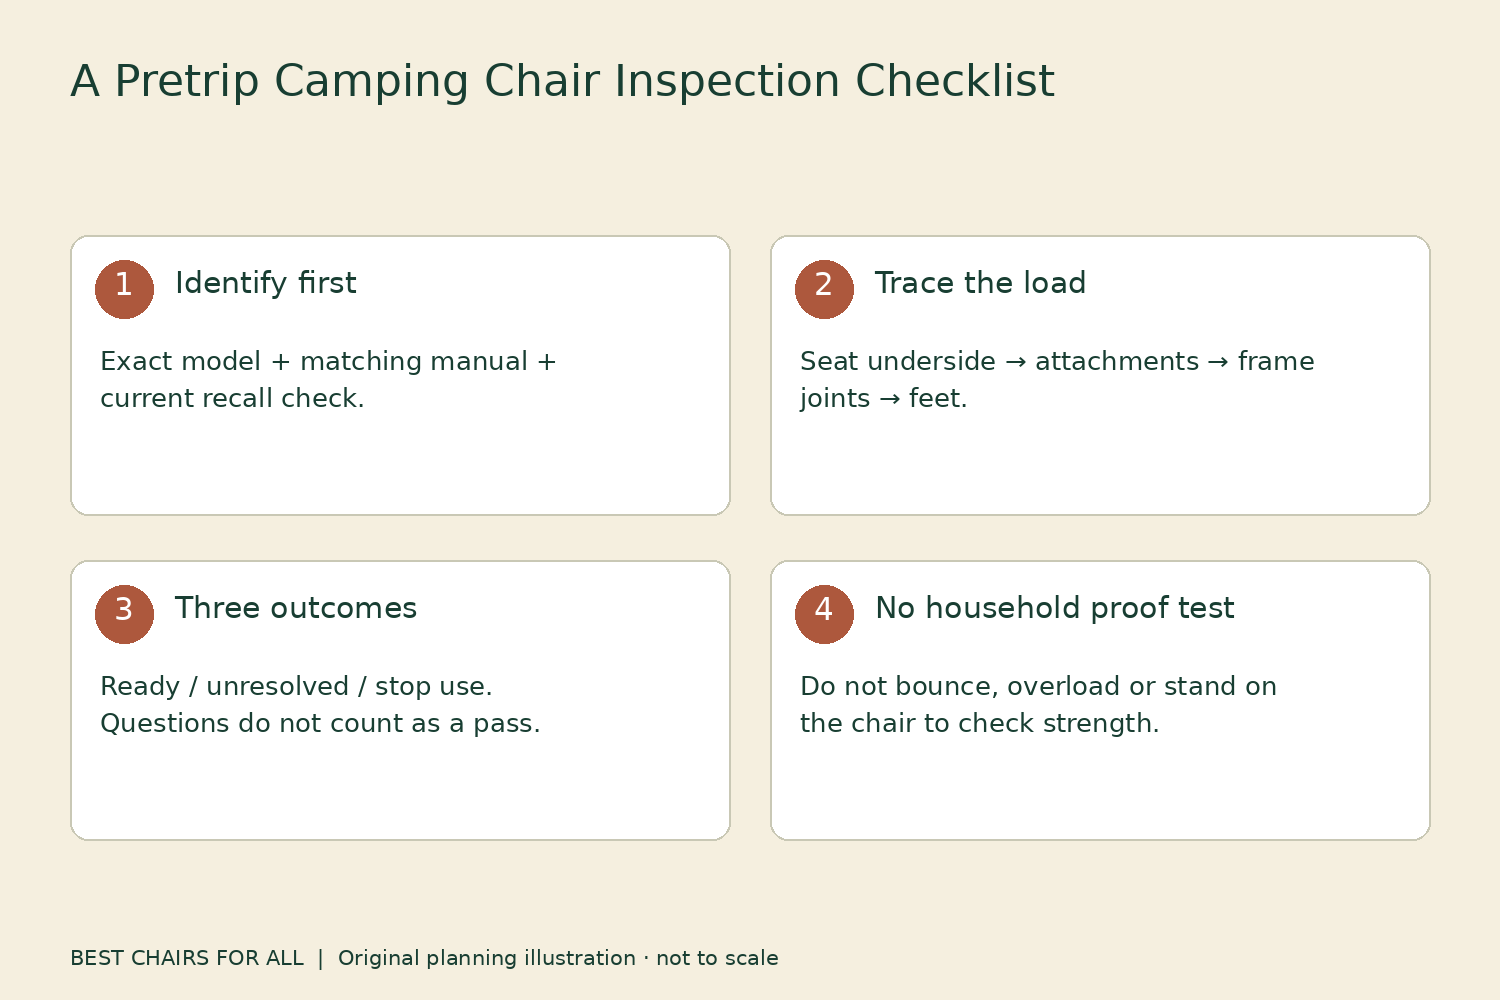
This checklist is a household pretrip aid, not a strength test or a certification that a used chair meets its original performance. Do not bounce in a suspect seat to see whether it holds. Keep damaged equipment out of use while you ask the manufacturer about an approved repair. The first occupied sit belongs after identification, condition and assembly questions are resolved.
Begin with the identity and instructions
Find the model label and retain a photograph. Record the manufacturer, exact model, any generation or size designation, and the capacity stated for that chair. Similar-looking products may have different joints, fabrics or limits. Do not copy a rating from a current product page unless you have confirmed that it describes your actual version.
Read the matching manual before opening a mechanism you do not recognize. Determine which parts are supposed to lock, which connectors are removable and how the seat attaches. An inherited or borrowed chair needs the same attention. If an original seat or frame has been swapped, establish compatibility rather than treating the assembled appearance as proof that the combination is correct.
Check current manufacturer notices and the U.S. Consumer Product Safety Commission recall database using the product identity. This article does not declare any particular chair recall-free. Safety information can change. Follow the actual recall remedy and stop-use instructions if your product is included, even when it appears undamaged during a visual inspection.
Open it on suitable ground
Use a clear, level setup area consistent with the manual. Keep loose bags, children and pets away from the folding or assembly operation. Open the chair through its normal sequence, watching for fingers, clothing and straps near moving joints. If resistance appears unexpectedly, stop and investigate rather than forcing a lock or linkage.
A correct open shape is the starting point, not the final result. Walk around the chair. Compare its geometry with the manual’s illustration and look beneath the seat. Check whether both sides have opened equally and whether any brace or lock remains partly folded. A carry strap caught inside the frame can prevent full opening while the upper fabric still looks normal.
For pole-frame chairs, inspect every section as it joins. The NEMO Moonlite instructions call for fully joining the poles and inserting them completely into their hubs. The shock cord organizes the sections; it does not prove that the structural joints have seated. Use the instructions for your particular chair rather than assuming every pole system is assembled identically.
Inspect the seat’s underside
Look at the main sitting panel, the rear edge and the points where the fabric meets the frame. Gently expose folds without stretching the material. Search for torn stitching, open seams, cuts, burn holes, abrasion, displaced reinforcement or fabric thinning around a contact point. Do not limit the inspection to the clean visible front surface.
Different damage locations imply different questions. A carry-bag hole affects transport. A split pole pocket can affect the occupied structure. A patch over a panel puncture may be acceptable under a manufacturer’s guidance, but a patched structural attachment should not be assumed to retain the original capacity. Record previous repairs and obtain the actual repair instructions if their purpose is unclear.
Pay particular attention where the seat rubs a tube, bolt or connector. A damaged frame edge can cause repeated fabric wear, so replacing the seat alone may not fix the cause. Avoid running bare fingers over a sharp suspected edge. Photograph the area and ask support whether both components need attention. Keep the chair unoccupied while that question remains unresolved.
Examine the frame along its full length
Look for bends, dents, cracks, displaced sections and corrosion, particularly around joints and welded areas. Compare matching members on the two sides where the design is symmetrical. Do not try to straighten a tube during an inspection. A bend that seems small can change alignment and how load reaches the rest of the frame.
Check visible plastic hubs and connector housings without dismantling them. A crack can be difficult to see from above. Use good light and inspect from more than one angle. Keep the components clean enough to distinguish dirt from damage, following the maker’s care instructions. Solvents and aggressive scraping can damage finishes or plastics and are poor inspection shortcuts.
A surface stain does not always mean structural corrosion, and a clean-looking finish does not prove the material underneath is sound. If you see deep pitting, flaking metal, a crack or movement at a connection, stop using the chair and obtain an assessment from the maker or an appropriate repair service. Do not cover a concerning area with paint before documenting and resolving it.
Check hardware and intended locking points
Confirm that all visible fasteners specified in the manual are present. Look for missing nuts, shifted washers, protruding rivets or a connection that now moves differently from its counterpart. Tighten only user-serviceable hardware according to the manufacturer’s instructions. Randomly tightening every bolt can interfere with a pivot or damage a component.
A rivet is not interchangeable with an ordinary screw merely because both pass through a hole. Diameter, length, material and the intended movement matter. GCI’s replacement parts support directs owners with missing or broken bolts or rivets toward its warranty process. Ask for the proper part and procedure rather than constructing a substitute at the campsite.
If the chair has recline positions, a footrest or a side table, verify each permitted adjustment while the chair is unoccupied unless the manual specifically instructs otherwise. Keep fingers clear of pinch points. Confirm that the relevant mechanism engages as described. A useful inspection does not require opening sealed housings, removing springs or operating a mechanism beyond its normal range.
Follow the feet to the surface
Every intended foot, cap or runner should be present and correctly seated. Look for splits, severe wear, loose attachment or exposed tubing. A missing cap can damage a floor or alter ground contact. Check model compatibility when replacing one; the outside appearance alone does not establish the right diameter or retention method.
Place the chair on the actual intended surface only when the manual allows it. The Helinox Chair One handling guide specifies flat, solid ground and cautions about uneven loading and shock. A broad sand accessory does not turn an incline into a suitable pitch or override restrictions on the underlying chair.
If you use a ground sheet or enlarged feet, inspect those parts separately. Check corner pockets, straps and retention after repositioning the chair. Keep all supports away from holes, edges and board gaps. A chair that passes a home condition check still needs a fresh surface check every time it is moved at camp.
Use a three-outcome inspection card
| Area | Record | Outcome |
|---|---|---|
| Identity and notices | Model, matching manual, recall check date | Ready, unresolved or stop use |
| Fabric | Panel, seams, underside and attachments | Ready, unresolved or stop use |
| Frame | Poles, tubes, hubs and visible joints | Ready, unresolved or stop use |
| Hardware | Required locks and specified fasteners | Ready, unresolved or stop use |
| Ground contact | Feet, runners and compatible accessories | Ready, unresolved or stop use |
| Operation | Normal opening, closing and permitted adjustments | Ready, unresolved or stop use |
“Unresolved” means you still need information, such as confirmation of a replacement seat or an unfamiliar locking point. Do not treat it as ready simply because the trip starts tomorrow. “Stop use” includes a recalled product, structural damage or an incomplete critical component. Mark the chair clearly and keep it separate from the packed equipment so another person does not grab it by mistake.
Include the transport bag in the trip check
Inspect the carry handles, shoulder strap and closure before loading the chair. A torn bag does not necessarily condemn an otherwise sound seat, but a failing handle can drop parts during the walk to the campsite. Check that the package contains all separate frame pieces and accessories, especially after a repair. Keep a small parts list with a photograph if the chair breaks down into components that look similar to another household model. The bag should close through the normal folding sequence without crushing a hub or forcing a pole against the zipper. Resolve carrying problems before the departure morning.
Make the first sit ordinary
After the chair is fully assembled and the condition checks are resolved, follow its instructions for applying weight. Use the chair gently within its intended use and stated capacity. NEMO’s documented cautions include avoiding aggressive sitting or jumping. A capacity label is not permission for impact loading, standing on the seat, or using the chair as a step.
Notice unusual movement or noises and stop to investigate. A new sound is not automatically a failure, but it deserves attention before repeated use. Do not load the chair with extra luggage or another person to establish a margin. Household proof loading can damage equipment and does not create a valid revised capacity.
Pack the manual reference, a record of any approved repair and the correct accessories. Once at camp, repeat the brief setup and surface checks before each use, especially after the chair is moved, folded or left exposed to weather. A careful pretrip inspection is most useful when paired with ordinary attention to the chair’s actual condition throughout the trip.
Something unclear or out of date? Send a correction with this article’s title and the detail to check.
Sources, research & corrections policy ↗