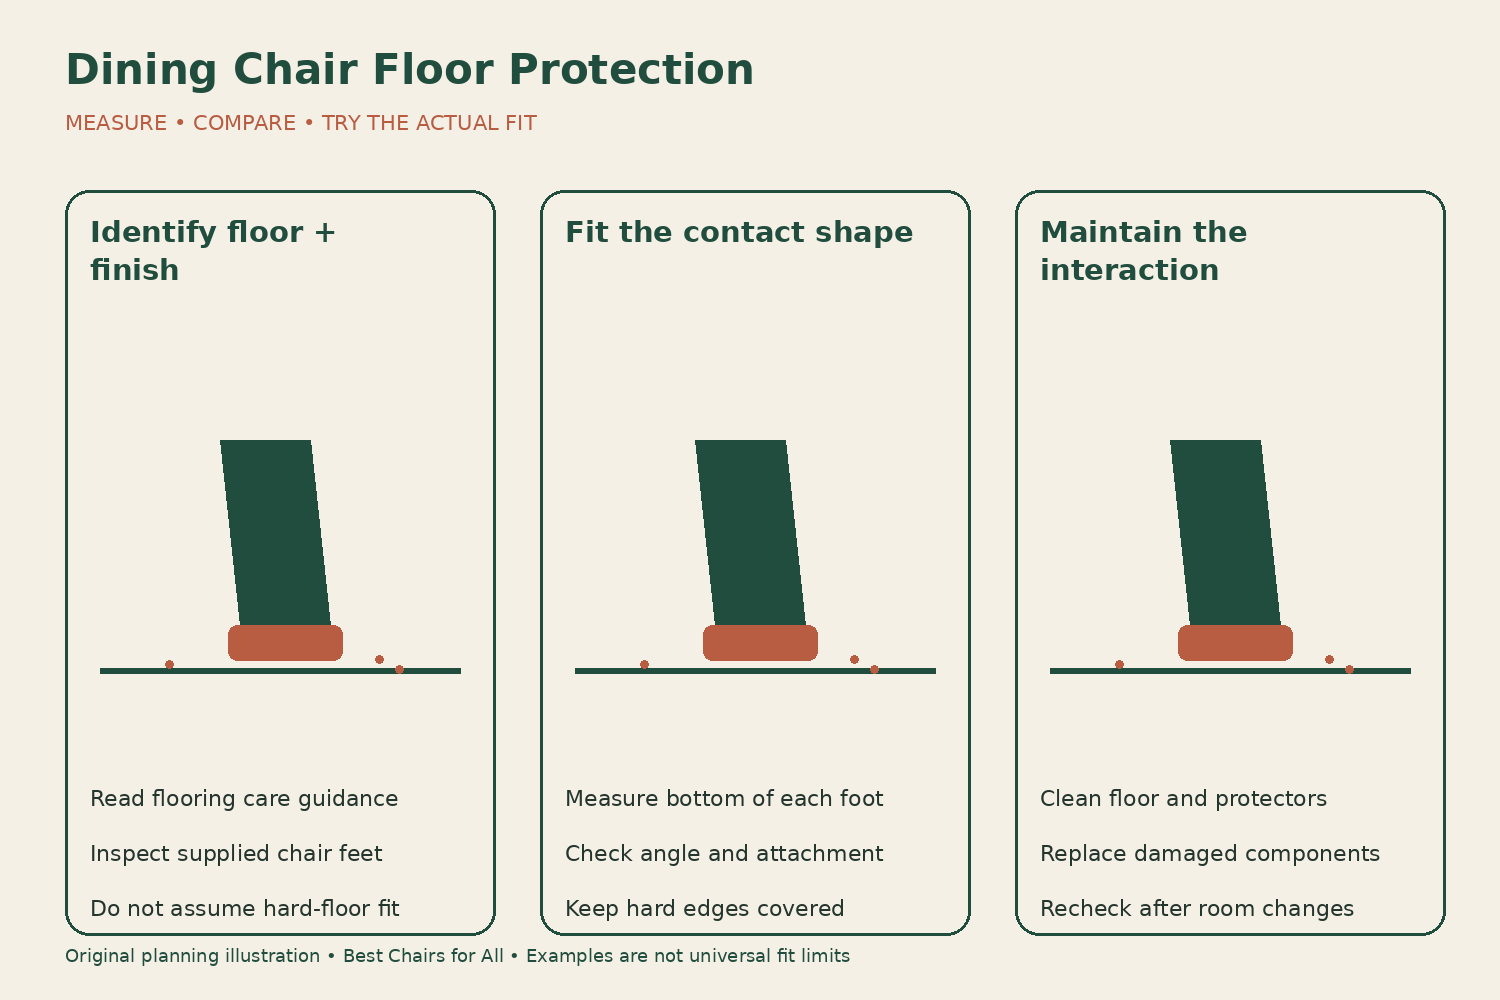
Protect a floor from dining chairs by matching the chair’s contact points to the flooring maker’s instructions, fitting appropriate protectors, and keeping both surfaces clean. A felt pad is useful only while it remains correctly attached and free of abrasive debris. Check the full set of chairs before use, then make the contact points part of ordinary dining-room upkeep rather than treating protection as a one-time purchase.
Identify the floor before choosing protection
Find the flooring product and finish if possible. Solid wood, engineered wood, laminate, luxury vinyl, stone, ceramic tile, and carpet do not all have the same requirements. Keep the floor’s care instructions beside the chair information. An online claim that a glide works on “hard floors” is too broad if your particular flooring maker specifies something different.
For wood floors, Bona’s furniture-scratch guidance recommends felt pads on tables and chairs and advises against dragging furniture. That supports a practical prevention approach, but it does not make every felt product suitable for every chair foot or eliminate the need to inspect it. Follow instructions relevant to your finish before attempting any scratch treatment.
For luxury vinyl tile, Shaw’s LVT prevention bulletin recommends heavy-duty felt protectors and warns that plastic protectors can scratch that flooring. This is a specific example of why a glide that arrived on a chair should not automatically be accepted for the floor underneath it. Check the applicable flooring guidance rather than relying on the chair’s packaging alone.
Inspect every floor-contact point
Turn an empty chair only as the manufacturer permits and support it securely. Inspect each foot, runner, or base contact. Look for bare metal, exposed fastener heads, broken caps, sharp edges, peeling pads, and packed-in grit. A chair may have different front and rear leg shapes, so inspect all contact points rather than measuring just one convenient foot.
Record whether the chair rests on four separate feet, a continuous sled, a cantilever runner, or another base. The protector must match that form. A flat adhesive circle may fit a flat wooden foot but sit poorly on an angled tube. Covering part of an edge while leaving a hard corner exposed does not create a reliable contact surface.
Check whether the chair stands normally before replacing protectors. A missing or crushed pad can create rocking; a loose joint can create a different kind of movement. Do not use stacked pads to hide a structural problem. If the frame is cracked, unstable, or visibly loose, remove the chair from use and arrange appropriate assessment.
Measure the contact surface accurately
Measure the actual bottom of the foot, not the wider leg farther up. Record its shape, width, and length or diameter. For a sleeve or cap, the supplier may require an inside or outside dimension of the chair leg, so read the product’s measuring method. A nominal tube size may not be the dimension needed to select the replacement.
Look at the angle. A splayed leg may meet the floor on a slanted end, and a swivel glide may be intended to compensate for that angle. Ask for the manufacturer-approved replacement if the original part has a special shape. Do not grind, drill, or reshape the leg simply to make an unrelated protector fit.
For runners, identify the intended glide attachment locations. Expanded Technologies’ protector range includes products for different leg forms, existing glides, and sled bases. The variety illustrates that attachment design matters as well as the material touching the floor. Select by the specific fitting instructions rather than assuming one universal pad covers every structure.
Fit protectors according to their own instructions
An adhesive pad needs a suitable clean, dry contact area and the preparation specified by its maker. Remove an old pad without damaging the chair finish. Do not use an aggressive solvent simply because adhesive remains; check compatibility with the chair material and the new pad’s instructions. If the preparation is unclear, ask the supplier before applying chemicals.
A sleeve must grip the intended part of the leg without splitting, twisting, or sliding down during normal movement. A cap over an existing glide may have a different sizing method from a cap over a bare tube. Nail-in and screw-in parts require appropriate material and installation guidance; they are not automatically suitable for hollow metal, thin sections, or an unknown wooden foot.
Use a consistent approved set where the design calls for it. Different protector thicknesses can change floor contact and seat level. After fitting, inspect the chair empty on a suitable level area, checking that each contact sits correctly. A protector should not create a new rocking condition or expose a fastener near the floor.
Clean the contact path, not just the visible room
Dry crumbs, grit, and tracked-in particles can collect under a dining table where a quick sweep misses them. Clean the normal path of chair movement using the floor maker’s approved method. Move chairs appropriately rather than pushing a loaded chair through debris. A protector can carry trapped particles along the same arc every time someone leaves the table.
Inspect the underside of pads and glides as well. Remove loose debris by an approved method and replace parts that are embedded with grit, damaged, compressed unevenly, or no longer secure. Do not assume a pad is protective because the top still looks attached. The floor-facing surface is the part doing the work.
Pay extra attention after home repairs, sandy weather, gatherings, or a spill that leaves sticky residue. These are useful triggers for another contact-point check. A calendar reminder can help, but condition and use should drive inspection too. There is no universal replacement interval that fits every chair, floor, and household.
Try the actual movement gently
Once the floor and contact points are clean, observe normal empty-chair movement without deliberately scraping or forcing it. Check that the protectors remain centered and that the chair does not unexpectedly catch or slide. Do not test a product by dragging it across a conspicuous area to see whether it scratches; seek compatibility information before use.
Then consider the user’s routine. Some households lift a light chair slightly to reposition it, while others rely on sliding. A protector that increases resistance can change that routine. A very slippery combination can also feel different from what the sitter expects. The useful result is appropriate floor contact and manageable ordinary movement, not maximum slipperiness.
Check rug edges and transitions. A chair that moves across both a rug and hard floor may encounter different conditions along one path. Keep the rug appropriately sized and positioned for the intended arrangement, and investigate any catching rather than forcing the chair past it. Protectors cannot compensate for every awkward flooring transition.
Watch for the pattern of new marks
If marks appear, stop the movement associated with them and inspect before repeating it. A repeated line may correspond to one foot or a piece of embedded grit. A scuff, dent, finish scratch, and stain are different problems. Photograph the mark and the chair contact area, and ask the flooring maker or installer for guidance if the cause is uncertain.
Avoid using an abrasive pad, solvent, furniture polish, or heat to make the mark disappear without knowing the floor and finish. A quick cosmetic attempt can change the surface and complicate later repair. Bona’s linked guidance itself separates lacquered and oiled wood-floor treatment, reinforcing the need for a finish-specific response.
Correct the source before returning the chair to the same routine. Replacing one damaged protector while leaving grit on the floor can reproduce the damage. Likewise, cleaning the floor while leaving an exposed metal edge on the chair does not resolve the contact problem. Treat the two surfaces as one interaction.
A six-chair maintenance map
For a set of six chairs, label them discreetly in your record as A through F and list each contact point. Record the protector type, size, attachment method, and installation date. Note a special rear foot or runner separately. This lets you buy the correct replacement and identify whether one chair repeatedly loses the same part.
Create three action categories: clean and retain, replace approved protector, and remove chair from use for a frame issue. Add the observation that triggered the action. For example, “rear-left pad off center with exposed edge” is more useful than “chair scratches.” Photographs can show whether a replacement remains in the intended position after normal use.
Keep a small supply of the exact approved replacement if practical, but check stored adhesive products’ instructions before use. Do not mix in an old pad from another furniture item merely to finish the set. Store the model and floor-care references with the record so the system remains understandable when someone else handles maintenance.
Revisit protection when the room changes
A new floor, refinished surface, replacement chair, rug change, or altered glide can change the interaction. Repeat the compatibility and fitting checks rather than transferring the old routine automatically. For newly finished floors, follow the finish provider’s curing and furniture-return instructions; ordinary dryness does not establish that the surface is ready for every furniture contact.
Keep the dining setup practical. Chairs should approach the table without catching on the base, and the room should allow normal entry and exit. If a chair must be dragged awkwardly around a table leg each time, changing its position may help reduce damaging movement. Floor protection works best as part of a usable arrangement.
The durable habit is simple: know the floor, fit the contact component correctly, keep both surfaces clean, and respond when movement or marks change. Pads and glides are service parts that deserve inspection, and their effectiveness depends on the complete chair-floor relationship.
Something unclear or out of date? Send a correction with this article’s title and the detail to check.
Sources, research & corrections policy ↗