Clean high chair straps according to the instructions for the exact harness component. A seat pad’s machine-wash symbol does not apply automatically to webbing, buckles or a crotch attachment. Identify what can be removed, how it may be cleaned and how it must be reinstalled before starting.
Make a component map before taking anything apart
With the chair empty, identify the shoulder sections if present, waist sections, crotch component, buckle, adjusters and anchors. Write each one in a separate row. Find the care instruction that refers to that specific part. The phrase “wash the cover” might concern only fabric over the seat, while a nearby drawing of a buckle might authorize a different cleaning method.
Take photographs of the correct installed route from the front, sides and underside, without reaching into a folding joint. Keep the exact manual open. If the chair is already partly disassembled and you cannot establish the original route, ask the manufacturer for help before proceeding. An online photo of a similar buckle may hide different anchor hardware beneath the seat. Do not experiment with threading options while a child is waiting to eat.
One Stokke manual illustrates why the distinction matters
The washing illustrations on pages 12–13 of the Tripp Trapp Baby Set² US/Canada guide distinguish components. They show a 40°C machine-wash symbol for the removable harness assembly, while the separate crotch/buckle component is shown with warm water and mild soap and crossed-out dishwasher and machine-wash symbols. The plastic Baby Set pieces have their own illustrated washing indication. Read the pictures for the part you actually hold, rather than applying the most permissive symbol to everything.
The separate Stokke Harness² guide states that Harness² is for Baby Set² and includes its own washing direction. That compatibility condition is as relevant as the temperature. It does not make an older harness identical, and it does not authorize replacing a different generation’s restraint with whichever washed part is available. The chair and accessories must still match the manufacturer’s intended combination.
Use the model manual for the complete cleaning process
Graco manual PD349069C includes a care section and directs the user to separate buckle-cleaning instructions. That structure is another reason not to collapse the whole task into “put the straps in the wash.” Read both the component-care directions and the buckle procedure for the actual model. A direction elsewhere in a manual about a removable pad can be correct for the pad and wrong for the restraint.
This article deliberately does not provide one universal detergent, soaking time, water temperature or disinfectant recipe. Those would exceed what the varied hardware and webbing instructions establish. Use only the approved cleaning method. Do not add bleach, strong solvents, boiling water, a steam treatment or fabric softener because a food stain is stubborn. If the permitted routine cannot remove heavy soil, contact the manufacturer about replacement or further guidance.
Control food debris without damaging the hardware
Before wet cleaning, remove accessible loose food in the way the manual permits. Work around the buckle without forcing tools into its latch or opening the housing. A buckle that does not operate normally after food contamination needs the specified cleaning or service response. Do not lubricate it to make it feel smoother unless the exact instructions expressly require that product and procedure.
Inspect webbing for frayed edges, damaged stitching, cuts, severe contamination or other conditions the manufacturer treats as replacement triggers. Cleaning cannot restore missing fibers or correct a cracked buckle. Keep cosmetic stain removal separate from the decision about component condition. A faint remaining color mark and damaged load-bearing material are different findings; ask the manufacturer when you cannot distinguish the practical implications.
Remove only the parts that are meant to be removed
A release point may be designed for approved cleaning, whereas another fastener may belong to a factory assembly. Follow the documented removal sequence and use only the specified tools. Do not pry a buckle apart, cut stitching, defeat a locking tab or drill a new attachment point to make cleaning easier. Some components need to remain attached while being hand-cleaned.
Lay permitted removed parts in a labeled arrangement away from children. Keep small hardware contained and protect the model label from unnecessary wetting. If more than one chair or accessory is being cleaned, keep their components separate even when the colors match. A similar-looking strap can have a different length, anchor or buckle interface. Finish one complete restraint system before beginning another to reduce the chance of mixing parts.
Drying and reinstallation are part of the job
Follow the drying method stated for each component. Do not assume a tumble dryer or direct heat is acceptable because the part survived washing. Allow the approved process to finish completely before putting the restraint back into use. Keep the child in another suitable setting while the chair is unavailable. A tray is not an interim restraint while the harness dries; the CPSC high chair advice specifically separates the tray from the required safety straps.
Reinstall using the manufacturer’s diagrams, not memory alone. Check anchors, slots, adjusters and any required relationship to the insert or Baby Set. Inspect for twisting beneath covers. Operate the empty-chair buckle according to the instructions and confirm that adjustment works as described. Do not place a child in a partially assembled system to test which strap might go where.
Make the next cleanup easier without changing the restraint
Use the ordinary approved mealtime accessories and cleaning routine so residue is addressed before it builds up. A bib or cushion must not obstruct the harness or change the route required by the manual. Do not cover the buckle with an improvised sleeve that prevents the caregiver from inspecting or operating it. Choose a time for full cleaning when another appropriate meal arrangement is available.
Create a small care record with the model, harness revision, component-specific directions and the saved routing photographs. Keep any replacement part number beside it. That record should contain concrete instructions, such as which piece is hand-cleaned, rather than the vague claim “all straps washable.” Review it after an accessory replacement because a newer component can have a different care method even when the chair frame remains the same.
Component-by-component strap cleaning record
| Check | Evidence and decision |
|---|---|
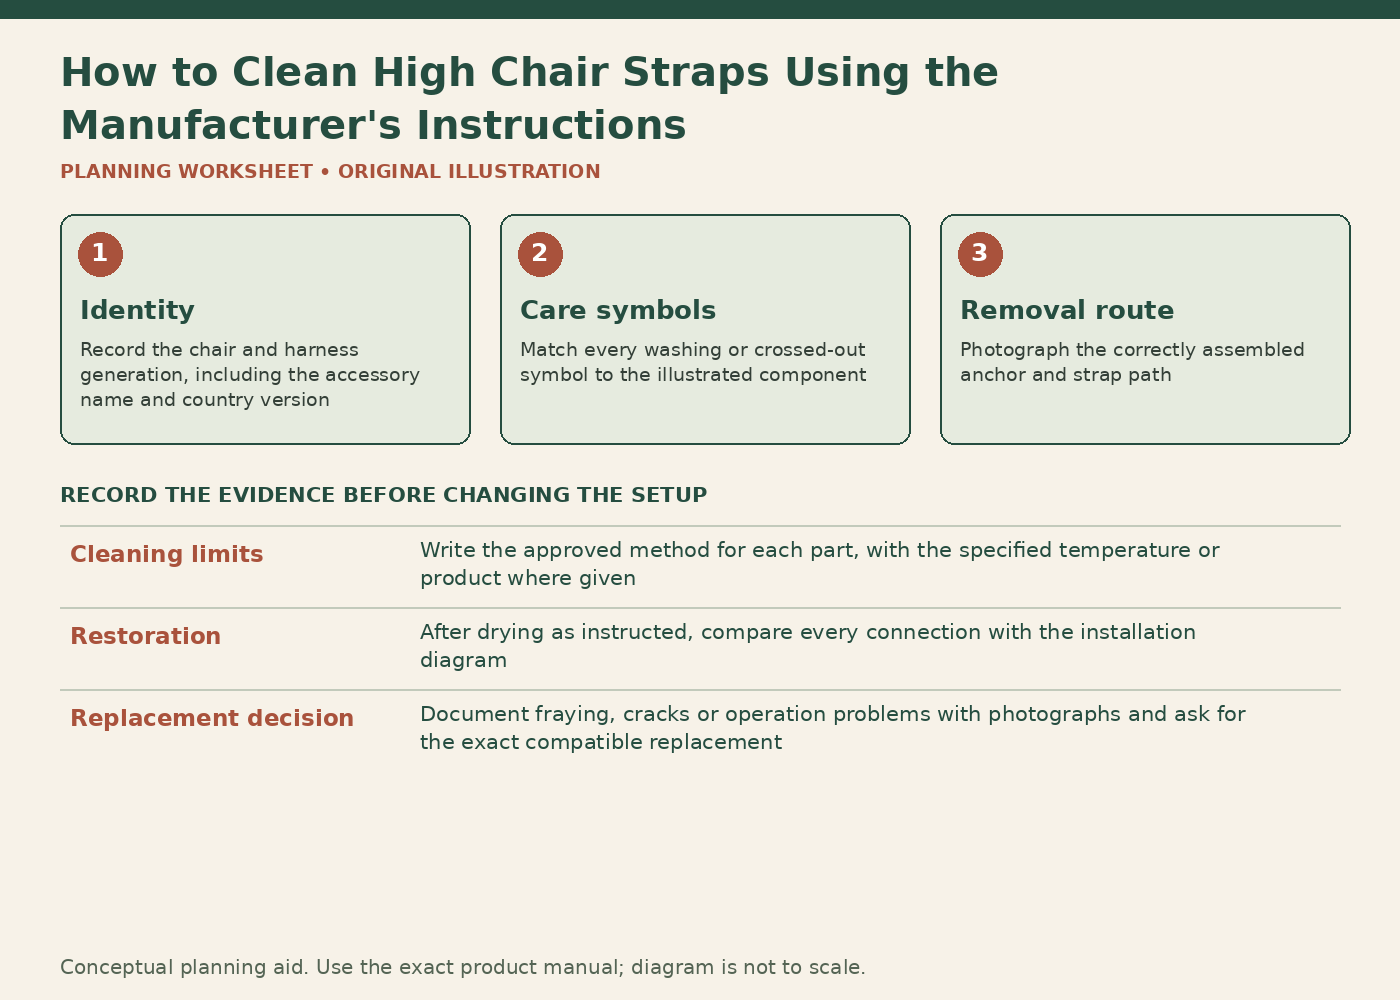
| Identity | Record the chair and harness generation, including the accessory name and country version. A manufacturer family name is not enough when the buckle or attachment design changed. Locate the source instruction before removing any part. |
| Care symbols | Match every washing or crossed-out symbol to the illustrated component. In the Stokke example, the removable harness and the separate crotch/buckle piece are not treated alike. Do not read a symbol from the adjacent illustration as permission for the whole system. |
| Removal route | Photograph the correctly assembled anchor and strap path. Confirm which releases the manual authorizes and whether any component stays attached. Stop if removal would require cutting, prying or defeating a permanent feature. |
| Cleaning limits | Write the approved method for each part, with the specified temperature or product where given. Keep seat-cover directions in a separate row. Unknown stains or heavy contamination should prompt a manufacturer question rather than progressively stronger chemicals. |
| Restoration | After drying as instructed, compare every connection with the installation diagram. Verify that the buckle operates and the adjusters hold as described. A clean tray does not make the chair usable while its required restraint remains incomplete. |
| Replacement decision | Document fraying, cracks or operation problems with photographs and ask for the exact compatible replacement. Do not sew damaged webbing, tie a shortening knot or combine buckle halves from different harnesses. Keep the chair unavailable until the correct system is restored. |
Worked example
A caregiver using the documented Baby Set² arrangement sees that the removable harness has a 40°C machine-wash indication and assumes the center crotch/buckle piece can go in the same load. The component map prevents that mistake: the guide illustrates a different hand-cleaning method for that separate part and crosses out machine washing. The caregiver follows each component’s own direction, then restores the complete restraint according to its installation drawings.
In a second case, a different chair’s cover is machine washable but the harness directions cannot be found. The correct inference is that more information is needed, not that the cover symbol extends to the straps. The caregiver contacts the manufacturer with the model and photographs and uses another suitable seating arrangement meanwhile. A short delay in cleaning the stain is preferable to inventing a care process that could leave the restraint damaged or impossible to reassemble.
For a chair packed after a trip, unpack the restraint before the next meal and inspect the same attachment points. Folded fabric can hide a twisted section or food left near the buckle. If a caregiver reports using an unapproved cleaner, record its name and which component was treated, then ask the manufacturer whether that part can remain in use. Do not assume that rinsing reverses any possible material damage. Include the product label and a clear photograph in that inquiry. The manufacturer needs the actual exposure history to advise about replacement, and a visibly clean result cannot supply that missing information.
Sources checked November 6, 2026
Use the current document for the exact model, market and production revision. These sources establish the cited instructions and distinctions; they do not certify an individual chair or replace a personal assessment where one is needed.
- Stokke: Tripp Trapp Baby Set² US/Canada user guide
- Stokke Harness² user guide: compatibility and washing
- Graco: Highchair care and maintenance manual PD349069C
- CPSC: High chair standard and caregiver safety guidance
Something unclear or out of date? Send a correction with this article’s title and the detail to check.
Sources, research & corrections policy ↗