Clean a leather recliner according to its specific upholstery finish, not simply according to the word leather. First identify the cover material and approved care instructions. Then remove loose dust gently, address spills promptly using the approved method, and treat high-contact areas without soaking seams or electrical controls. Strong household cleaners and improvised oil treatments can create a larger problem than the original mark.
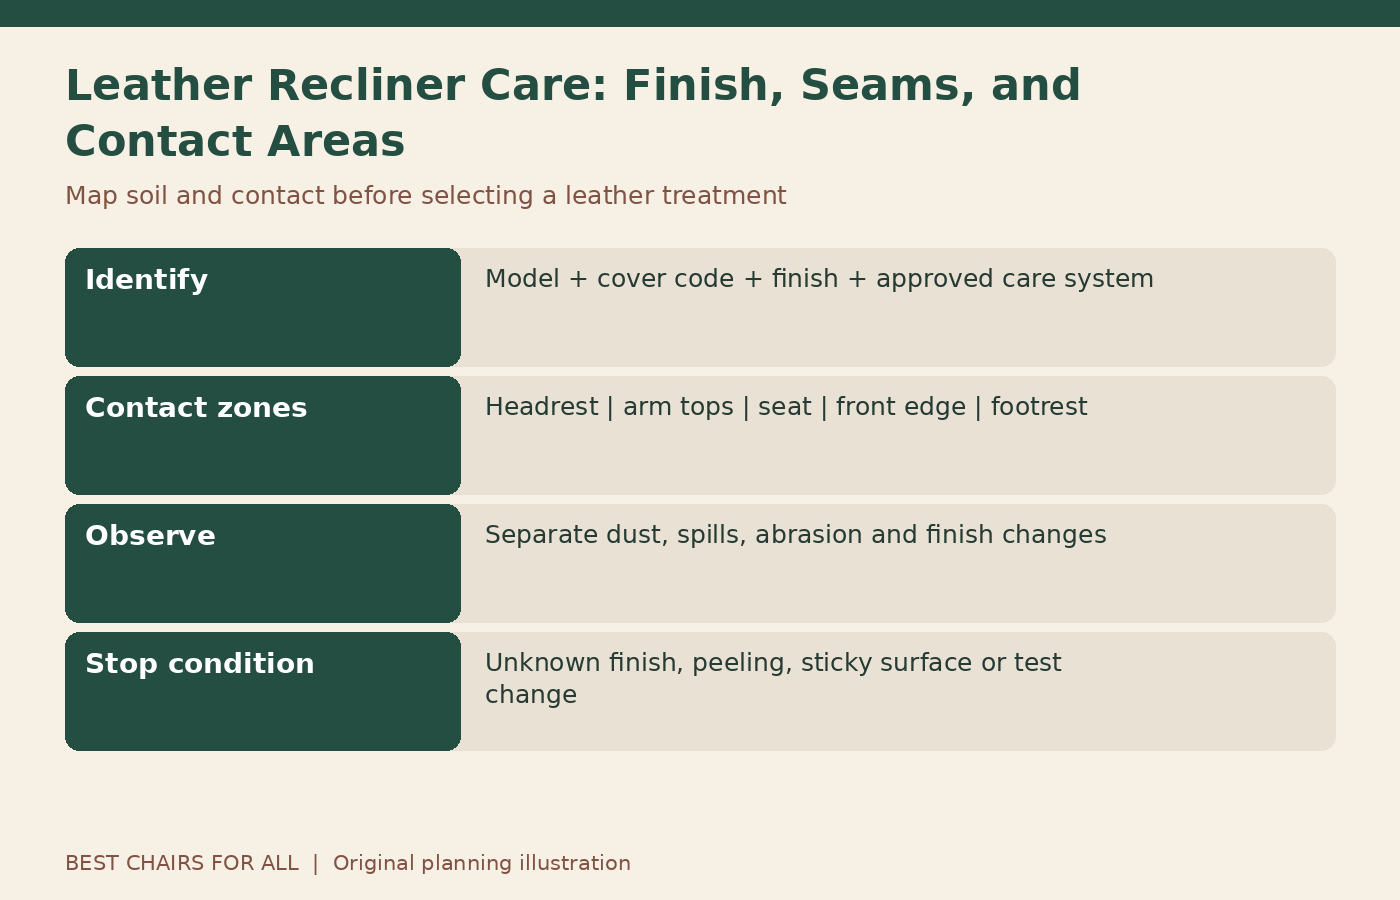
A recliner adds moving upholstery, folds, controls, and sometimes heat components to ordinary leather-care considerations. Work with the chair stationary in the position its manual permits for cleaning. This guide provides a finish-verification record and contact-area care map so you can choose a deliberate method rather than trying several unrelated remedies on the same patch.
Identify the actual covering first
Find the product label, cover code, receipt, or upholstery swatch information. Ask the retailer whether the chair uses protected leather, semi-aniline, aniline, nubuck, suede, synthetic leather, or a leather-and-vinyl combination. Similar-looking surfaces can have different cleaning limits. The headrest may be leather while a side panel uses a different material, so confirm what each care instruction covers.
La-Z-Boy’s fabric and leather care page separates leather categories and directs owners with particular questions to the dealer. Follow that approach where identification is uncertain. A water-drop experiment or scratch test on the visible seat is not a sensible substitute for the cover code and manufacturer guidance.
Make a finish-verification record
Write down the chair model, cover code, stated leather type, approved cleaner, approved protector if any, application method, drying instructions, and source of the advice. Add the date and a photograph of the product label. If a field is unknown, leave it visibly unresolved and ask the provider rather than filling it with a general internet recommendation.
This record becomes especially useful for a chair bought secondhand. Previous owners may have applied unknown conditioners or polishes, and the original finish may already be worn. Tell the retailer about that uncertainty. An approved product for intact new leather is not a guarantee that a heavily altered or damaged surface will respond in the same way.
Prepare the recliner without exposing the mechanism
Remove loose objects, check pockets, and put the chair in the cleaning position specified by the manual. Follow its power-isolation instructions for powered furniture, including any battery arrangement. Do not clean while another person operates the chair. Keep hands, tools, cloths, and vacuum hoses outside moving assemblies and do not remove panels to reach hidden dirt.
Protect nearby flooring and keep liquids away from buttons, USB ports, remote controls, and power components. Apply an approved cleaner as instructed, commonly to an applicator rather than spraying toward the chair. The product instructions determine the method. A bottle labeled leather cleaner does not authorize wetting the entire reclining assembly or cleaning electrical surfaces with the same solution.
Remove loose soil before wet cleaning
Use the gentle dry-dusting or soft-brush vacuum method allowed by the manufacturer. Check that the attachment is clean and free of sharp edges. Work lightly over the accessible upholstery without dragging a hard nozzle across it. Dust and grit collect at seams, behind loose decorative pillows, and where the seat meets the arms, but those areas do not justify reaching into a mechanism.
Stressless’s leather-care guidance includes gentle routine dust removal and its own approved maintenance products. The important distinction is between removing loose material and scrubbing a stain. A surface can look dull because of accumulated dust, and aggressive cleaning before that dust is removed can make the process harder to control.
Use a contact-area care map
Draw the chair from the front and label the headrest, arm tops, seat center, seat front, and footrest. Add an accessible side panel as a comparison area. Beside each zone, record dust, body-product contact, visible spill, abrasion, or no issue. This separates a general cleaning task from a localized problem and helps you avoid repeatedly treating clean areas while overlooking daily contact points.
Headrests often meet hair products; arms meet hands and skin; the seat front and footrest can contact clothing or footwear. These are inspection prompts, not proof of a particular chemical reaction. Note what you actually see. If one zone changes color or texture differently from the rest, photograph it before treatment and ask whether the finish needs professional assessment.
Test an approved product as directed
If the care instructions require a hidden-area test, choose an appropriate upholstered area and follow the stated quantity and waiting period. Do not use a test on a different material panel to judge the seat leather. Allow the surface to dry fully before evaluating color, feel, or transfer. A wet patch can look temporarily darker without showing its final result.
Stop if the surface becomes sticky, changes sheen markedly, transfers finish, or develops an unexpected ring. Contact the retailer or a qualified leather-care professional with the finish record and photographs. Do not try to reverse an uncertain reaction immediately with another chemical. Layered products make the original condition and the cause of any change harder to assess.
Follow one complete cleaning system
An approved system may include a cleaner followed by a protector, with particular applicators and drying intervals. Use the instructions supplied with the exact product. Do not combine the cleaner from one system with an unrelated household conditioner because both mention leather. Protectors, oils, waxes, and conditioners are not interchangeable terms and may affect finishes differently.
The Stressless care guide, for example, describes a specific cleaner-and-protection sequence with a resting interval. That sequence is evidence for its approved products and leather guidance, not a universal recipe for another brand. Keep your own chair’s instructions beside the care materials while working.
Treat seams as boundaries for moisture
Seams and folds can collect residue, but they should not be flooded to flush dirt out. Use the approved applicator lightly and avoid pushing liquid into stitching, openings, or the gap between moving sections. Work on accessible surfaces only. If debris cannot be removed without entering a pinch area, ask the provider for a safe cleaning arrangement.
Inspect stitching and surface wear before rubbing a seam. Frayed thread, separating panels, or exposed backing calls for repair advice rather than more vigorous cleaning. A recliner’s moving folds may show wear in different places from a stationary chair. Record which position reveals the issue, but do not keep cycling the chair while a cloth or tool is nearby.
Respond to a fresh spill with restraint
Stop using the affected surface and follow the manufacturer’s spill instructions promptly. Blotting with a suitable clean absorbent cloth is different from scrubbing the liquid over a larger area. Avoid saturating the leather to dilute an unknown stain. If liquid reaches electrical controls or the interior, stop operation and contact the provider before using the chair again.
Record the substance, approximate time, area affected, and any action already taken. That information is valuable if professional help is needed. For an ink mark, dye transfer, oil contamination, or a persistent unknown stain, ask for specific advice rather than using alcohol, nail-polish remover, abrasive sponges, or a sequence of online hacks. A small permanent mark may be preferable to widespread finish damage.
Distinguish soil from wear and natural variation
Leather can show natural markings, wrinkles, shading, and changes with use. Cleaning is not designed to erase every feature or restore worn pigment. A light patch at an arm edge may be abrasion rather than dirt. Repeated cleaning of that patch can make matters worse if the finish is already compromised. Ask the provider to identify whether the issue is soil, wear, or damage.
Photograph the chair in consistent light and compare the same area over time. Do not use a newly shaded wet surface as evidence that a treatment has repaired it. Allow the prescribed drying period and assess the feel as well as appearance. Repair, recoloring, and restoration are separate tasks with different products and skill requirements.
Manage sunlight, heat, and daily contact
Check the manufacturer’s placement guidance as part of the care plan. Direct sun and nearby heat sources can affect leather over time, and contact with cosmetics or harsh household chemicals can create problems. Reposition curtains or adjust the room where practical without compromising the chair’s operating clearance. Do not move a powered chair until its manual’s preparation steps have been followed.
Keep cleaning sprays for windows and floors away from the recliner, and let personal-care products dry or absorb before contact where appropriate. If pets use the room, protect the furniture through suitable household management rather than treating a leather-care coating as claw protection. A cover also needs to be compatible with moving furniture and should not be tucked into the mechanism.
Set a schedule from the approved instructions
Use the manufacturer’s interval for its products rather than imposing one universal monthly conditioning routine. Between full cleanings, inspect high-contact zones during ordinary dust removal and address spills as instructed. The schedule should record what was done, not simply that the chair was treated. Include the cleaner name, protector name if used, date, and any observed change.
For a hypothetical maintenance log, an entry might read: dust removed from all accessible panels; approved cleaner applied following instructions; arm-top mark unchanged; photograph sent to retailer. That is useful because it separates successful routine care from an unresolved spot. Reapplying products every few days until a mark disappears is not a maintenance plan.
Know when to stop and ask for help
Stop home treatment when the leather type is unknown, the finish is peeling or sticky, a seam is separating, an approved test produces a change, or a stain persists after the permitted method. Provide the finish record and care map to the retailer or qualified cleaner. Tell them about previous products honestly, including household remedies used before you obtained the instructions.
After professional advice or repair, update the record with any revised care requirements. Keep cleaning products in their labeled containers and store the manual where another household member can find it. Successful leather-recliner care is a controlled process that respects the upholstery finish, the chair’s moving design, and the difference between ordinary soil and damage.
Something unclear or out of date? Send a correction with this article’s title and the detail to check.
Sources, research & corrections policy ↗