Repairing camping chair fabric begins with deciding what the damaged fabric does. A small hole in a carry bag is different from a split seat, torn seam, or worn pole pocket that supports a person’s weight. A tidy patch can close a hole without establishing that the chair can safely carry its original rated load. When damage affects a structural connection, stop using the chair and obtain the manufacturer’s repair or replacement guidance.
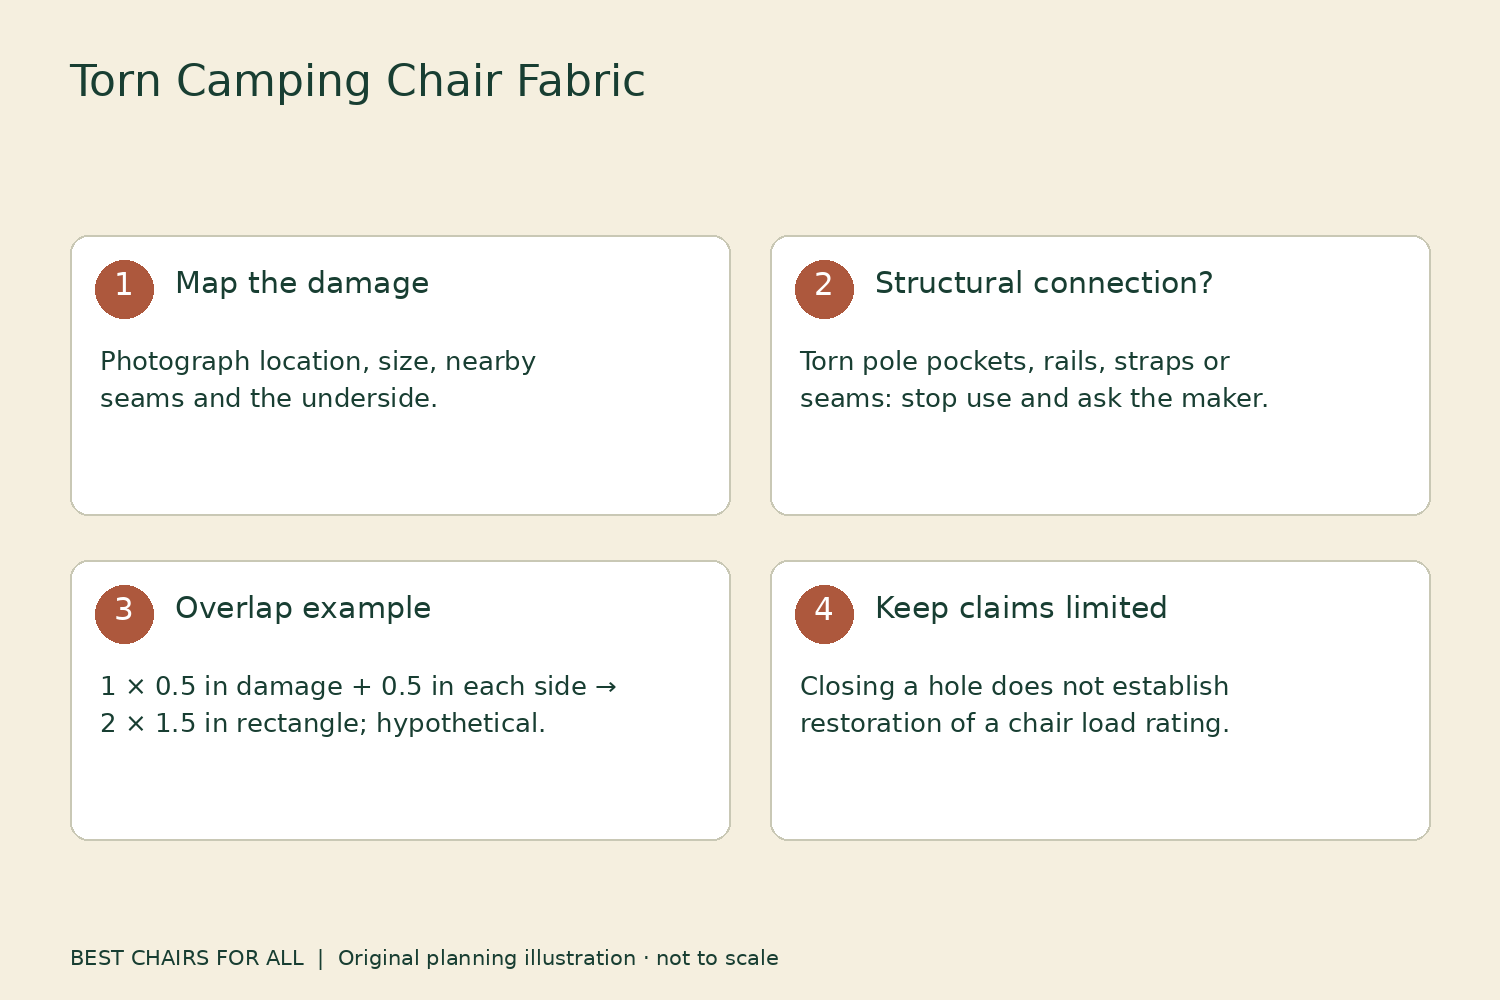
There are genuine manufacturer-supported fabric repairs, so automatically discarding every chair with a tiny puncture is unnecessary. The important distinction is scope. Follow advice for the exact chair and damage type, and do not expand a patch instruction into permission to reconstruct a load-bearing seat. This article gives a damage map, a documented tape example and a practical decision record.
Map the tear before touching it
Open the chair without sitting in it. Photograph the damage in the context of the whole seat and close up, with a ruler placed nearby. Do not pull the edges apart to make the hole easier to see. Note whether it is a puncture, burn hole, slit, fraying seam, abrasion patch or complete separation. Record its distance from the nearest seam, frame contact and reinforced corner.
Inspect the corresponding area underneath. A small visible hole can sit above a larger damaged reinforcement or hidden seam. Look at nearby fabric for thinning, brittleness, extensive fading or additional tears. Surface appearance alone cannot prove remaining strength, but widespread deterioration changes the repair question. It is no longer just about closing an isolated opening.
Do not continue using the chair to observe whether the tear grows. Loading a damaged seat as an experiment can turn a repairable problem into a failure. Mark it out of use while you investigate. If the frame is also bent, cracked or corroded, include that information in the support request. Replacing fabric does not resolve an underlying structural frame problem.
Distinguish structural zones
The sitting panel transfers the occupant’s load toward its attachments. Reinforced pole pockets, sling rails, corner webbing, straps and seams can be critical parts of that route. Their importance is determined by the design, not merely by how large they look. A short tear at a corner may deserve more concern than a larger cosmetic mark on a non-supporting pouch.
For a pocket-style seat, examine where the pole end bears against the fabric reinforcement. A worn-through pocket can release the connection. For a rail-mounted sling, pay attention to edge channels and attachment regions. Do not presume that a strip of tape across either location replaces the original construction. Sewing new holes through a weakened edge also changes the material and its load transfer.
A storage bag repair presents a different problem. It may need to retain parts or survive carrying, but it does not become the occupied seating structure. You can evaluate a bag patch for its intended function without claiming that it restores chair capacity. Keep those two decisions separate when planning a repair kit or asking a fabric repairer for help.
What Helinox actually documents
The Helinox Australia repair and care page includes a fabric repair example using repair tape. Its sequence identifies the damaged area, measures it, cuts a patch and applies it over the opening and surroundings. This supports the existence of a brand-documented patch route for appropriate fabric damage; it is not a published load test of every possible patched seat.
The Helinox FAQ separately addresses an ember hole and points to a patch kit or replacement seat. That distinction is useful. An isolated ember puncture and a seam split under tension are different damage descriptions. If the opening is near a reinforced corner or the surrounding fabric is weakened, ask support which route applies.
When contacting support, include the exact model, generation, purchase information if available, and clear images. Explain what happened without inventing a diagnosis: “small circular burn hole in the central panel” is useful; “fabric strength is unchanged” is not something a household inspection establishes. Ask whether a patch is appropriate and whether the seat should remain out of service until replaced.
A tape’s fabric compatibility is only one gate
Repair tapes are made for particular materials and surface conditions. The GEAR AID Tenacious Tape page lists compatible materials and describes cleaning, drying, rounded corners and overlap. That information concerns the tape’s use. It does not state that applying it to a chair restores the chair’s original structural rating.
Identify the chair fabric and any coating before choosing a product. Nylon, polyester, mesh, vinyl and coated materials do not behave identically. A tape that adheres to a woven panel may not bridge open mesh reliably. A coating can change what cleaner or adhesive is appropriate. Ask the tape and chair makers when compatibility is unclear rather than testing a solvent over a large area.
A product called “waterproof” describes a property of the repair material, not a universal structural capability. Likewise, strong adhesion does not mean the fabric surrounding the patch is strong. If the underlying panel is tearing easily or a seam is separating, more adhesive is not a substitute for a replacement seat. Keep the repair claim limited to what the manufacturer actually supports.
A documented patch geometry example
GEAR AID instructs an overlap of 0.5 inch in every direction for the linked Tenacious Tape. As a hypothetical calculation, an isolated one-inch slit needs a patch extending at least half an inch beyond each end and beyond both sides of the damaged line. The exact shape still needs to cover the whole damaged area, including any small branches or nearby punctures.
For a rectangular one by half-inch damaged area, that arithmetic produces a minimum enclosing rectangle of two by one and a half inches before rounding the corners. This is a drawing exercise using the tape maker’s overlap instruction. It is not permission to patch a load-bearing chair zone, a statement that the damaged area is suitable, or a prediction of repaired strength.
Measure and draw the proposed patch on paper first. Confirm there is enough intact, compatible fabric around the opening for the required contact. If the overlap would cross a pocket edge, seam, connector or heavily abraded area, stop and ask the manufacturer. Do not reduce overlap just to make a patch fit an inconvenient corner.
Prepare only an approved repair area
If the chair manufacturer confirms a patch is appropriate, follow the repair product’s current directions and the chair’s cleaning restrictions together. Remove loose soil and allow the area to dry. GEAR AID discusses cleaning with isopropyl alcohol, but a chair coating or adjacent component may have different restrictions. Resolve that compatibility before applying a solvent.
Arrange the fabric as directed without loading the seat. Cut the patch with rounded corners, avoid touching the adhesive unnecessarily and press it down as instructed. Work out bubbles and wrinkles without stretching the fabric into an artificial shape. Do not use an iron or hot tool with a peel-and-stick product unless that exact product calls for heat.
Respect the stated adhesion and care timing. GEAR AID says the linked tape becomes machine washable after 24 hours; that does not mean the chair seat itself is machine washable. Product layers have separate limits. Follow whichever restriction applies to the actual chair component, and do not use a washing claim as evidence that an occupied seat is ready for loading.
When sewing is not a simple upgrade
Sewing can be appropriate in some professional fabric repairs, but a generic row of stitches does not recreate the original reinforced construction. Needle holes, thread selection, seam allowance and the condition of the surrounding fabric all matter. A home repair that looks stronger can still move the next failure to the edge of the new stitching.
Avoid copying a pattern from an intact seat unless the chair maker supports that replacement process. A seat can rely on fabric direction, pocket geometry, reinforcement and carefully established tension. Heavier material is not automatically a safe substitute. It can fit differently, load the frame differently or make assembly difficult.
If an upholstery or outdoor-equipment repair service evaluates the chair, explain that the fabric supports a seated person. Ask what the service can actually guarantee and whether the manufacturer approves the work. A skilled repairer may recommend replacement rather than reconstruction. That is useful advice when no tested repair specification exists.
Keep a repair decision record
| Observation | Decision to resolve |
|---|---|
| Carry bag puncture | Compatible bag repair; do not describe as a chair-strength repair |
| Isolated seat-panel hole | Ask maker whether documented patch guidance applies |
| Torn pocket, seam or attachment | Keep out of use; seek approved replacement or service |
| Widespread weak fabric | Evaluate complete seat replacement |
| Frame damage as well | Resolve frame condition independently |
| Unknown model or seat origin | Establish identity and compatibility before fitting parts |
Record the date, photographs, product used and any written manufacturer guidance. Keep a repair note with the chair so another person does not assume the patch is original reinforcement. Inspect the area as directed before future use. A patch beginning to lift, a new tear beside it or changing stitching calls for reassessment, not another layer applied without investigating.
Replacement can preserve more than a patch
If the frame is sound and the maker offers a compatible seat, replacement may provide a clearer route than reconstructing a damaged attachment. Confirm the exact model option and follow its assembly instructions. Do not force a seat from a related model onto the frame or assume a higher-capacity replacement fabric increases the frame’s rating.
Keep the old damaged seat separate after removal so it cannot be accidentally reinstalled. Check the new seat and all frame contacts before the next trip. The useful outcome is a chair with an understood repair or a confirmed replacement, not merely a hole hidden from view. Treat closure, appearance and load-bearing suitability as separate questions throughout the process.
Something unclear or out of date? Send a correction with this article’s title and the detail to check.
Sources, research & corrections policy ↗