Stack patio chairs only when their manufacturer identifies them as stackable, and use the specified nesting arrangement and maximum quantity. Chairs that happen to fit inside one another can still scrape coatings, load a sling incorrectly, or form an unstable tower. Good storage begins before the first chair is lifted: identify the model, clean and dry the relevant materials, inspect stacking contact points, and plan where the completed stack will stand.
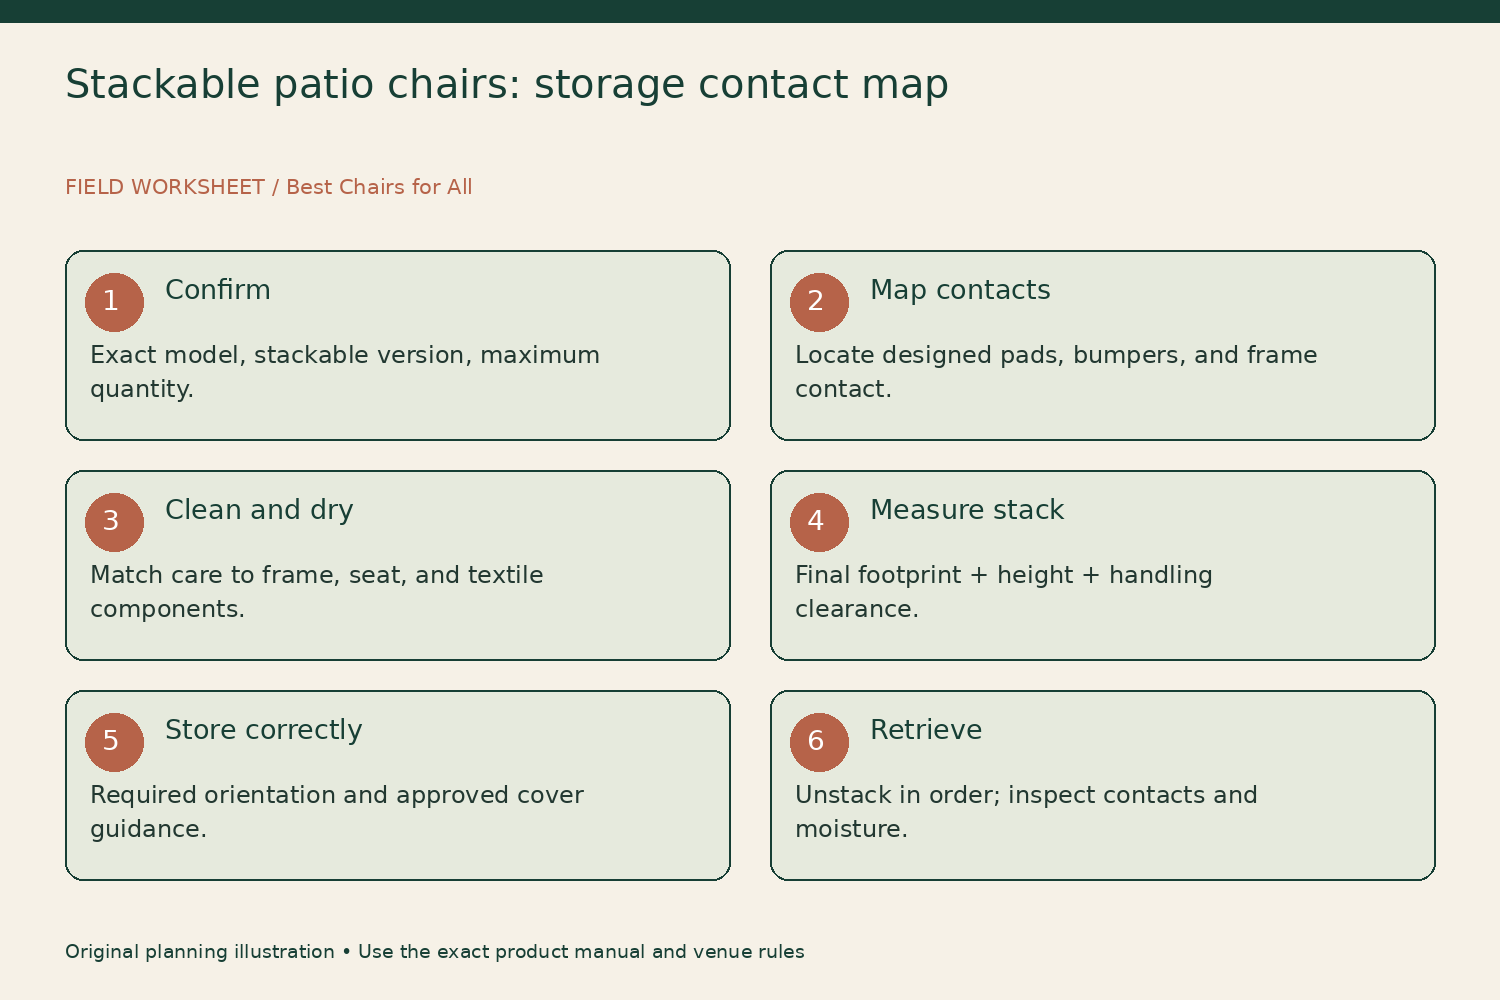
This guide provides a contact-map method and a storage-space worksheet. It distinguishes instructions from different manufacturers instead of applying one brand’s cover or drainage advice to every chair. The aim is to reduce avoidable contact damage and retained moisture while keeping the stack within the product’s documented limits. There is no universal safe stack height, padding material, or winter storage orientation for all patio seating.
Confirm that the exact chair can stack
Find the model number and assembly or care instructions. Look for a stack quantity, stacking diagram, protective bumpers, and any requirement to remove cushions or accessories. A product family may contain both stacking and nonstacking versions. Compare the actual frame shape and parts with the documentation, especially if you own chairs purchased at different times or from a secondhand seller.
If the instructions do not mention stacking, ask the manufacturer before using it as a storage method. Do not infer permission from a photograph of several chairs displayed together. Rockers, swivels, reclining frames, and chairs with projecting accessories can create different contact points from a simple dining chair. A compact storage goal does not justify placing load on a cushion, armrest, or decorative weave that was not intended to support another chair.
Separate stacking from nesting geometry
Some chairs rise mostly vertically as they stack; others move forward or sideways with each additional chair. This affects the footprint and balance of the completed group. Measure the first chair, then consult the documented stacked dimensions or quantity guidance. If you need to confirm dimensions physically, remain within the approved limit and use the manufacturer’s lifting and placement arrangement.
The Tropitone product-care guidance distinguishes stacking and nesting and directs owners to obtain the specific stack quantity. It warns that nesting furniture moves forward as it accumulates and that exceeding the limit can allow sliding. That is a useful reason to measure the finished storage envelope rather than multiplying chair height or assuming the floor area remains the same as one chair.
Make a contact map before filling the stack
For an approved stacking chair, identify the surfaces designed to meet: protective pads, bumpers, designated frame sections, or other points shown in the instructions. Photograph those points on an unstacked chair. Check for missing protectors, embedded grit, loose hardware, or a bent frame that changes the alignment. A tiny particle trapped at a repeated contact point can leave marks even when the overall stacking method is correct.
Draw a simple outline and label each intended contact. Add ‘no load’ beside fabric, decorative trim, or accessories that should remain clear according to the product design. If one chair stops in a different position from the others, do not press it into place. Compare the model identity and inspect for an obstruction or damage. A stack should not depend on forcing a frame past an unexpected resistance point.
Clean according to the material
Remove dirt using the manufacturer-approved method for the frame, seat, and any woven or textile components. Do not assume that an outdoor chair tolerates a pressure washer, abrasive pad, bleach solution, or solvent. Record the actual materials instead of relying on a description such as ‘rattan style’ or ‘metal.’ Synthetic weave, natural fiber, coated steel, aluminum, and plastic lumber can call for different care.
The POLYWOOD materials page explains its own material system and all-weather positioning. That information should not be transferred to a different product merely described by a retailer as poly furniture. Identify the actual manufacturer and finish before choosing a cleaning product. For mixed-material chairs, treat the most sensitive component according to its instructions rather than using the frame’s cleaner across the whole seat.
Allow drying before close storage
After approved cleaning or rain exposure, give accessible surfaces and contact areas time to dry before building the stack. Inspect undersides, joints, and seat edges rather than touching only the top of the armrest. A cover can conceal moisture, and tightly contacting surfaces may dry differently from an exposed chair. Store removable cushions separately if the instructions require it, using their own cleaning and storage guidance.
Drying is a condition to verify, not a fixed number of hours that works for every climate. Shade, humidity, fabric thickness, airflow, and chair construction all affect the result. If you must move wet chairs urgently, use a temporary arrangement permitted by their care guide and complete drying before long storage. Do not seal a damp stack in plastic and assume the word ‘outdoor’ resolves the moisture problem.
Follow the specified storage orientation
Some tubular frames have drainage arrangements that depend on orientation. Tropitone’s instructions say not to store its frames upside down and describe protecting clean, dry furniture in freezing conditions. Those instructions are relevant to the appropriate Tropitone furniture; they do not prove that every manufacturer’s chair has the same internal drainage design. Check your own guide before turning chairs over or resting them at an angle.
Avoid drilling holes, removing permanent plugs, or modifying feet to create a drainage route. If water appears trapped despite following the instructions, ask the manufacturer how to proceed. Photograph where it emerges and record the storage position and recent weather. A drainage concern should be answered with product-specific guidance, particularly where freezing could affect a hollow frame, rather than with improvised modifications to a load-bearing tube.
Choose covers from the maker's guidance
Cover advice varies. Fermob’s winter storage guidance recommends dry, ventilated storage where possible and warns about moisture retained by unsuitable covers, especially nonbreathable plastic tarpaulins. Read its complete recommendations for the applicable product. The practical lesson is to ask what cover and ventilation arrangement your chair manufacturer permits, not to assume that any waterproof sheet improves storage.
Measure the completed approved stack before ordering a cover. Include projecting feet and the height of the top chair. Ask whether the cover is intended for that stack and how it should be secured. Avoid adding ropes or straps across delicate finishes without guidance. A cover that flaps, pools water, or compresses the chairs can create different problems from the rainfall it was intended to reduce.
Calculate the space with a worked example
Use three worksheet entries: approved stack footprint, stack height, and handling clearance. Suppose a documented stack occupies 30 by 40 inches and stands 58 inches high. A storage recess measuring 32 by 42 by 60 inches may appear sufficient on paper, but those numbers leave little room to guide chairs in or remove the cover. The dimensions are illustrative, not specifications for any product.
Also measure the route into the storage space: doorway, corner, step, and overhead obstruction. The best plan may be to move chairs individually and assemble the stack in position, if the instructions permit. Do not attempt to carry a tall assembled stack simply because it fits through a doorway. Include the floor condition and the ability to retrieve a single chair without disturbing unrelated stored objects.
Protect frames without changing stack behavior
Use original stacking protectors or manufacturer-approved replacements. Do not automatically add thick towels, foam sheets, or blocks between frames. Extra material can change how a chair seats in the stack, conceal its contact points, retain moisture, or make the group less stable. If the manufacturer recommends separators, follow the specified type and location rather than choosing padding solely for softness.
If finish marks repeatedly appear, photograph their location on both contacting chairs. Check whether a protector is missing, a chair is misaligned, or the models differ. Ask for the correct part or revised guidance. Touching up a mark after every season without addressing its contact source can leave the storage problem unchanged. Keep cosmetic repair separate from determining whether a deformed frame should remain in service.
Set up a retrieval and inspection routine
Place the stack on the surface specified by the manufacturer, away from routes where people need to pass. Keep doors, access panels, and required exits usable. Do not store unrelated heavy objects on top, climb the stack, or sit on stacked seating. Tropitone explicitly warns against sitting on furniture that is already stacked. Retrieve chairs in the documented order instead of pulling a lower chair sideways from the group.
When taking chairs out, inspect the stacking protectors, frame contact points, and seating surfaces. Look for moisture, debris, unusual rubbing, or a change in nesting alignment. Record any recurring finding before the chairs return outdoors. A brief retrieval check makes it easier to distinguish storage damage from wear that appears later during the season and gives support staff a clearer account if a problem needs assessment.
Keep a storage card with the stack
Write the model, approved maximum quantity, required orientation, protector part number, cover instructions, and source document on a simple card. Add the date the chairs were cleaned and checked dry. If several models share a shed, label each stack so a helper does not mix incompatible chairs when putting them away. Keep the manual available digitally as well as the short card.
Review the plan after replacing a chair, moving storage location, or changing the cover. The final arrangement should make the permitted stack easy to build and easy to undo, with contact points protected as designed and moisture handled through the correct care instructions. That is more useful than achieving the tallest possible tower or fitting one extra chair into a group whose documented limit has already been reached.
Something unclear or out of date? Send a correction with this article’s title and the detail to check.
Sources, research & corrections policy ↗