Clean a faux leather chair by identifying its exact upholstery, removing loose dirt gently, and using the least aggressive method its maker permits. The visible finish matters more than the phrase “leather look.” A cleaner approved for one coated fabric may be unsuitable for another, even when both chairs feel smooth and look nearly identical.
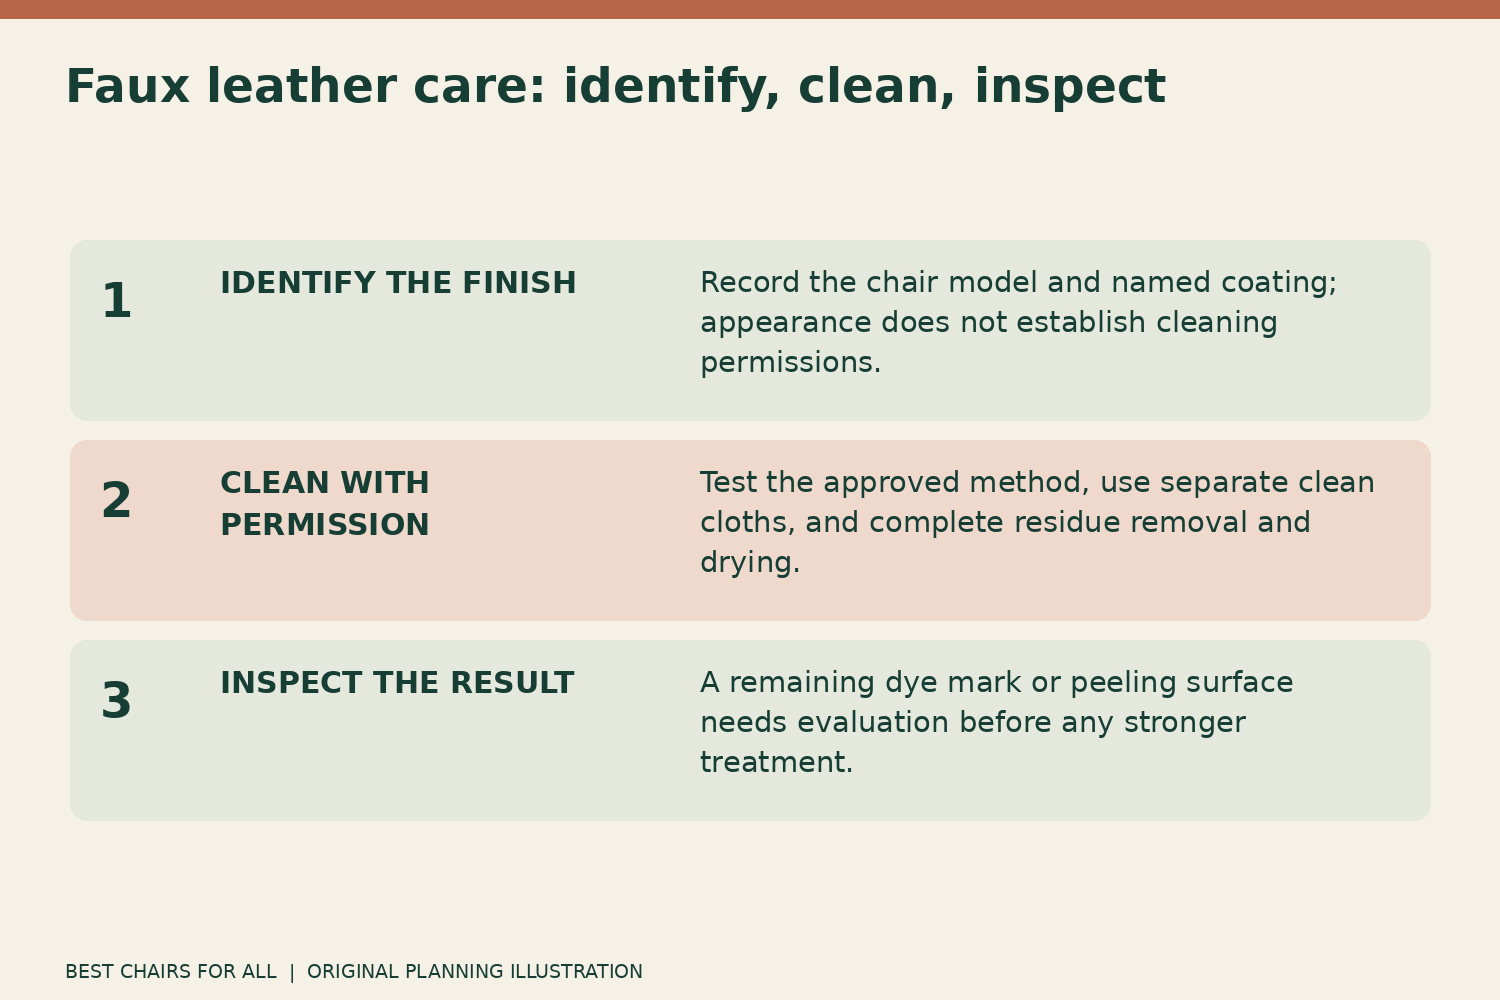
The practical aim is a clean, intact surface with no cleaning residue. Scrubbing until a stubborn mark disappears can defeat that aim if the mark is transferred dye, worn coating, or the exposed backing beneath a peeling finish. Before gathering stain removers, separate an ordinary cleaning job from a material repair problem.
Identify the chair and the surface you are cleaning
Look beneath the seat, behind a removable cushion, and in the purchase record for the manufacturer, model number, upholstery name, and care sheet. Photograph the label rather than relying on memory. A material name such as polyurethane or vinyl narrows the search, but the named finish and chair instructions provide the usable cleaning permissions.
For a concrete example, IKEA identifies the EKERÖ armchair’s Bomstad upholstery as a polyester and cotton material with a polyurethane coating. Its care directions allow light vacuuming with a soft brush attachment, a damp sponge or mild soapy solution for light stains, and wiping dry. IKEA also advises protection from direct sunlight. Those are instructions for that chair and covering, not proof that every polyurethane chair tolerates the same treatment.
Check each visible material separately. A chair may have coated upholstery on the seat, woven fabric underneath, painted metal legs, and wood arm caps. A method appropriate for the seat does not automatically belong on the exposed wood or the underside. Keep liquid away from electrical controls and mechanisms; follow their separate instructions if the chair reclines or has powered features.
Decide whether the problem is dirt, staining, or damage
Inspect the dry chair in ordinary daylight before adding any product. Compare the affected patch with a protected area of the same panel. Take a photograph straight on and another at an angle. Changing the viewing angle helps you distinguish a color difference from a change in gloss or texture, although it cannot establish the material’s condition with certainty.
| What you observe | Useful next step | What would justify stopping |
|---|---|---|
| Loose crumbs or dust in the grain | Remove loose material before considering a wet method | A tool catches an edge or lifts flakes |
| A fresh spill sitting on an intact surface | Lift excess promptly without spreading it | The coating becomes tacky or color transfers |
| A blue or dark patch where clothing contacts the seat | Record possible dye transfer and consult the upholstery guide | No improvement with the permitted first method |
| Cracking, peeling, or a different layer exposed | Photograph it for the maker or an upholsterer | Further rubbing enlarges the damaged area |
This is a triage worksheet, not a diagnosis from appearance alone. A shiny armrest might carry residue, or it might have a changed finish. If the owner cannot distinguish them, the useful question for the manufacturer is whether the photographed condition is cleanable and which method is authorized. Adding a conditioner before asking makes the original condition harder to assess.
Prepare a controlled cleaning area
Remove throws and loose objects, then place a clean towel nearby to hold the tools. Have separate soft white cloths for collecting dirt, removing approved cleaner, and drying. Label them mentally or arrange them in a consistent order so the dirty cloth does not become the final wiping cloth. Use a bowl for any permitted solution and another for clean water if the instructions require rinsing.
White cloths make it easier to notice what is coming off. Dark pigment on a cloth may be dirt, transferred clothing dye, or upholstery color; it is a reason to pause and inspect, not permission to rub harder. Avoid a dirty sponge that previously touched kitchen grease or household cleaner. Its prior contents create an uncontrolled mixture even if no new chemical is added.
Remove grit using the approved dry method first. Hold a vacuum attachment lightly rather than pressing its hard edge into seams. Inspect the attachment for burrs and debris. If a seam is opening or a panel is flaking, do not drag a brush over it. Dry preparation should make the surface easier to clean without turning a small defect into a larger one.
Make the test meaningful
Choose an inconspicuous section of the same upholstery that has an intact finish. An underside woven dust cover is not a representative test site for a coated seat. Test the exact product, dilution, cloth, and technique intended for the visible area. An unmeasured dab of concentrate does not test a later diluted solution, and the reverse is equally unhelpful.
Let the test area dry according to the care instructions before assessing it. Compare color, sheen, feel, and flexibility with an adjacent untreated section. Note any white haze, darkening, stickiness, or surface change. A small test reduces uncertainty; it does not authorize a chemical the manufacturer excludes or guarantee that a worn seat will respond like a protected back panel.
If the guide only says “mild soapy solution” without identifying a product or concentration, ask the maker when there is doubt. Do not invent a strong recipe to compensate for the lack of detail. Write down the answer so the next cleaning uses the same approved approach.
Clean one manageable panel at a time
After a successful test, work on a small panel that you can complete without interruption. Apply the permitted solution using the specified cloth or sponge. Keep application controlled, particularly near piping, buttons, perforations, and seams. Coated upholstery should not be treated as a waterproof bucket simply because liquid initially beads on its face.
Use gentle passes and change to a clean cloth face as it picks up dirt. Repeatedly moving the same dirty patch across an armrest redistributes what you just removed. Follow any instructions about working over a whole panel rather than creating an isolated cleaned spot. Do not add a second cleaner halfway through because the first seems slow.
Complete the specified residue-removal and drying steps before moving on. A chair that looks clean while wet may reveal streaks or a changed sheen when dry. Return to the original photographs under similar light to judge the result. Evaluate actual improvement rather than the strength of the product or the amount of effort spent.
Why alcohol and bleach need explicit permission
There is no reliable universal yes-or-no rule based on the label “faux leather.” Ultrafabrics’ healthcare brochure includes cleaning and disinfection permissions for its materials, including specified bleach and alcohol uses. It also requires removal of solution residue, warns against saturation, and discourages unapproved cleaners, conditioners, and protectants. That document demonstrates why a named material can have permissions that an unidentified domestic chair does not.
Do not copy a healthcare upholstery dilution onto an unrelated chair. Nor does a material’s tolerance establish a disinfectant’s correct contact time or effectiveness for a particular purpose. If disinfection is required, both the upholstery instructions and the disinfectant label must support the intended use. Never mix cleaning chemicals.
For another finish-specific example, Spradling’s PERMAGUARD cleaning guide gives a staged method and excludes various solvents, waxes, silicones, unsuitable detergents, and abrasive tools. Its permissions belong to PERMAGUARD-covered materials. A household chair without that finish does not acquire those permissions by looking similar.
Treat stubborn marks as a separate decision
After the permitted first cleaning, ask whether the remaining mark has changed. Record “lighter,” “unchanged,” or “surface changed,” rather than using the vague description “still dirty.” This separates a partly removed spill from a mark that may need a specific stain treatment or an evaluation of the coating.
For ink, cosmetics, adhesive, and unknown oily residue, supply the maker with the suspected substance, its approximate age, and everything already applied. A useful request is: “This is upholstery X on model Y. A mild approved cleaning left the photographed mark. Which product and method, if any, are permitted next?” A list of available household chemicals is less useful than the identity of the actual upholstery.
Dye transfer deserves realistic expectations. Spradling specifically warns that clothing color can transfer to its coated fabrics and may be irreversible. If a light chair has a denim-shaped mark, do not assume a stronger product will restore it. Stop before the surrounding finish becomes the larger problem, and discuss the remaining appearance with the supplier.
Keep a care-permission card with the chair record
The following card turns a vague intention to “clean gently” into repeatable instructions. Fill it from the chair’s current care information; leave unknown entries visibly unknown. A blank chemical permission is not an invitation to choose whatever is under the sink.
- Identity: chair model, upholstery collection, color, and label photograph.
- Routine method: approved dry tool and approved light-soil procedure.
- Solution details: exact product, permitted dilution, and where the manufacturer supplied that instruction.
- Finish the job: residue-removal method, drying instruction, and any restrictions on heat or sunlight.
- Escalation: supplier contact, documented stain treatment, and conditions requiring work to stop.
For example, a card for the documented EKERÖ Bomstad covering can record its light-soil care directions and leave alcohol, bleach, and conditioner authorization blank. A different named commercial covering may have a more extensive manufacturer-approved program. The card’s purpose is to preserve the distinction instead of blending both into a homemade universal recipe.
Handle peeling as a repair question
When the top layer is lifting, a cleaner cannot replace the missing layer. Stop removing flakes to make the border look tidy. Keep photographs of the whole chair, the damaged panel, and the product label, and contact the seller before altering the surface. Ask whether replacement panels, a replacement cover, warranty assessment, or reupholstery are available.
Describe the history factually: when the defect appeared, which panels are affected, normal room conditions, and products previously used. Avoid concluding from one photograph that cleaning caused the damage or that a coating failure is definitely a manufacturing defect. Preserving the evidence gives the supplier a better basis for evaluating the options.
For future care, keep the permission card accessible and respond to spills promptly with the approved method. Check the chair while removing ordinary dust so a new stain or lifting seam is noticed early. The most useful routine is one you can perform consistently without guessing at the finish, changing products each time, or treating a damaged coating as stubborn dirt.
Something unclear or out of date? Send a correction with this article’s title and the detail to check.
Sources, research & corrections policy ↗