Tighten bar-stool fasteners only after identifying the exact stool and the maintenance instructions that apply to it. A loose screw, stripped insert, bent frame, failed weld, and worn swivel mechanism can produce similar complaints but require different responses. Keep an unstable stool out of use while checking it. The aim is to restore a documented connection, not to make every visible screw as tight as possible.
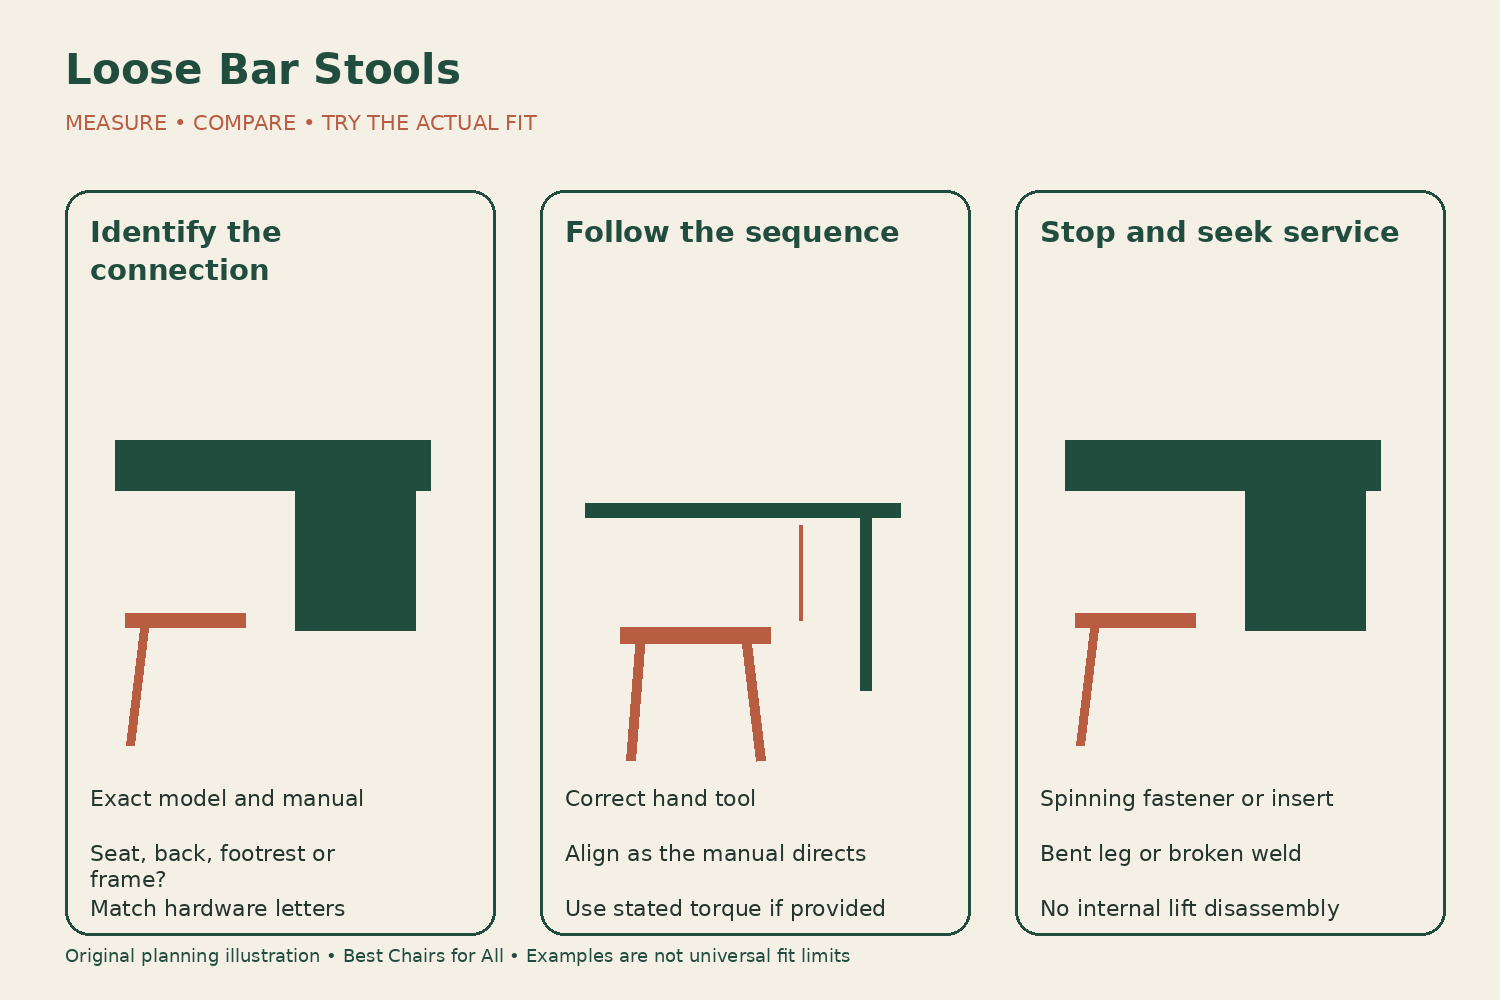
Find the product before picking up a tool
Photograph the underside label, including model and production information. Find the manufacturer’s assembly sheet for that version and compare the stool with its drawings. A similar seat on a different base can use different hardware. If the instructions do not match the frame, stop and obtain the correct document rather than improvising from the closest-looking picture.
Note which part feels loose: the upholstered seat, backrest, footrest, leg frame, or swivel connection. Keep the description specific. A rotating seat moving as designed is different from the seat board shifting on its attachment. Do not ask someone to sit on the stool while you look underneath or tighten fasteners. Perform the inspection with the stool empty and securely supported.
Check the floor contacts first. A missing glide or uneven surface can make a sound stool rock without a screw being loose. Inspect for structural damage as well. A crack, bent leg, broken weld, or opening connection is a reason to stop use and contact the manufacturer. Tightening unrelated screws does not resolve those conditions.
Read the maintenance instruction literally
The IKEA DALFRED care instructions call for retightening screws about two weeks after assembly and when necessary. That timing is specific product guidance, not a universal schedule for every stool. Keep the relevant instruction with the household maintenance record so it is not forgotten after the initial assembly.
The Amisco M656480363 assembly sheet instructs owners to inspect periodically and tighten screws, nuts, and bolts. It also directs them to stop using the stool and contact Amisco for a broken weld or bent leg. Those are different branches of the maintenance decision: permitted fastener checks do not authorize structural reshaping or repair.
Some instructions specify a torque, a tool, a sequence, or a later recheck; others describe assembly more generally. Follow what the maker actually says. If a critical detail is missing and you are uncertain, ask for clarification. Do not invent a torque value or treat the resistance of an electric driver as an appropriate substitute.
Make a fastener map
Use the assembly drawing to identify each connection group. Label them in your notes as seat-to-frame, back-to-seat, footrest-to-legs, or the terminology the maker uses. Record hardware letters and quantities from the parts list. This map prevents you from removing a structural fastener when you intended to inspect a cosmetic cover or seat pad.
Compare the drawing with what is present. Look for a missing washer, incorrect bolt length, displaced bracket, or fastener that enters at an unusual angle. If a new stool was assembled with spare hardware left over, identify whether those pieces were genuinely extras. Do not assume a connection is complete simply because it contains a screw.
Keep similar-looking fasteners separate if disassembly is explicitly required by the instructions. A short screw and a longer bolt may serve different materials and depths. Never pool hardware from several stools and reassign it by appearance. If a component is missing, use the manufacturer’s part identification to request the correct replacement.
Use the matching tool and a supported position
Select the correct driver or hex key for the fastener head. Seat it fully and maintain alignment so it does not slip and damage the recess. A worn tool can create a rounded head before the connection is secure. If the head is already damaged, ask about replacement rather than forcing an approximate tool into it.
Support the stool on a stable surface in the position allowed by its instructions, protecting upholstery and finishes. Get help if its size or weight makes handling awkward. Do not balance a tall stool upside down on a small seat surface where it can fall. Keep hands away from pinch points, especially around a swivel or folding part.
Use hand tools unless the maker specifically permits another approach. Powered drivers can apply force quickly and make it harder to notice a cross-threaded bolt or a moving insert. An enclosed lift or swivel assembly is not an invitation to dismantle it. Restrict owner maintenance to the fasteners and access points described for that product.
Follow the documented sequence
A frame may need all bolts started and aligned before final tightening. Amisco’s referenced sheet includes steps that distinguish light initial engagement from later tightening. That sequence helps align the assembly; it is not a suggestion to leave the completed product partly secured. Read the whole relevant step and its diagram before acting on a single phrase.
If the instructions call for the stool to rest on a level surface during part of assembly, use a suitable level area. Do not have someone sit on it to force alignment unless the exact instructions explicitly require a particular procedure. A load can hide misalignment and puts a person on furniture whose condition is still being resolved.
Work through the connection group as directed, keeping components seated correctly. Do not tighten one bolt to extreme resistance while others remain misaligned. If holes will not align without force, stop and compare orientation, hardware, and parts with the manual. A wrongly positioned part is not corrected by drawing it into place with excessive fastener force.
Recognize when tightening has failed
A fastener that turns continuously without securing may indicate damaged threads, a loose insert, or unsuitable hardware. A connection that moves after the documented tightening may have another fault. Stop rather than continuing to turn until surrounding wood, plastic, or metal is damaged. Record the symptom and contact the manufacturer with clear photographs.
Do not fill a stripped hole with toothpicks, glue, or an improvised insert merely because the fix appears in a forum. A bar stool carries a person at an elevated height, and the correct repair depends on its construction. A larger screw can split material or interfere with concealed parts. Obtain an approved replacement or qualified repair assessment.
Do not add threadlocker, lubricant, washers, or adhesive unless the manufacturer specifies or approves it for that connection. These products can change how a joint assembles, loosens, or can later be serviced. If the same screw repeatedly loosens, that recurring symptom deserves a documented response rather than a stronger improvised chemical treatment.
Keep lift and swivel faults separate
A gas-lift stool that sinks or an adjustable mechanism that fails to hold its intended position does not necessarily have a loose assembly screw. Do not open, puncture, heat, modify, or dismantle a pressurized component. Contact the manufacturer or qualified service provider for the exact stool. Normal accessible fastener checks are a different task from internal mechanism repair.
Likewise, a rough, noisy, or unexpectedly loose swivel needs identification before action. A generic lubrication tip may damage upholstery or create a contamination problem without fixing the mechanism. Describe whether the issue is rotation, vertical play, side movement, or contact between parts. The more precise description helps support distinguish a replaceable assembly from a permitted adjustment.
If the stool folds, verify that its locking parts operate according to its own instructions. Tightening a nearby screw should not alter the lock or conceal damage. Keep fingers clear of the folding path and do not test uncertain locking behavior with someone seated.
Check notices before a repair attempt
Use the model and maker to check the manufacturer’s safety notices and the CPSC recall database in the United States. This database was consulted for this guide on November 6, 2026; owners should check again for the current status of their exact product. A missing search result is not a structural inspection or a guarantee of condition.
If the stool matches a notice, follow its current remedy rather than replacing it with a home tightening plan. Read identifying details and dates carefully. Similar products may be excluded or covered differently. Preserve labels and correspondence so the support process is based on the right item.
Record the result and recurring symptoms
Create a simple log with stool identifier, connection checked, instruction followed, hardware replaced if any, and date. Add whether the symptom was resolved under the maker’s checks or whether the stool remains out of use for service. A brief factual record is more useful than writing “all tightened” without identifying what was done.
After any approved maintenance, inspect the empty stool as directed and confirm that parts and floor contacts sit normally. Return it to use only within the manufacturer’s instructions. If the same movement or noise returns, stop repeating the same adjustment and report the history. A fastener that needs attention every meal is different from a scheduled post-assembly recheck.
Keep the correct tool and manual accessible, and identify each stool separately in a matching set. One stool’s repair does not establish the others’ condition. Careful product identification, controlled maintenance, and clear stop points are what make a loose-fastener check useful; extra force is not a substitute for understanding the connection.
Send a useful service question
Include one overview image showing the whole stool and one detail showing the affected connection. Describe the tool used and whether the fastener turns, stops, or moves with its insert. Ask which exact part should be replaced and whether the stool should remain out of use until that work is complete. This gives support a clearer starting point than a close-up of an unidentified screw, and it avoids another round of guesses about the stool version or connection location.
Something unclear or out of date? Send a correction with this article’s title and the detail to check.
Sources, research & corrections policy ↗