Replace patio chair glides by matching the attachment type, shape, working dimensions and intended floor contact. A one-inch label can refer to an inside opening, outside leg size or a particular cup, so diameter alone is not a complete specification. Identify the chair and original part before ordering, then use the installation method for that exact glide.
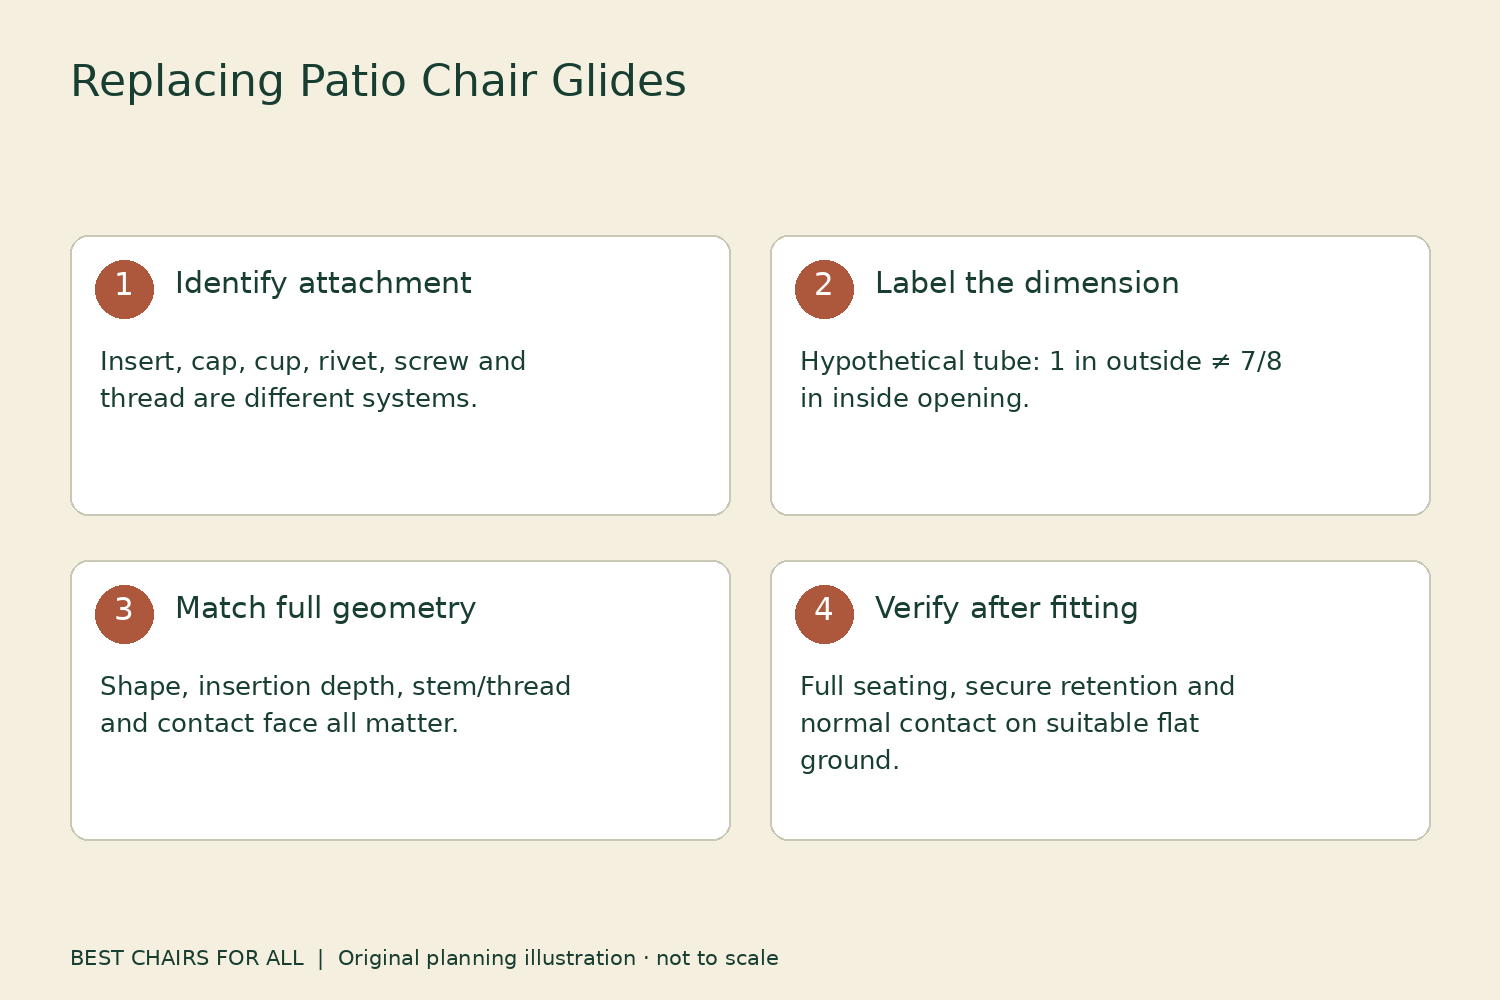
A missing or worn glide can affect chair contact, expose metal and mark the patio. Do not postpone the repair by putting a loose pad beneath one foot or forcing an approximate cap into the leg. The measurement record below helps distinguish a straightforward compatible replacement from damaged tubing, a missing cup or a structural repair that needs manufacturer support.
Identify how the original glide attaches
Look at an intact foot and the worn or missing one without sitting in the chair. Common arrangements include an insert inside a hollow tube, an external cap over a leg, a snap-in piece in a cup, a threaded leveling foot or a part secured by a rivet or screw. These are different attachment systems, even when the visible contact surfaces look similar.
Photograph the intact part from the side and underside. Include the chair’s model label and a ruler for scale. If a sample can be removed through the manufacturer’s intended procedure, keep it with the record. Do not destroy the only intact reference merely to learn its shape. Ask support for a part diagram when attachment is unclear.
Tropitone’s care guidance distinguishes riveted nylon glides, cups with caps and other arrangements, and directs owners toward appropriate replacement parts. This is a useful reminder that one chair brand can use several systems. A part from another Tropitone model is not automatically compatible with yours.
Separate inside and outside measurements
For an internal tube insert, the relevant opening is often the inside dimension, together with shape and wall or gauge compatibility. For an external cap, the outside leg dimension can be central. A cup-style part may require the cup’s internal opening and retention profile. Follow the replacement supplier’s definition for the exact part.
Sunniland’s chair-insert measurement guide specifically discusses the inside diameter for the insert example it demonstrates. Do not copy that measurement convention onto an external cap. The phrase “chair foot size” is too vague unless you also record which surfaces were measured.
A hypothetical tube with a one-inch outside diameter and a seven-eighths-inch inside opening illustrates the distinction. Those are different dimensions on the same leg. Ordering an internal insert by the outside figure can produce the wrong part. The example is arithmetic and terminology only; it does not specify a replacement size for any real chair.
Measure the actual shape
Use a suitable ruler or caliper and record units consistently. Measure round openings across the center in more than one direction. For oval, rectangular or square openings, record both axes or side dimensions and note corner shape. A rounded rectangle is not equivalent to a sharply cornered square with one similar dimension.
Look at the opening’s condition before trusting the number. A leg that has been used without a glide may be worn, distorted or corroded. Do not enlarge, grind or reshape it as a general measuring shortcut. A damaged opening may need assessment rather than a bigger cap. Give the supplier photographs and explain the wear.
Record insertion depth or the space available where the part design requires it. A cap can appear to start correctly while meeting an obstruction before it seats. Check the supplier’s dimension drawing rather than assuming a deeper part is always better. Do not cut a replacement shorter or remove retention ribs unless its manufacturer provides that instruction.
Check the ground-contact geometry
The leg’s angle affects how a glide meets the surface. A flat contact pad and a domed contact can behave differently on an angled leg. The glide should match the chair’s design, not merely cover the tube end. Ask the chair or part maker which form is intended when a replacement listing offers several contact profiles.
Look at an unworn original to understand its working height and contact shape. A flattened old pad may no longer represent the supplied geometry. Do not use its worn thickness as the only replacement reference. A new part on one corner can also expose wear differences elsewhere, so inspect the whole set of feet.
Avoid substituting an indoor felt pad for a missing structural glide. Felt may be an appropriate surface accessory for some furniture and floors, but it does not recreate an insert, cup or leveling assembly. Outdoor exposure and retention requirements differ. Use a complete compatible component before considering any separately approved surface protector.
Threaded feet need more than diameter
For a threaded glide, determine the specified thread size and pitch or obtain the original part number. Two stems can have similar outside diameters but incompatible threads. Do not force a replacement into the chair to test the match. Cross-threading can damage the receiving fitting and turn a small replacement into a larger repair.
Record the stem length, contact base and adjustment arrangement. A longer threaded stem is not automatically a safe way to raise the chair. Maintain the engagement and adjustment limits in the instructions. If the maker does not authorize height alteration, replace the foot to restore the intended configuration rather than creating a taller seat.
If the receiving thread is stripped, loose or corroded, ask for the approved repair route. A new glide does not repair a damaged insert in the frame. Do not fill the opening with general adhesive or drive in a larger screw as a universal fix. The connection is part of how the chair reaches the ground and needs a reliable design.
Cup and rivet systems require exact parts
A snap-in glide can depend on the shape and condition of the cup that receives it. If the cup is missing, split or bent, ordering only the plastic cap may not solve the problem. Compare the entire assembly with the maker’s parts drawing. Similar cap diameters can have different retention edges and working heights.
Tropitone describes model-appropriate service routes for its cup and riveted systems. Use the instructions and hardware supplied for your exact chair. A repair involving drilling or replacing an attachment is different from pressing a compatible insert into an intact opening. If you lack the tools, documentation or confidence for that operation, use the manufacturer’s dealer or an appropriate repair service.
Do not drill a new hole simply because a universal part kit includes a rivet. Hole location, size and frame construction matter. Protect nearby fabric and finishes if an approved repair calls for tools. Keep metal shavings and sharp removed hardware away from cushions, children and pets, and inspect the finished attachment before use.
Prepare an order record
| Field | What to provide |
|---|---|
| Chair | Brand, model, generation and frame color if required |
| Attachment | Internal insert, external cap, cup, rivet, screw or thread |
| Shape | Round, oval, rectangular or other documented profile |
| Working dimension | Inside or outside measurement clearly labeled |
| Depth or stem | Relevant drawing dimensions and any thread specification |
| Contact face | Original shape, height and intended leg angle |
| Condition | Photographs of intact example and damaged opening |
| Quantity | All worn or missing feet identified by position |
Send the record to the maker or specialist supplier when a part match is uncertain. “Four black caps” is rarely enough information. A precise drawing and photographs can reveal that you need a cup assembly rather than a cap, or that the receiving leg needs repair. Keep the confirmed part number for future replacements.
Install by the specific method
Remove the old component only as directed and protect the chair during handling. Clean the accessible receiving area with a compatible method and let it dry if required. Do not leave grit or loose fragments where they prevent full seating. Inspect the opening again after removal because the old part may have concealed wear.
Sunniland’s tutorial index separates stud, stem, oval, rectangular and wrought-iron glide procedures. Choose the guide that actually matches the supplied part. A technique for one insert style should not be generalized into hammering every cap until it stays in place.
Use only the force, tools and preparation called for by the part and chair instructions. If the replacement begins crooked, binds or deforms, stop and verify the match. Do not use adhesive, heat or an improvised shim to make an incorrect part seem secure. A fitted appearance is not evidence of proper retention or load transfer.
Check the completed chair
Confirm every glide is fully seated, secure and oriented correctly. Look around the chair at normal floor level to see whether any contact remains incomplete. Keep the chair unoccupied while checking for obvious wobble on a suitable flat surface. A new glide can reveal a bent leg or uneven patio rather than solve it.
Move the chair to another known suitable flat area to help distinguish a surface issue from a chair issue. Do not bend the frame as a general leveling technique or stack loose pads under a foot. If the wobble follows the chair, ask the maker about its intended adjustment or repair. Use threaded leveling features only where the design provides them.
After the first ordinary use, recheck retention according to the manufacturer’s guidance. Watch for a cap left behind when the chair is lifted, a rotated pad or a new mark on the patio. Retain one labeled spare if the maker supplies a replacement set.
Keep the replacement record with the chair’s care information. Correct glide replacement restores the intended contact system; it should not rely on guesswork hidden beneath the leg.
Something unclear or out of date? Send a correction with this article’s title and the detail to check.
Sources, research & corrections policy ↗