Reupholstering a removable dining-chair seat can be a manageable project when the chair is sound, the seat is designed to detach, and the work is limited to its upholstery. Start by confirming that scope. A cracked frame, deteriorated seat board, integrated upholstered shell, spring system, or valuable antique calls for a different assessment. New fabric improves a surface; it does not repair an unsafe chair.
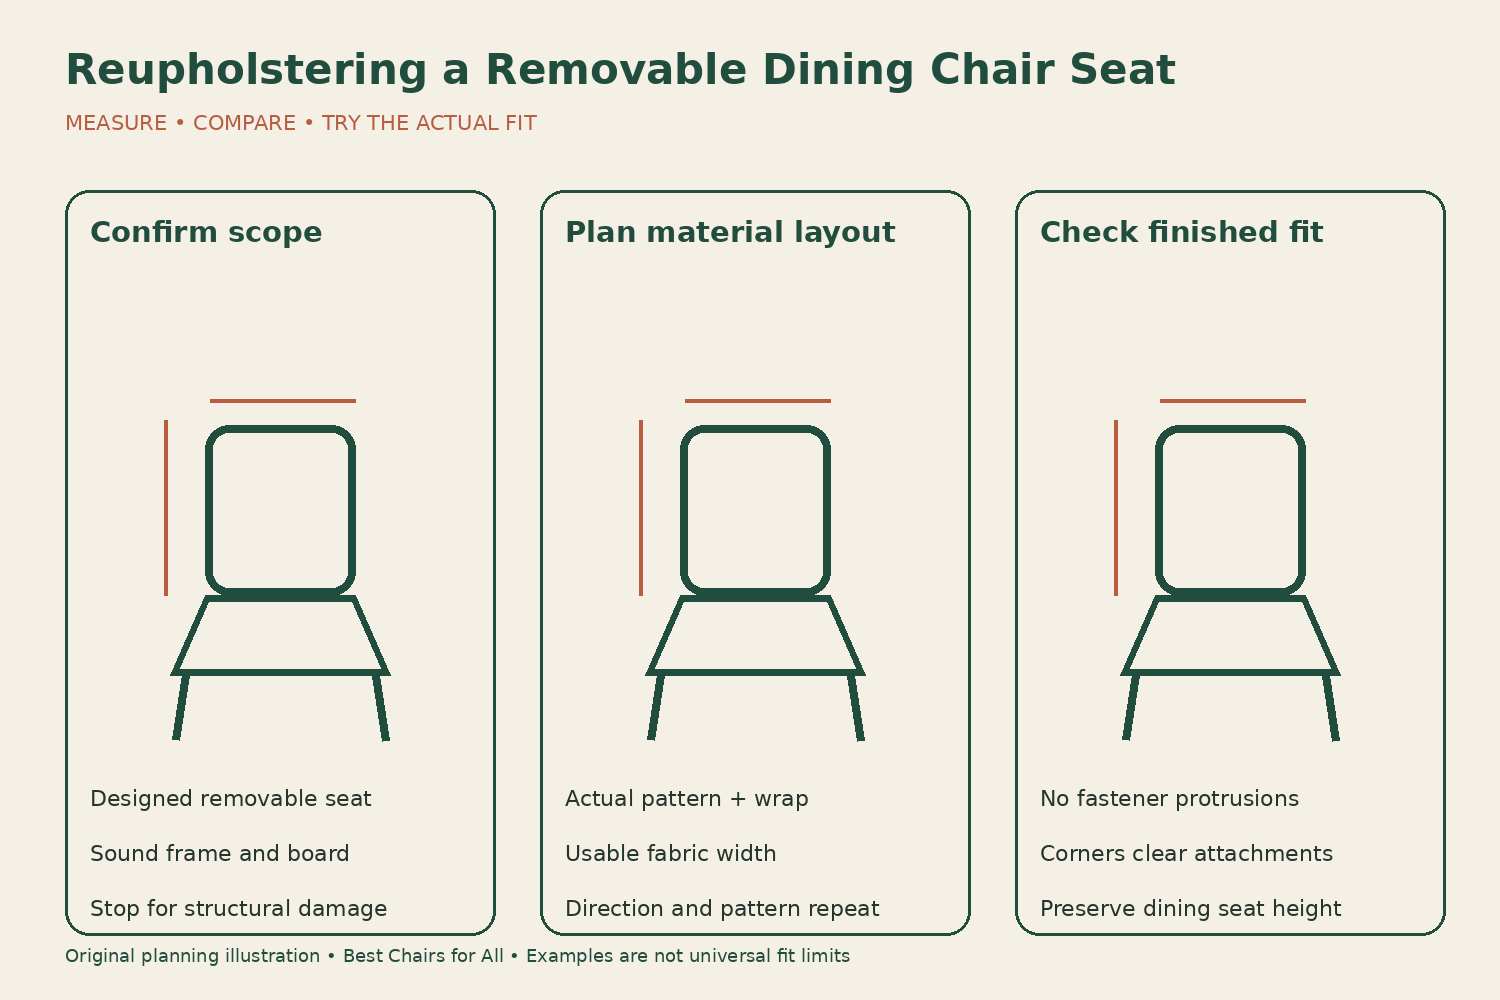
Confirm that the seat is actually removable
Find the chair’s maker and assembly information. Look beneath the empty chair for the seat attachment without cutting upholstery or dismantling unrelated frame connections. A removable pad may be held by identifiable fasteners, but not every visible screw belongs to that pad. Photograph the underside and match the parts to the chair’s own instructions before proceeding.
If the frame moves, a joint is opening, or a component is cracked, keep the chair out of use and address that issue first. Do not recover it to hide the damage. For an antique or a chair with uncertain original materials, consult an appropriate upholsterer or conservator before removing fabric, tacks, or trim that may have significance.
A simple drop-in seat with fabric wrapped around a sound board is different from a sewn boxed cushion or a chair with upholstery across the back. Sailrite’s dining-chair tutorial shows a particular removable-seat project that includes piping. Use it to understand that construction and its steps, rather than assuming it matches every chair with a padded seat.
Make an underside map before removal
Label the chair and seat in your notes, mark front and back on a removable tag, and photograph fastener locations. Store hardware by chair rather than pooling a whole set. Front and rear screws may differ, and a seat may fit its original frame more accurately than another one that looks the same. Keep that relationship traceable.
Prepare a stable work surface with protection appropriate to the furniture. Keep removed staples and tacks in a rigid container so they do not end up in the floor, fabric, or another seat. Use eye protection and follow tool instructions for staple removal and installation. Keep hands out of the fastening path, and disconnect or unload powered tools as their manuals require when adjusting them.
Remove only the components intended for the upholstery job, following the chair’s instructions. If a screw will not release, an insert turns, or a part begins splitting, stop rather than applying more force. A stripped attachment can become a repair problem that a fabric tutorial does not resolve. Photograph the issue for the manufacturer or upholsterer.
Inspect what the old covering concealed
Remove the old cover carefully enough to preserve its shape as a reference where practical. Examine the seat board, attachment holes, foam, and any batting. Look for cracks, delamination, moisture damage, crumbling padding, or an area where a fastener no longer holds correctly. A sound appearance from above does not show the condition beneath the fabric.
Sailrite’s tutorial specifically includes inspecting the foam after removing fabric and staples. That is an important decision point: re-covering and rebuilding the cushion are different scopes. If the foam has deteriorated or the support needs work, choose materials for the actual construction with supplier guidance. Do not assume household packing foam or an old bedding topper is suitable upholstery material.
Do not layer new fabric over an unknown contaminated or deteriorated interior simply to avoid inspection. If there is mold, persistent odor, extensive water damage, or uncertain old materials, seek appropriate professional advice about handling and whether the seat should be rebuilt or replaced. Keep the work within what you can identify and manage responsibly.
Preserve the original fit, not just the appearance
Measure the bare seat board’s width, depth, thickness, and shape. Record the assembled seat’s height and the way it sits in or on the frame. Added foam, batting, folded corners, and extra fabric layers can change the fit. A drop-in seat may become too bulky at the edges even when the top looks attractive.
Check the original fastener locations and the space needed around them. Keep upholstery folds from interfering with the intended attachment. Do not select longer screws to compensate for an unexpectedly thick fabric build-up; that changes the fastening and can create a protrusion or other damage. Resolve the material layout and use the approved hardware.
Consider the occupied seat height at the table. Replacing thin padding with a much thicker cushion can reduce thigh clearance and change how the back supports the sitter. Choose the upholstery rebuild as a seating decision, not merely a way to make the chair feel softer in the hand. If the existing height worked, record it as a useful comparison.
Plan fabric quantities with an actual layout
Use the old cover as a reference if it is intact, while checking whether it has stretched or was previously fitted poorly. Measure the board and the wrap needed around the actual padding and underside. Required allowance depends on that construction; there is no single extra amount that suits every seat, fabric, and fastening layout.
For a worked planning example, suppose your confirmed cutting pattern is 24 inches wide by 25 inches deep after all required allowances. If the usable fabric width is 54 inches, two patterns can sit side by side because 24 plus 24 equals 48. Three rows would provide six blanks and use 75 inches of length before pattern matching, flaws, squaring, or any extra working allowance.
That arithmetic is a layout example, not a yardage prescription. A directional print, large repeat, nap, border, or restricted usable width can change it substantially. Draw the actual rectangles or paper patterns on a scaled fabric-width strip. Mark the front direction on every blank so a coordinated set does not end up with reversed patterns.
Match the material to the construction
Choose upholstery fabric appropriate to the chair and intended use, and read its care instructions before buying. A thin decorative textile may behave differently from an upholstery material under repeated sitting. Vinyl or faux leather can fold and stretch differently from a woven fabric. Sailrite’s faux-leather seat tutorial treats that as its own project rather than transferring every woven-fabric assumption unchanged.
Ask the supplier about foam, batting, thread if sewing is involved, and compatibility with any adhesive the project requires. Do not add an adhesive merely because it is available. Follow the material and product instructions, including ventilation and curing requirements. A wrapped seat that does not need a particular chemical should not acquire it as a default step.
Keep a sample, material name, and lot information if supplied. These details help with later matching and cleaning. A new textile can have a completely different care routine from the old one, so remove any assumption that the chair’s original fabric instructions still apply to the replacement covering.
Re-cover methodically and check before final fastening
Follow a tutorial that matches the actual seat construction, including any piping, sewing, or dust-cover work. Position the fabric deliberately, check the pattern direction, and build tension evenly rather than pulling one corner tight first. Pause to inspect the top and sides as the work progresses. The goal is a smooth usable surface without distorting the padding or seat shape.
Select fastening tools and staple dimensions for the seat board and upholstery construction, following the tool and tutorial guidance. Do not copy a staple length from another project without checking board thickness and penetration. Fasteners must not emerge through the seating surface, and damaged or proud staples should not remain where they can snag fingers or fabric.
Keep the underside neat enough for the seat to fit its frame and for approved attachment points to remain usable. Avoid excessive layers at corners. Before completing a whole set, finish one seat far enough to verify fit, appearance, and reattachment. A small adjustment discovered on one seat is easier to correct than the same issue repeated six times.
Reattach using the original approved arrangement
Return the seat to its matching chair, with front and back correctly oriented. Use the chair’s specified fasteners and assembly method. Check that the upholstered edge does not hold the seat away from its intended support or obstruct an attachment. If the seat no longer fits, investigate the upholstery build-up instead of forcing it into place.
Inspect the underside for loose staples, exposed sharp points, missing parts, and misplaced folds. Follow any adhesive or coating curing instructions before use. A successful upholstery finish does not override the chair’s assembly requirements, and a screw that spins without securing needs appropriate repair guidance before the chair returns to the table.
Try the finished chair only after the frame and seat attachments have been confirmed according to the relevant instructions. Check the resulting dining height and normal comfort. If the rebuilt cushion creates poor table clearance, revisit the material choice with an upholsterer rather than accepting an attractive but impractical change.
Leave a maintenance record with the finished seat
Record the fabric, foam, attachment hardware, project date, and applicable care instructions. Sunbrella’s upholstery-care guidance, for example, distinguishes indoor and outdoor applications and says furniture construction matters before removing casings for washing. That illustrates why a fabric name alone does not authorize every cleaning method on a completed seat.
Photograph the finished underside and keep a small fabric offcut if practical. For a set, label each seat’s corresponding frame discreetly in the record. These simple details make later removal, cleaning, repair, or matching more straightforward. A well-scoped project ends with a sound, correctly fitted seat and clear ownership information, not just a new pattern on top.
Place a front-direction arrow on the paper pattern before cutting. For a tapered seat, that avoids accidentally reversing a blank or centering a motif on the wrong edge.
Something unclear or out of date? Send a correction with this article’s title and the detail to check.
Sources, research & corrections policy ↗