Clean wooden dining chairs according to their finish, using the least aggressive method the manufacturer approves. “Wood” describes the underlying material, not whether the surface is lacquered, painted, oiled, waxed, veneered, or unfinished. Identify that surface before applying a cleaner or polish. Routine cleaning should remove ordinary soil without becoming an unplanned refinishing project.
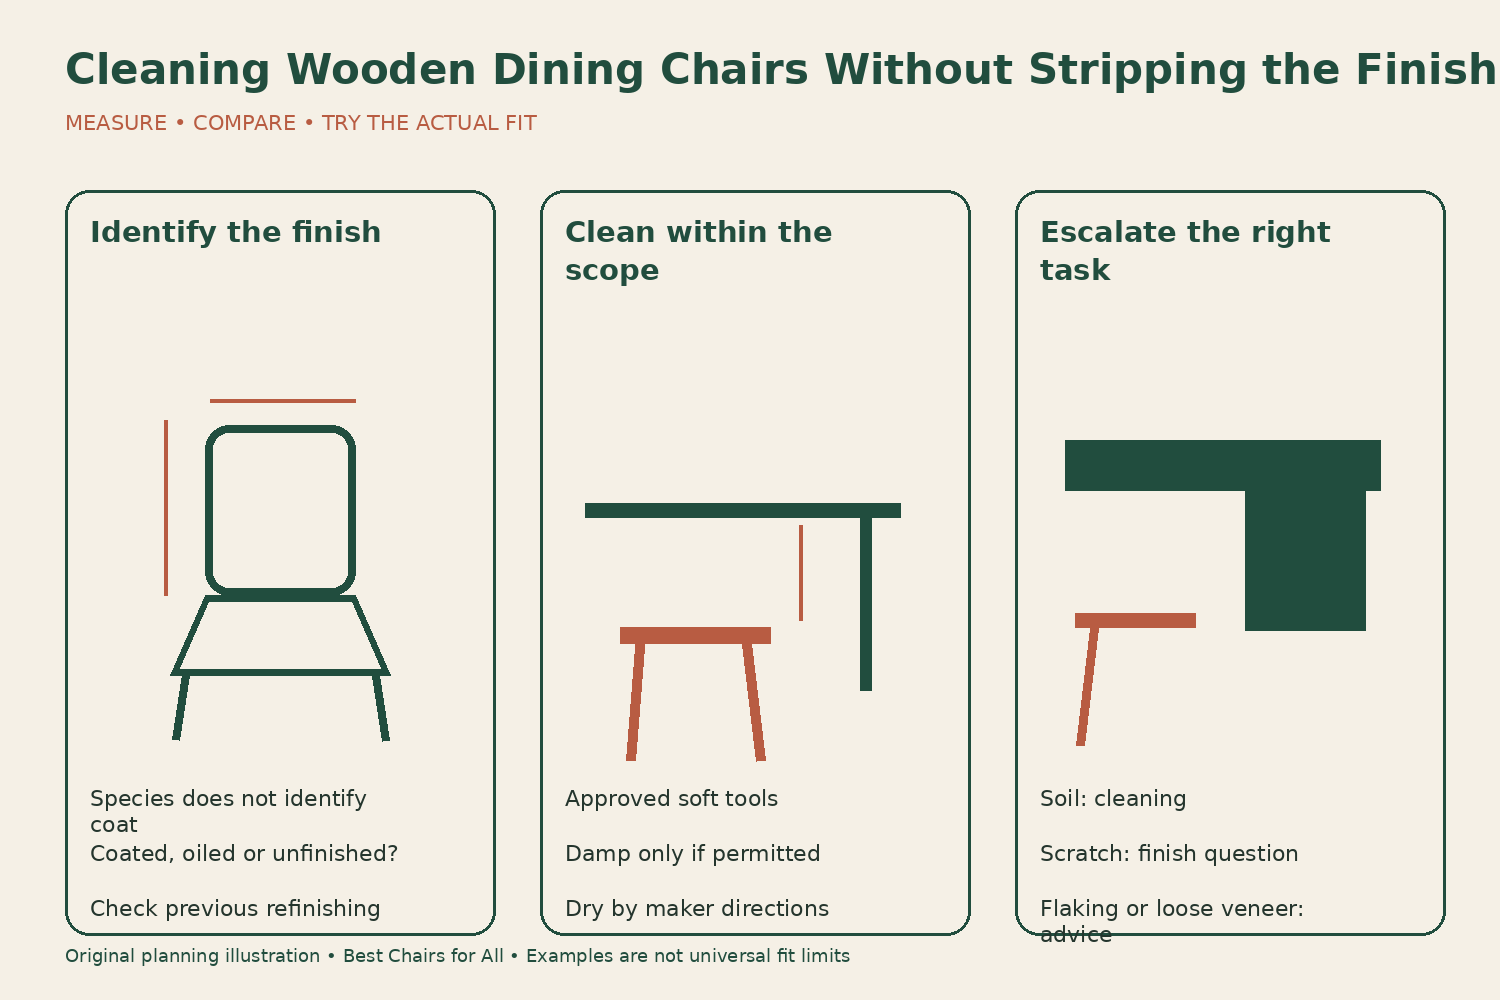
Identify the surface you are cleaning
Find the chair’s maker, model, finish name, and care sheet. A wood species such as oak or walnut does not tell you which coating is present. A veneer chair also has a finished wood surface, but its thin decorative layer changes the consequences of abrasion. Keep the material and finish as separate entries in your notes.
For secondhand furniture, ask about previous refinishing and maintenance products. A glossy appearance does not reliably identify lacquer, varnish, shellac, wax, or a later coating. Do not perform a solvent experiment on a visible area to guess the finish. If the surface is unknown or valuable, ask an appropriate furniture professional or conservator before chemical cleaning.
The Canadian Conservation Institute’s furniture-care resources distinguish furniture finishes from unfinished wood and identify light, humidity, water, and handling as important influences. That supports treating an unfinished object differently from a coated dining chair, rather than applying one wood-cleaning recipe to both.
Separate routine care from restoration
Dust removal, cleaning a food mark, polishing, oiling, waxing, stripping, and refinishing are different tasks. A dull patch might be residue, wear, moisture damage, or a changed coating. Do not assume it needs another layer of product. Repeatedly adding polish can obscure what is happening and create a maintenance routine the original finish did not require.
Stickley’s furniture-care guide explicitly discusses the difference between care and restoration and gives finish-related guidance for its furniture. Follow the relevant instructions for the finish you own. A product recommended for a particular Stickley finish should not automatically be applied to an unidentified chair from another maker.
Keep a cleaning task narrow. If dusting reveals flaking coating, a loose veneer edge, a crack, or a sticky deteriorating surface, stop at documentation and advice. Rubbing harder can remove or damage material rather than clean it. A chair that is structurally unsound also needs repair assessment separately from its surface appearance.
Start with dry particles and clean tools
Use the maker’s approved dusting method with a clean soft cloth or suitable tool. Check the cloth for grit before it touches the chair. Work across the back, seat, legs, and rails, paying attention to crevices without pushing debris deeper into joints. Avoid abrasive pads or stiff tools that can scratch a finish while removing crumbs.
Use a separate cloth for food-contact residue and for applying any approved furniture-care product. A cloth carrying cleaner from the kitchen counter may contain a chemical unsuitable for the chair. Keep tools identifiable so a household member does not unknowingly transfer degreaser, disinfectant, or abrasive residue onto a furniture finish.
Check the underside as part of the routine, supporting the empty chair securely and following its handling guidance. Dust and spills can collect near seat attachments and rails. Do not soak hidden areas or force a damp cloth through a joint simply because they are out of sight. Hidden finish and structural materials still need appropriate treatment.
Follow the exact damp-cleaning guidance
Herman Miller’s Wood and Veneer Care sheet recommends regular dusting with a slightly damp, soft, lint-free cloth and wiping dry along the grain for the products within its scope. It also names exclusions for certain oiled products. Read that scope before applying the procedure to a specific Herman Miller chair, and use your own maker’s instructions for other furniture.
“Slightly damp” is different from wet enough to leave liquid in seams or on the seat. Follow the approved method and dry as directed. Do not pour cleaner onto a chair or assume that a product described as natural is harmless to its coating. Moisture and chemicals can reach joints, upholstery edges, and veneer seams where they are harder to remove.
If the instructions specify a furniture cleaner, use one that meets the stated requirements and follow its label. Test where directed and allow the result to dry before judging it. Keep the test representative of the same finish. A bare underside, unfinished rail, or replacement part may not show how the visible coated seat will react.
Handle fresh food marks deliberately
Remove loose food without grinding it into the finish. Follow the maker’s spill instructions promptly, especially around joints and seat edges. Identify the mark when possible: a splash of water, sticky sauce, grease, or an unknown residue does not automatically call for the same treatment. Avoid scraping with a knife or using a kitchen scourer to speed the job.
For residue that remains after the approved method, stop and ask the maker rather than escalating to vinegar, alcohol, bleach, ammonia, citrus solvent, or a strong degreaser. These products are not interchangeable, and some can affect coatings or adjacent materials. A cleaner’s usefulness on a countertop does not establish its suitability on a chair finish.
Record any attempted treatment if a mark persists. A photograph and the product name help a professional distinguish the original spill from a possible cleaning effect. Do not repeatedly wet the same patch while waiting for a different result. A surface that becomes tacky, cloudy, discolored, or uneven needs a more informed next step.
Treat oiled and waxed surfaces as their own systems
An oiled finish may have a maintenance product and renewal process specified by its maker. A waxed surface may have different instructions. Do not add oil to a coated chair simply because the underlying material is wood, and do not assume a dry-looking surface is “hungry” for a treatment. The finish identity determines what maintenance is appropriate.
If renewal is advised, distinguish that task from routine cleaning and follow the full product directions. Some maintenance products require preparation, drying time, ventilation, and particular handling of used applicators. Keep all label instructions, including disposal requirements, with the task. Do not improvise a treatment from an ingredient list or a social-media demonstration.
For mixed finishes on one chair, identify each separately. An exposed wooden frame may use one system while a painted detail or upholstered seat needs another. Protect adjacent materials and avoid spreading a treatment beyond its intended area. A uniform wipe over the entire chair can create an uneven result if the materials are not uniform.
Avoid abrasive shortcuts on marks and scratches
A scratch is missing or displaced surface material, not ordinary dirt. An abrasive sponge may make a mark less visible by changing the surrounding finish, creating a larger dull patch. Sanding veneer or a coated chair can also remove more than intended. Do not use abrasion as a general cleaning step.
Heat marks, dark stains, clouding, and finish wear deserve diagnosis before home remedies. A chair with a sentimental or historical value should be assessed with preservation in mind. A modern finish-repair technique may be inappropriate for an older coating, and a cosmetic improvement can reduce future repair options if it introduces an incompatible substance.
Photograph the area in good light and ask whether the next step is cleaning, finish repair, or refinishing. Those are different scopes with different risks and costs. Keeping them separate helps you decide whether a limited professional repair is worthwhile rather than accidentally committing the whole chair to a stripping project.
Keep the environment part of the care plan
Avoid leaving damp cloths, wet laundry, or spilled drinks against the chair. Review placement near heat sources and strong sunlight using the manufacturer’s guidance. Stickley’s care guide discusses humidity and temperature changes as well as finish protection. These influences can affect appearance and wood movement even when the cleaning method is appropriate.
Lift and handle the chair using suitable structural points, following the maker’s advice. Do not use a fragile spindle, loose arm, or decorative element as a convenient handle. Routine cleaning is an opportunity to notice changed joints and protectors, but it should not involve forcing parts or conducting a home strength test.
Use appropriate floor protectors and keep their contact surfaces clean. Floor-care products should remain compatible with both floor and furniture if they might contact the legs. A chair foot standing in cleaning residue can experience a different condition from the dry seat above, so inspect the bottom surfaces too.
Write a finish-specific weekly plan
Create a care card listing the chair model, wood description, finish identity, approved dusting method, allowed cleaner, drying step, and any prohibited products. Add the source URL and save the full instructions. If the finish is unknown, write that clearly and make identification the next task rather than filling the card with generic wood advice.
For a dining set, note chairs with different repairs or finishes separately. A replaced seat or refinished end chair may need different care from the others. Label the records discreetly so another household member can follow the right routine without guessing from appearance. Keep a small change log after a repair or refinishing job.
The successful routine leaves the chair clean, dry as directed, and unchanged in finish except for removed soil. If a cleaning attempt starts altering color, sheen, texture, or structural condition, stop and reassess. Knowing the finish and respecting the task’s limits protects the chair more reliably than reaching for a stronger cleaner.
When cleaning spindle backs, support the chair by its sound frame rather than pulling against a slender spindle. Fold the cloth to reach accessible surfaces gently and change to a clean section as soil transfers. A darkened cloth is a reminder to refresh the cleaning surface, not a reason to scrub the same area harder.
Something unclear or out of date? Send a correction with this article’s title and the detail to check.
Sources, research & corrections policy ↗