A useful office-chair adjustment starts with the seat and ends with the desk. If you begin by raising the armrests to meet a high desktop, the rest of the setup can drift out of position: feet lose support, shoulders rise, and the backrest becomes something you rarely touch. Work through the chair in a repeatable order, then check how it behaves during your real tasks.
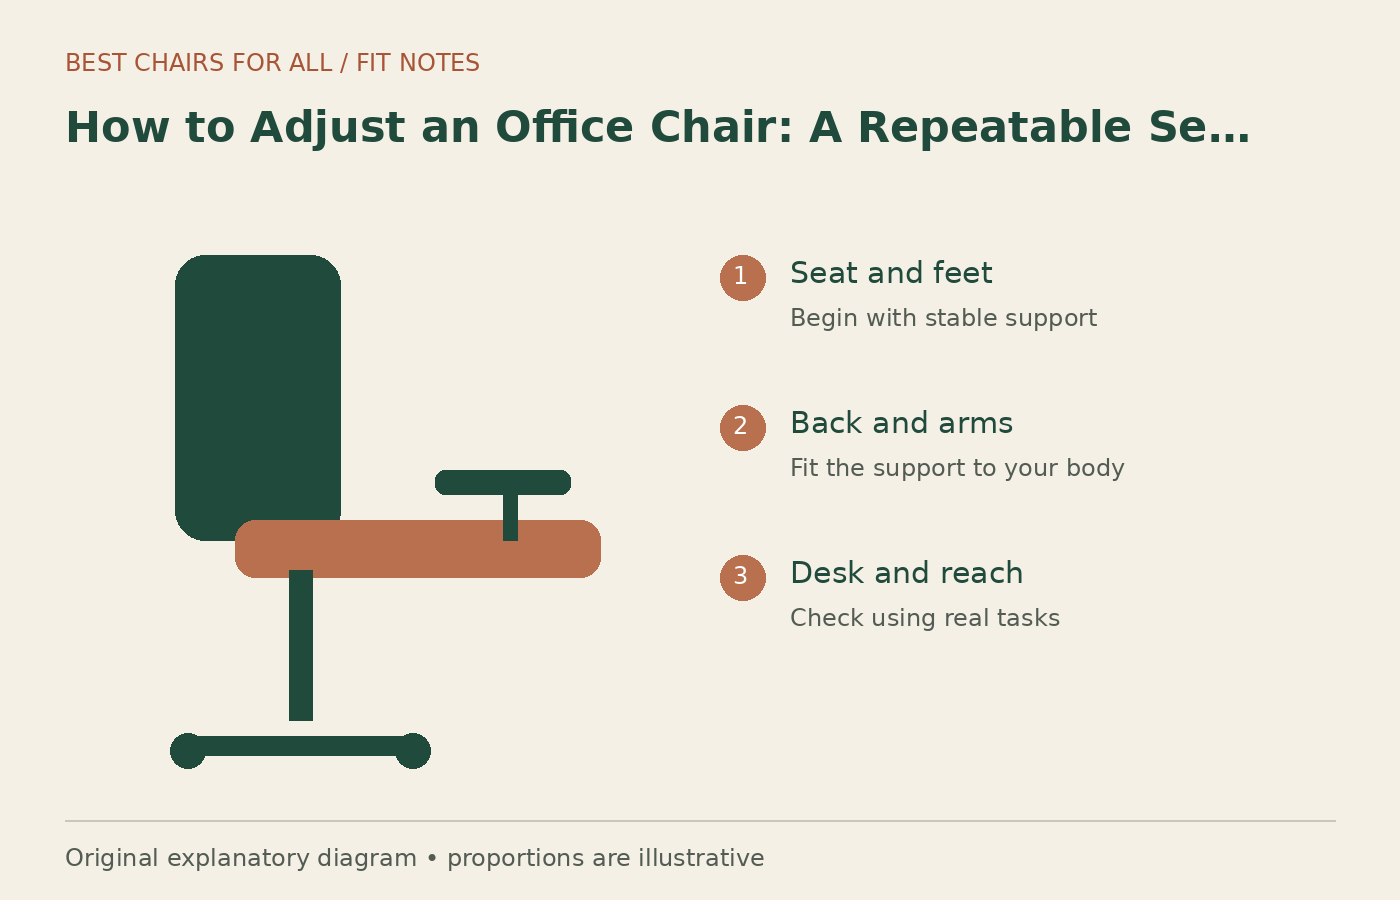
This guide is a practical setup procedure, not a promise that one posture or one chair will prevent pain. It combines published workstation guidance with an original troubleshooting sequence you can repeat whenever you change desks, shoes, or equipment. Have your chair’s manual nearby; controls that look similar can do different jobs.
Before changing anything: identify the controls
Park the chair on a level surface and clear the space around it. Locate the height lever, recline or tilt lock, resistance knob, seat-depth release, and any backrest adjustments shown in the manual. Some chairs combine several functions in one lever. Others have a tension dial that requires many turns before the difference becomes obvious. Do not force a control that has reached its stop.
Take a side photograph of the existing setup or make a short note of what feels wrong. Useful descriptions include “heels lift when I reach the keyboard” or “seat edge presses behind knees.” “Bad posture” is much less helpful because it does not identify an adjustment. Keep the original position available so you can undo a change that makes things worse.
Separate the chair’s fit from its condition. A loose base, broken caster, unstable backrest, or height mechanism that drops unexpectedly needs attention before a fit session. Adjustment cannot compensate for structural damage. Follow the manufacturer’s servicing instructions and avoid dismantling a pressurized lift cylinder.
1. Set the seat height with your feet supported
Start with the keyboard out of the way. Sit back on the chair, wearing the shoes you usually use at work. Raise or lower the seat until both feet have stable support and you can settle onto the seat without its front edge digging into the underside of your thighs. The aim is a supported starting position, not a perfectly measured photographic pose.
The CCOHS chair-adjustment guide offers a standing reference: begin with the seat near the level just below your kneecap, then sit down and check the fit. Treat that as an initial setting. Cushion compression, shoes, footrests, and individual proportions all change the final result.
If you must choose between touching the floor with your toes and comfortably reaching the desk, stop and examine the desk height. A footrest can provide support when the working surface requires a higher chair setting. A stable adjustable footrest is preferable to a slippery pile of books. Keep enough room to change foot position instead of wedging both feet into one fixed spot.
2. Adjust seat depth before adding cushions
Move fully back against the backrest and look at the space between the front of the seat and the backs of your lower legs. You need thigh support without the seat trapping the backs of your knees. If your chair has a sliding seat, release it as the manual directs, move it a small amount, and verify that it locks again before leaning or reaching.
A seat that is too deep often causes a recognizable workaround: you slide forward to keep your knees clear and lose contact with the backrest. Raising lumbar pressure rarely solves that. Shorten the seat depth first. On a chair with no depth adjustment, a different chair size may be the proper answer. A back cushion changes effective depth but also changes how the whole backrest fits.
A seat that feels too short is a different issue. Check whether the seat is actually at its longest usable setting and whether the backrest position is adjustable. Do not extend a component beyond its marked range. If you cannot get comfortable support while sitting against the backrest, record the limitation rather than trying to balance on the seat edge all afternoon.
3. Match the backrest to your back
Sit with your pelvis comfortably at the rear of the seat. Move the backrest height or lumbar support gradually until the support sits where it feels useful around your lower back. Start with modest pressure if pressure is adjustable. A prominent bulge is not automatically better support; it can simply push you away from the chair.
Workstation guidance from OSHA’s chair component reference emphasizes a supportive backrest and adjustability that accommodates different sitting positions. It does not mean that everybody needs the same backrest curve. Your own fit check should include whether you can rest against the back without rounding forward to escape an uncomfortable pressure point.
Repeat two ordinary actions: type a sentence and read a page while leaning back slightly. You should be able to use the backrest in both tasks without losing sight of the screen or reaching for the mouse. If support works only when you hold an exaggerated pose, return to seat depth and desk distance before increasing the lumbar setting again.
4. Set recline resistance for controlled movement
Find out whether your chair uses a whole-seat tilt, a backrest that moves separately, or a coordinated mechanism. The manual should explain whether to unlock the mechanism while seated and how to select a recline limit. Keep your feet supported, clear the area behind the chair, and test movement slowly.
Increase resistance if the back falls away so readily that you brace your legs to avoid reclining. Decrease it if you have to push hard to move the backrest at all. The practical goal is controlled motion you can use while reading or pausing between tasks. Do not judge a chair only by whether it can be locked upright.
Recheck the keyboard after changing the recline. A position that feels pleasant for reading may put the keyboard too far away for typing. You may use different settings for different activities. What matters is avoiding a setup where the chair invites movement but the cables, desk, or screen force you to remain in one strained position.
5. Bring the armrests to your arms
Let your shoulders settle and keep your upper arms near your sides. Bring the pads toward your forearms without shrugging to meet them. Adjust width before assuming the pads are too low; a wide pad position can make you lift or spread your arms even when its height seems correct. Depth adjustment can help the pads support you without colliding with the desk.
Do a mouse test rather than an armrest-only test. Place the pointer where you use it and move across the full screen. Notice whether your elbow gets pulled away from your body or whether the front of the pad presses into your forearm. Then type a short paragraph. A setting that helps one action may obstruct the other.
If the armrests block access to the keyboard, lower or reposition them if the chair allows it. Removing arms is a model-specific option, not a universal recommendation: check the manufacturer’s instructions and keep any required fittings. For a deeper sequence, see our office-chair armrest adjustment guide.
6. Fit the desk, keyboard, and screen around the chair
Bring the chair to the workstation only after the seat and back fit you. Check the space under the desk, including drawers, crossbars, and cable trays. Your legs need room to move. If the desk is too low for your thighs at a supported seat height, raising the chair will make the collision worse. The furniture needs a different arrangement.
If the desktop is high, consider whether an appropriate keyboard tray or adjustable work surface solves the mismatch more directly. OSHA’s keyboard guidance treats keyboard position as part of the overall workstation. A chair’s adjustment range is valuable, but it cannot make every fixed desk suitable for every user.
Bring the mouse close enough that you do not reach past other objects to use it. Arrange a separate keyboard and screen where needed for laptop work, then test your usual viewing distance. Check the setup with the actual tasks you do, including video meetings, writing by hand, or switching between screens.
Use a five-minute check instead of chasing a perfect pose
Run a short task circuit: type for one minute, use the mouse for one minute, read while leaning back, reach for a frequently used item, and stand up and sit down again. Keep a note of the moment you lose support. This turns a vague discomfort report into a decision about seat depth, desk clearance, pad position, or reach.
Change only one setting when you troubleshoot. If you lower the chair, move the backrest, add a cushion, and raise the screen at once, you will not know which change helped. A simple record can have three columns: problem, change, and result. Revisit it after an ordinary work period rather than repeatedly adjusting the chair every few seconds.
Movement and task variation still matter. The HSE workstation setup illustration is a useful overall reference, but a diagram cannot capture how your work changes across a day. Leave space to shift position, take suitable breaks, and reassess the setup if discomfort persists. Persistent or worsening symptoms deserve advice from an appropriate health or workplace professional.
When adjustment has reached its limit
A chair may be the wrong size even when every lever works. Warning signs include a minimum seat height that leaves your feet unsupported, a minimum depth that still pushes behind your knees, armrests that never reach your forearms, or a backrest that cannot support you without forcing you forward. Write down the failed dimension before buying a replacement.
Use our office-chair measurement worksheet to turn those limitations into a shopping brief. That brief is more useful than shopping by the word “ergonomic.” It tells you the actual seat-height range, usable depth, arm position, and desk clearance you need to verify. Keep the manual and your final settings together so a shared chair or a future move is easier to manage.
Something unclear or out of date? Send a correction with this article’s title and the detail to check.
Sources, research & corrections policy ↗