Two people of the same height can need different office chairs. One may have a longer torso and shorter lower legs; another may need a deeper seat and narrower arm spacing. A height chart is a useful shortlist tool, but it cannot replace a few measurements taken in the position in which you actually sit.
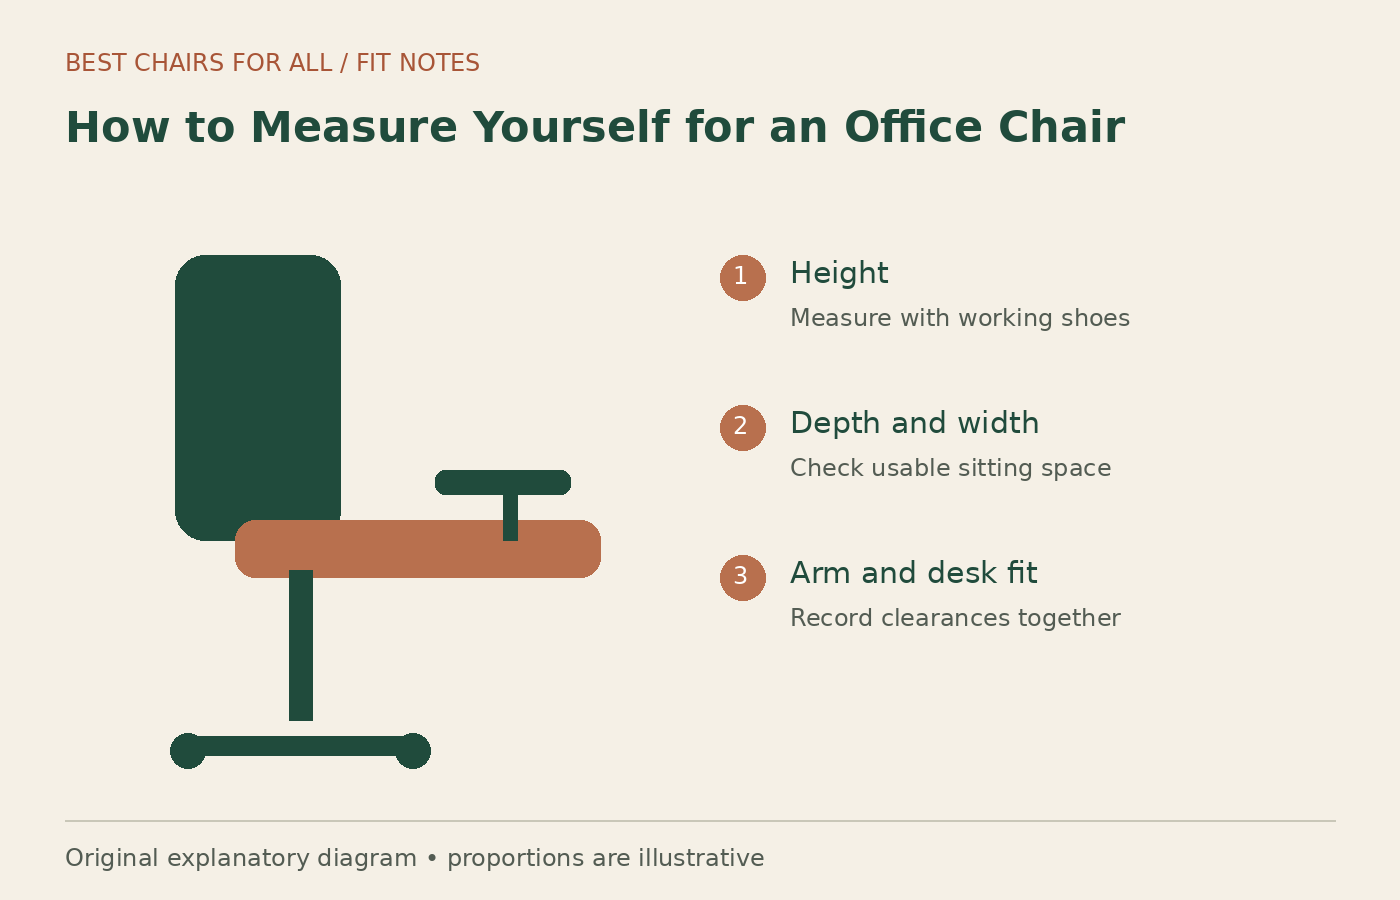
The purpose of this worksheet is to create a fit brief you can compare with product specifications and check during a return period. It does not calculate a medically ideal chair or guarantee comfort. You will record a range of usable settings, identify desk constraints, and learn which dimensions require clarification from the seller.
What you need, and how to record the results
Use a firm, level seat or adjustable chair, a tape measure, a straightedge, paper, and your normal work shoes. Ask another person to help if possible; twisting to read the tape changes the position you are trying to measure. Keep both centimeters and inches only if you need them for shopping. Otherwise, one unit system reduces transcription mistakes.
Create a worksheet with these headings: lower-leg height, seated thigh length, seated hip width, elbow height above the seat, comfortable arm-pad spacing, desk underside clearance, and keyboard height. Add a final column for “verified on the actual chair.” A dimension from a drawing and a measurement from a loaded cushion are not always directly comparable.
Take each body measurement twice without pulling the tape tight against clothing. Record sensible approximations rather than spurious precision. A millimeter-scale number does not make a home measurement more reliable. You are building a shortlist and spotting mismatches, not manufacturing a custom medical seat.
1. Measure lower-leg height in working shoes
Sit so your feet rest flat on the floor and your lower legs are approximately upright. Measure vertically from the floor to the underside of the thigh just behind the knee. Keep the tape vertical rather than following the angle of your shin. This is a starting reference for the seat-height setting you will want to test.
Do not assume the chair’s published seat height equals the height you experience. A soft cushion compresses under load, and some specification drawings measure an unloaded surface. Casters and cylinder options can also change the range. Ask the seller what the measurement describes when you are near the minimum or maximum setting.
If your existing chair fits your legs well, measure its seat height while someone sits in it in the usual way. Compare that practical reference with the body measurement. If the existing chair fits badly, write down why: dangling feet, pressure under the thighs, or knees rising awkwardly. That description helps prevent buying the same mismatch in a new style.
2. Measure seated thigh length and choose a usable depth
With your back comfortably against a firm support, measure horizontally from the rearmost seated position to the back of the knee. Do not run the tape over the curve of your thigh. The seat must leave room at the knee rather than occupying the entire measurement. CCOHS’s adjustment guide uses approximately a clenched fist of clearance between the seat front and the lower leg as a practical fit check.
Use that clearance idea to estimate the depth range worth testing; do not present the subtraction as an exact prescription. A curved front edge, backrest contour, clothing, and preferred supported posture affect usable depth. When you try the chair, verify that you can sit against the backrest while keeping the seat front clear of the knee area.
Distinguish adjustable seat depth from overall chair depth. Overall depth can include the backrest, base, and recline mechanism. A product listing that says “depth: 27 inches” may tell you almost nothing about the space available for your thighs. Ask for seat-pan depth and the minimum and maximum effective sitting depths if the description is unclear.
3. Measure seated hip width without squeezing
Sit normally and measure the widest part of your hips or thighs that will occupy the seat. A helper can hold two books vertically at the sides, then measure the gap between them. Keep the books lightly placed rather than compressing clothing or soft tissue. The resulting width is a body reference, not a target for a tight seat.
Allow room for ordinary movements and for clothing you actually wear. There is no single clearance allowance that fits every chair design. A deeply contoured seat or rigid mesh frame may offer less usable space than a flat upholstered seat with the same advertised width. Look at the shape and the position of arm supports as well as the number.
Check whether the seller means cushion width, frame width, or total chair width. Total width matters for a doorway or desk opening; usable seat width matters for sitting. Put both on your worksheet in separate rows. If you need a larger seat, also verify the manufacturer’s stated user-weight limit and intended use rather than inferring capacity from dimensions alone.
4. Record elbow height and arm-pad position
Sit on the reference seat with your shoulders relaxed and upper arms near your sides. Bend your elbows comfortably as if typing. Measure from the compressed seat surface to the underside of the forearm near the elbow. Repeat with the other arm. This gives you a practical reference for comparing the armrests’ adjustment range.
Next, note the distance between the places where your forearms would naturally rest. Arm spacing can be more limiting than height. A chair may have tall adjustable pads but supports that remain too far apart. Ask whether “width adjustment” refers to the whole arm assembly, sliding pads, or both; those designs can provide different usable positions.
Do not use the measurement to force a rigid elbow angle all day. OSHA’s chair guidance highlights relaxed shoulders and elbows close to the body. Your trial should test whether the pads help during real work, whether they obstruct the desk, and whether you can change position without the pads pressing into your arms.
5. Measure the workstation before blaming the chair
Measure from the floor to the underside of the desk at the place your thighs actually pass. Include any drawer, rail, or keyboard mechanism hanging below the top. Then measure the height of the keyboard’s working surface. A thick desk can simultaneously put the keyboard too high and leave too little space underneath.
Record the width available between desk supports and the depth available for your knees and feet. A base that fits between the supports may still catch on a crossbar when you pull in. A cabinet beside your legs may push you away from the center of the screen. Draw a small plan if the desk is crowded; clearances are easier to see on paper.
For a fixed high desk, note whether a suitable footrest and a higher supported chair setting could work. For a desk that is too low, raising the chair is not a solution. Penn’s office furniture guidance treats adjustable furniture and workstation layout as parts of the same selection problem. Your shopping brief should therefore include the desk, not just your body.
Turn measurements into a buying brief
Create three lists: required ranges, preferences, and unresolved questions. A required range might be a seat that lowers far enough for supported feet. A preference might be a mesh back or a particular color. An unresolved question might be whether the quoted depth is measured to the backrest’s most prominent point. Keep those categories separate so attractive finishes do not conceal a failed requirement.
An illustrative brief could read: “Need a seat that is comfortable at my measured supported sitting height; usable depth must leave knee clearance when I contact the backrest; arms must move inward enough for relaxed typing; total width must fit the desk opening.” Insert your own figures and units. Do not copy someone else’s range because they share your standing height.
Use manufacturer drawings and official manuals where available. Herman Miller’s Aeron product sheet, for example, separates size options, seat dimensions, arm choices, and height ranges. That is an example of the detail to request, not a recommendation that this particular chair will fit you. Model versions and regional options can differ.
A showroom or return-period test that uses the worksheet
Bring the measurements to the chair and adjust it before judging it. Set the seat, depth, back, and arms using our office-chair adjustment sequence. A chair left at the previous shopper’s settings can feel wrong for reasons that have little to do with its actual range.
Perform ordinary tasks: type, use a mouse, read while leaning back, move close to a desk, and stand up. Check the knee gap with your back supported. Check whether the arm pads remain under your forearms when the mouse is in use. Look for contact with hard seat edges or the arm structure. These observations are more informative than sitting upright for a quick photograph.
At home, keep packaging and follow the seller’s return conditions while you assess fit. Note what the chair does well and where it reaches a limit. Avoid modifying parts or fitting replacement cylinders during a trial; changes can complicate returns and may affect safe operation. Clarify the policy before purchase, including shipping fees and any assembly restrictions.
Special cases: shared chairs, cushions, and changing needs
For a shared chair, write a separate brief for each person. The adjustment range must cover both users, and the controls need to be easy enough to reset. A wide range that requires tools for routine changes may be less useful in practice than a simpler chair that both people can adjust correctly. Marking preferred settings in a notebook can help without altering the furniture.
If you use a seat cushion, measure the complete setup with the cushion compressed beneath you. It changes height, effective backrest position, arm height relative to the seat, and sometimes desk clearance. A cushion should not be treated as a harmless extra dimension that can be added after selecting a chair. Recheck every contact point.
Body measurements are useful inputs, but they cannot settle every fit issue. People with persistent pain, changes in mobility, or particular support needs may benefit from a workplace assessment or appropriate professional advice. Keep the worksheet as a record of observed fit rather than a diagnosis. Update it when the desk, shoes, cushion, or working pattern changes.
Something unclear or out of date? Send a correction with this article’s title and the detail to check.
Sources, research & corrections policy ↗