To find out whether a portable chair fits in your trunk, compare its actual packed bag with the loading opening and the usable interior space. Advertised cargo volume is not enough. A long narrow bundle, a broad flat chair, and a short disassembled package can have very different loading paths even when their calculated volumes look similar. Measure in the vehicle configuration you intend to use, with the rest of the trip’s equipment included.
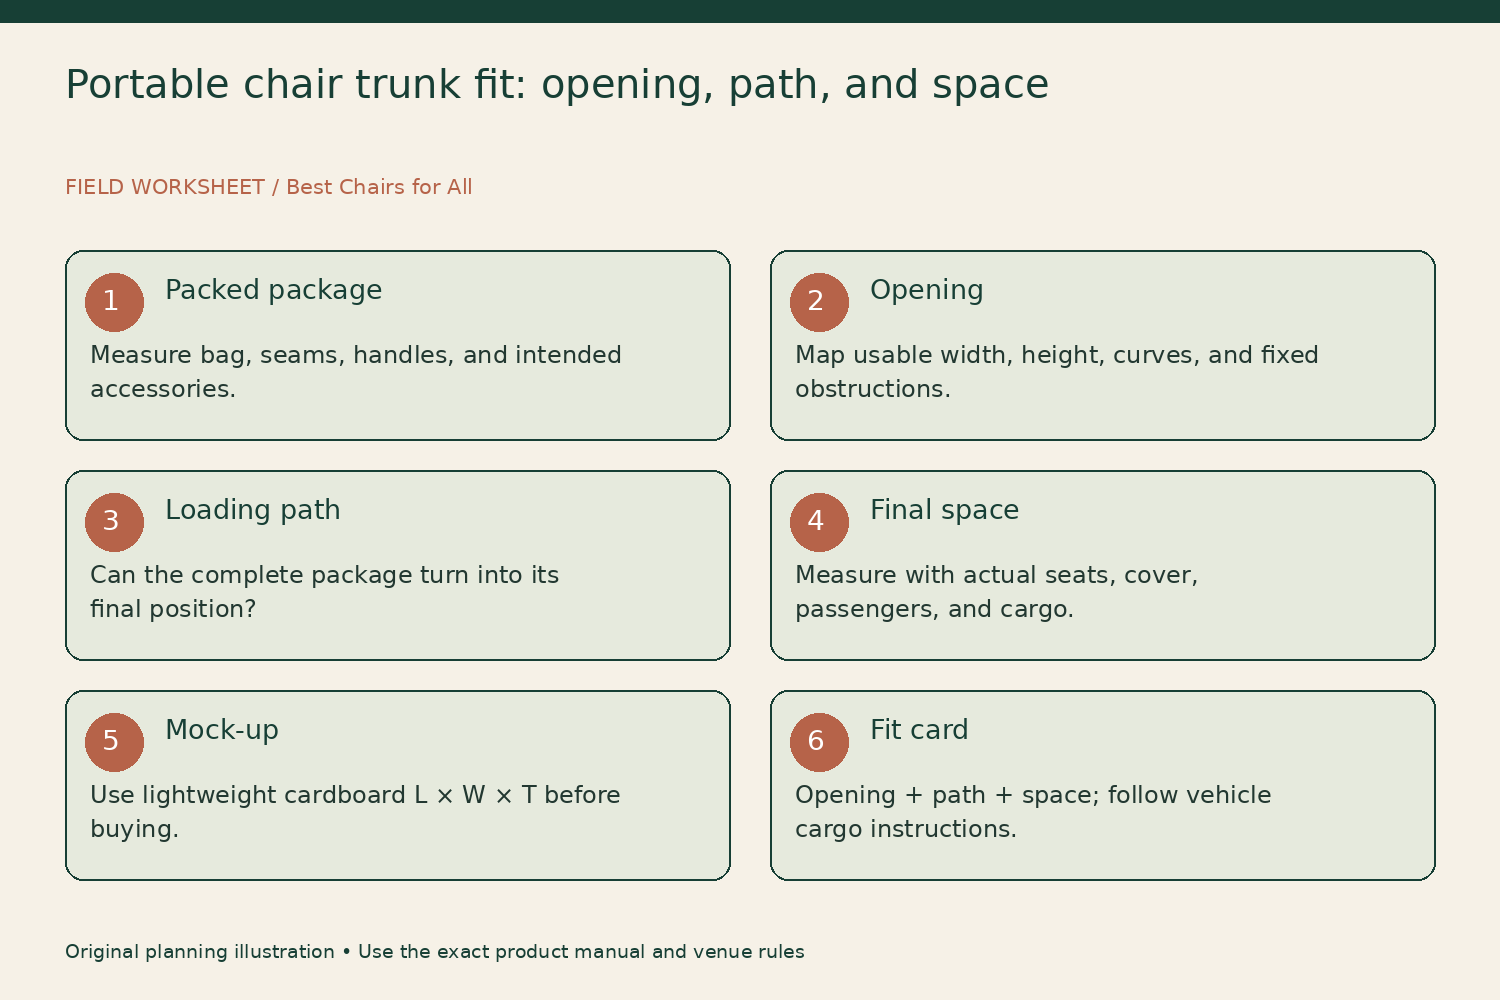
This guide gives you a three-stage fit check: through the opening, along the loading path, and into the final space. It includes a simple cardboard mock-up and worked envelope calculations. The measurements establish geometric fit only. Follow the vehicle’s manual for cargo placement and securing, and keep the chair folded or disassembled through the chair maker’s intended procedure. Do not force the trunk shut over furniture or alter the frame to make it fit.
Identify the complete packed configuration
Find the manufacturer’s packed dimensions and ask what they include. A listing may describe the folded frame without its bag, a chair with accessories removed, or the product lying flat rather than bagged. Record the exact model and configuration. If the chair arrives with a thick pillow, side table, shade, or detachable feet, determine how each is supposed to travel.
For a chair you own, pack it normally according to its instructions before measuring. Do not measure the compressed bare frame and then assume a roomy carrying bag adds nothing. Include protruding handles, fixed fittings, bag seams, and the usual closure. Keep loose straps controlled through the provided arrangement so the measured package represents what you will actually load, not an idealized outline impossible to reproduce.
Record three dimensions consistently
Label the longest packed dimension L, the widest perpendicular dimension W, and the remaining thickness T. Keep that convention even when a product page uses height, depth, or width differently. Note the original manufacturer labels beside your normalized values. This makes a long bag and a flat chair easier to compare without accidentally treating one product’s overall open height as its packed length.
Use the same units across the worksheet. If conversion is necessary, retain the original measurement and avoid rounding downward to create clearance. Ask about inconsistent specifications rather than selecting whichever table fits the car. Different versions or regional products can share a name, so record a SKU or other exact identity. The fit decision belongs to the actual package that will arrive.
Compare three documented package shapes
The Helinox Chair One manufacturer page lists a 14-by-4.5-by-4.5-inch carry case for the identified version. This illustrates a short compact package. It does not mean every Helinox chair or accessory combination has those dimensions. Check the current model, and include any separately carried parts in your own packing plan rather than assuming the seat bag holds everything you intend to bring.
The GCI Slim-Fold Director’s Chair XL page lists a folded outline of 21.5 by 4.5 by 36.2 inches, while the Picnic Time Ventura page lists a flat 20-by-32-by-2-inch item. These examples make the shape difference clear. A thin object can still have a large face that must pass through the opening. They are specification comparisons, not reports of fit in any particular vehicle.
Measure the opening at its narrow points
With the vehicle parked appropriately, open the trunk or hatch through its normal range. Measure the usable width and height at the loading opening, accounting for trim, hinges, latches, and curved corners. Do not measure between the widest exterior body points if the package must pass through a smaller opening inside them. Keep hands clear of moving closures and follow the vehicle’s instructions.
Draw the opening rather than reducing a curved shape to a single optimistic rectangle. Mark the narrowest relevant section and any fixed obstruction. A broad chair can fit the maximum width yet fail at a rounded corner when tilted. Do not assume that a bag can deform around a rigid arm or hinge. Identify which part of the package is soft and which keeps its shape.
Measure the final storage space
Record usable floor width, depth, and height with the seats and cargo cover in their intended positions. Include wheel housings, sloping seatbacks, underfloor access requirements, and any equipment already installed. A cargo area’s widest point may not occur at the height where the chair will sit. Measure the actual planned location rather than quoting the vehicle’s maximum interior dimensions.
Write whether the arrangement depends on folding a rear seat or removing a cargo cover, and confirm that those actions fit the passenger plan and vehicle instructions. A measurement taken with an empty car and seats folded does not answer whether the chair fits with two passengers using those seats. Keep the vehicle configuration on the worksheet so the result remains meaningful for the actual trip.
Trace the loading path
A package must move from outside the vehicle to its final position. Draw or observe the turns and tilts needed along that route. A chair can fit inside once placed there yet lack enough room to rotate through the opening. This is especially relevant to a broad flat frame that must enter edge-first and turn behind the sill or seatback.
Do not use the trunk lid or hatch to compress the package into place. If loading requires force against upholstery, trim, glass, or the chair’s mechanism, reconsider the orientation or candidate. A theoretical diagonal does not establish a workable path through a three-dimensional opening. Physical verification with a harmless mock-up is often more informative than increasingly elaborate calculations based on incomplete measurements.
Build a light mock-up
Use clean lightweight cardboard to represent the rigid envelope before purchasing. For a flat chair, cut a rectangle matching the largest packed face and add simple cardboard spacers to represent thickness. For a bagged bundle, make a light box of the stated dimensions. Label L, W, and T. This is a planning object, not a load-bearing structure or a seat.
Move the mock-up through the intended loading path without forcing it. Check the planned final location and whether other items still fit. Allow for uncertainty in soft bags and published measurements instead of assuming a cardboard edge’s precise fit guarantees the real package. The mock-up is particularly useful for rejecting an obvious mismatch. Confirm the actual chair when it arrives while return options remain available.
Use volume as a secondary comparison
Multiply L by W by T to calculate a rectangular bounding envelope. For a hypothetical 38-by-7-by-7-inch bundle, the result is 1,862 cubic inches. For a hypothetical 32-by-20-by-2-inch flat package, it is 1,280 cubic inches. The second has a smaller calculated envelope but a much broader face. These illustrative numbers do not describe a named product’s occupied cargo space.
Do not subtract that envelope from advertised trunk liters and call the remainder usable. Cargo spaces are irregular, packages do not tessellate perfectly, and insertion paths matter. The calculation can help compare several shapes or estimate a simple shelf requirement, but it cannot replace the opening and path checks. Label it ‘bounding envelope’ so it is not mistaken for measured vehicle consumption or material volume.
Plan more than one chair
Draw all chairs as separate packages with their actual shapes. Two identical flat frames may need more thickness than twice the published value if handles or hinges prevent close contact. Do not nest, stack, or compress them in a way the maker does not permit. A bagged pair should be measured as the actual pair when possible, including any straps or accessories between them.
Test removal order as well as loading order. If the first chair is needed during a roadside stop, avoid burying it beneath every other item. Keep heavy cargo placement and securing consistent with the vehicle manual. A space-efficient drawing is incomplete if the chair cannot be retrieved without shifting unsecured equipment or unloading belongings into a busy parking area.
Add the rest of the trip's load
Include cooler, luggage, shelter, tables, and other equipment in the plan. Measure the hard objects that cannot compress and identify items that must remain upright or accessible. Do not use a chair’s empty fabric pocket as assumed extra cargo capacity. Transport limits and packing methods come from its instructions, not from the visible space inside a folded frame.
Check the return trip too. Damp equipment may need a temporary permitted arrangement that differs from its dry packed form. Plan to dry it according to the maker’s care instructions after transport. A chair that fits only when stripped of its intended bag or squeezed against wet gear may require a different packing plan. Geometric fit should support practical ownership, not create a new storage problem after every outing.
Preserve the chair's intended closure
Fold tables, arms, recline parts, and shades through their documented sequence. Use only routine disassembly identified by the maker. Do not remove factory hardware, shorten a pole, bend a bracket, or detach a structural piece to gain trunk space. A few inches saved through an unapproved modification can change the product you researched and its use conditions.
When the chair seems larger than the published package, check the packing procedure and model identity. A trapped strap or incorrectly positioned accessory can prevent normal closure. Resolve the mismatch with the manufacturer rather than tightening the bag until a frame member is under unintended pressure. A reproducible correct package is more valuable than a one-time compressed shape that is difficult to undo.
Verify closure and cargo placement
After placing the actual chair, check clearance through the normal vehicle-closing procedure without forcing anything. Keep it away from mechanisms, glass, and areas the vehicle manual requires clear. Follow the manual’s cargo securing and placement instructions; a chair’s shoulder strap is not automatically a vehicle restraint. Do not assume that fitting tightly between other objects provides appropriate securing.
Record the successful orientation with a photograph and the vehicle configuration. This saves repeated trial-and-error while preserving the actual arrangement that worked. Recheck if changing bags, adding accessories, switching vehicles, or carrying more passengers. A fit result is specific to the package and car setup, not a permanent claim that the model fits every trunk with similar advertised cargo volume.
Finish the three-stage fit card
Your card should show packed L-W-T, configuration and source, loading-opening shape, path observations, final-space measurements, other cargo, and the permitted securing plan. Mark each stage confirmed, failed, or unresolved. A failure at the opening should remain a failure even if the interior has ample room. Likewise, a package that passes the opening still needs a workable final location.
Buy or pack once all three geometric stages are resolved for the actual trip. The simplest reliable method is to measure the real bag, map the actual opening, and verify the path into the planned space. Portable-chair packed size becomes useful information when it is connected to that route, rather than treated as a single number to compare with a trunk’s advertised volume.
Something unclear or out of date? Send a correction with this article’s title and the detail to check.
Sources, research & corrections policy ↗