To reduce a camping chair’s sinking in sand, start with an accessory explicitly compatible with the chair: a fitted ground sheet, enlarged feet, or a manufacturer-designed beach base. The accessory needs to support the whole frame correctly and remain attached as intended. A loose towel under four narrow legs is not equivalent to a fitted sheet connecting the feet.
There is no universal disc diameter or ground-sheet size that makes every camping chair suitable for every beach. Sand firmness, the chair’s geometry and the way it is loaded all affect the result. If the chair cannot remain supported under its permitted use, move it to suitable ground or use seating designed for that location. Do not keep stacking improvised objects beneath individual legs.
Why the feet disappear
A small contact area concentrates force on a small patch of sand. Increasing the supported area can spread that force, but sand is not a rigid floor. It moves, compacts and varies with moisture and disturbance. One foot may sink differently from another. The problem is therefore both local pressure and the changing geometry of the complete chair.
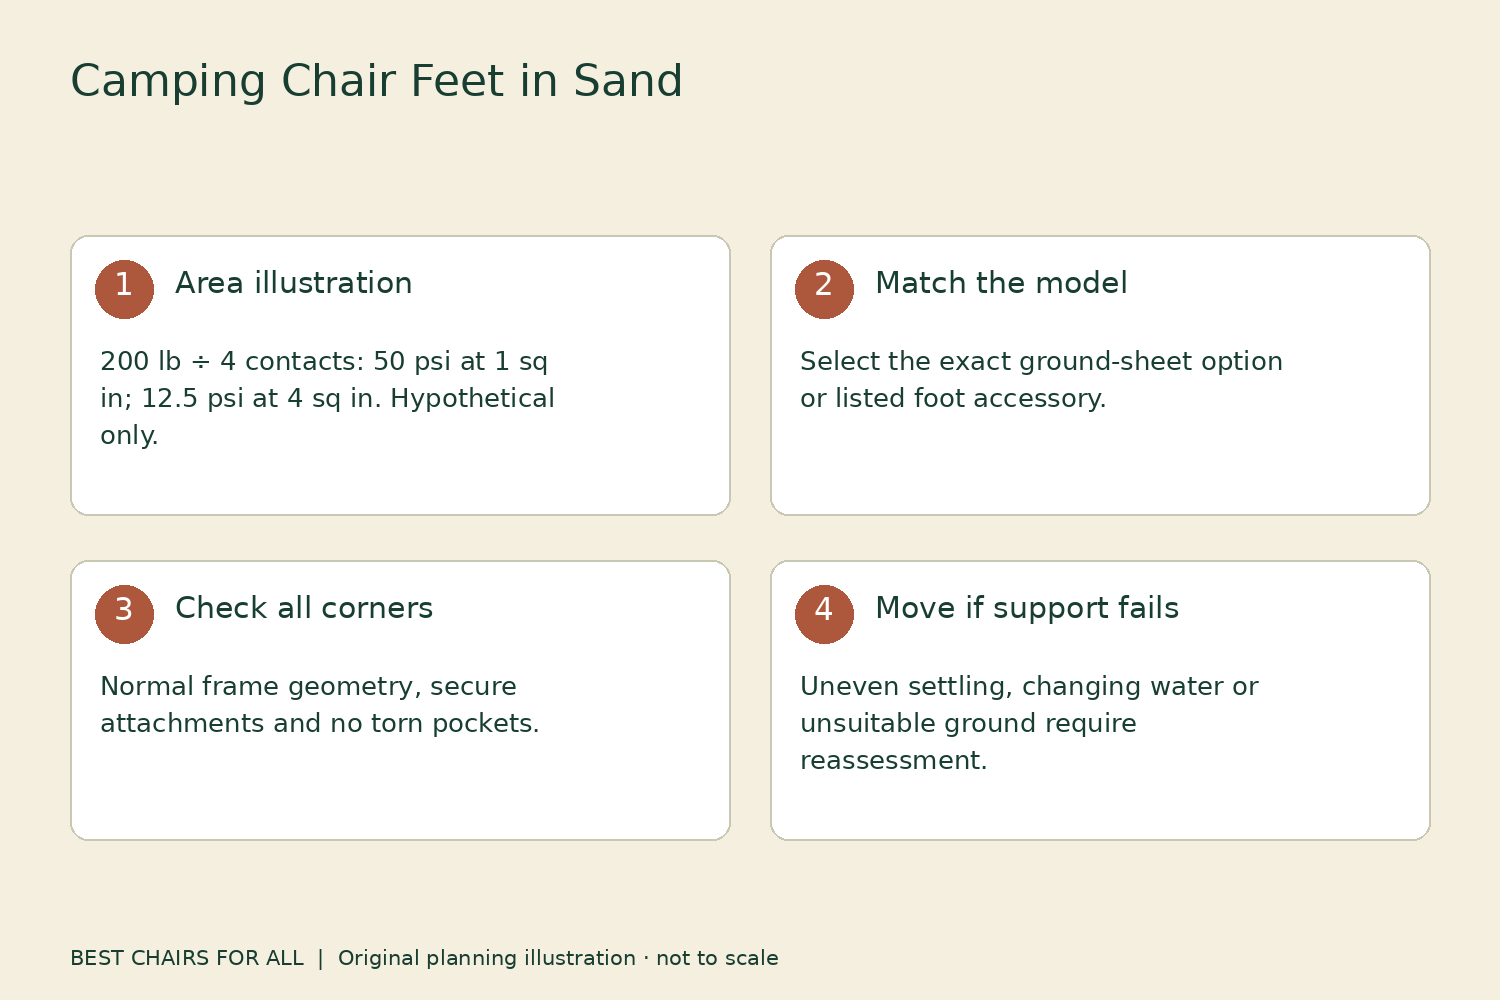
A simple hypothetical calculation makes the area relationship visible. If an evenly distributed 200-pound load rested on four one-square-inch contacts, the arithmetic average would be 50 pounds per square inch at each contact. If four supports each provided four square inches, that average would be 12.5. Those numbers are a teaching example, not measured chair pressures, a prediction of sinking, or a load rating for homemade feet.
Actual loading changes as a person enters, reaches and stands. A chair’s legs also meet the ground at angles, and the support accessory may flex. Do not treat an area calculation as proof that a proposed modification is safe. Its useful lesson is narrower: a larger supported footprint can help explain why a properly designed accessory behaves differently from a narrow bare leg.
Choose a suitable patch before fitting anything
Look for a place that meets the chair and accessory instructions, away from water edges, banks, holes and established walking routes. Avoid the assumption that wet sand is always firm enough or that dry sand behaves consistently. Check where every support will land. Surface appearance can conceal a disturbed patch left by digging or repeated foot traffic.
The Helinox Chair One handling guide specifies flat, solid ground and warns about unbalanced loading and shock. If using an accessory on a softer surface, consult the accessory instructions and the manufacturer when the permitted conditions are unclear. Marketing about soft-ground accessories should not be used to ignore restrictions that apply to the underlying chair.
Leave enough room to stand with both feet on a sound surface. A chair can seem acceptable while occupied yet move during entry or exit. Keep its bag, sandals and cooler clear of that movement area. Select a different position if the only available place requires a leg at the lip of a hole or near a drop into a lower patch of sand.
A fitted ground sheet supports a system
A purpose-designed chair ground sheet usually connects several feet through reinforced corners and an attachment system. The Helinox Ground Sheet page, for example, lists compatible styles and describes corner attachment and a center strap. Choose the actual model option, not simply the first sheet carrying the same brand name. Similar chair names can have different footprints.
Before traveling, assemble the chair and sheet at home. Confirm that all intended feet reach their pockets without stretching the sheet into an unintended position. Fasten the center connection as instructed. The frame should remain in its normal assembled geometry. If the corners do not align, stop and verify the model and accessory rather than pulling a leg sideways to make it fit.
Inspect the sheet’s stitching, corners and attachment strap. A tear near a foot pocket can remove the intended support even if the middle panel looks intact. Keep sand out of clips and closures where practical. If you lift or reposition the chair, check the complete attachment again before sitting. A partially detached corner is easy to overlook when the fabric lies flat against the sand.
Enlarged feet require the right connection
Ball feet and other enlarged feet can be convenient where a full sheet is unnecessary or less appealing to pack. Their fit depends on the leg or original foot they are meant to accept. Check the manufacturer’s compatibility information for the exact version of your chair. An opening that seems close in diameter does not establish secure attachment or the correct working angle.
Some accessories fit over the existing foot; others replace a component. Follow the actual installation method. Do not remove bonded parts, drill tubing, or force an accessory with tools unless the manufacturer explicitly directs that operation. A damaged leg end can create a more serious problem than sinking. If the attachment is unclear, ask the maker and provide the chair’s model label and a clear photograph.
Check retention after carrying the assembled chair a short distance without an occupant. An accessory that stays in the sand when you lift the chair needs attention before the next sit. Count detachable feet when packing and again before leaving the beach. Keeping them in an identified pouch helps avoid arriving with only three usable supports.
Discs and loose supports need caution
A broad disc can look like an obvious solution, but a loose object can slide, tilt or allow the leg to slip off its edge. A support with a recess or attachment designed for a particular chair is different from a random flat object. Check the maker’s intended use and dimensions before treating either as interchangeable.
Avoid glass, sharp-edged scrap, fragile lids and objects likely to break into litter. Do not build a seat platform by balancing individual legs on stones or stacked boards. Those pieces can settle at different rates and change the frame’s loading. A chair that needs that much improvisation is a poor match for the chosen location.
A picnic blanket can still be useful as a clean place for equipment, but do not assume it distributes chair loads. Narrow feet may push through soft fabric into the sand beneath. Keep the blanket from bunching around the legs or creating a trip edge. If your chair accessory uses mesh, leave it as designed; adding an impermeable layer may change drainage or collect sand and water.
Use this compatibility and setup record
| Checkpoint | What to record |
|---|---|
| Chair identity | Brand, exact model, generation and photograph of label |
| Accessory identity | Exact compatibility option and instructions |
| Attachment | Corner pockets, straps or feet fitted as directed |
| Support condition | No torn corners, cracks, missing pieces or loose fit |
| Surface | Appropriate level patch without holes or edges |
| After repositioning | All connections checked again before sitting |
| Return care | Fresh-water cleaning if instructed, complete drying and part count |
This is a practical ownership record, not an inspection certificate. Keep unresolved compatibility questions visible. “Looks right” is a weak entry when a manufacturer provides a specific model list. If two generations of the same chair are in your household, label their accessories so the wrong combination is less likely to be packed.
Watch for changing support during use
Settle into the chair gently as its instructions direct. Do not bounce, lean back onto two legs or use the frame as a rocking mechanism. If one side starts dropping, stand carefully when you can do so securely and reassess the location. Repeatedly pressing the feet deeper does not establish a reliable base for the rest of the outing.
Keep the surrounding sand undisturbed. Digging around a leg, moving a heavy bag beside a foot or creating a channel for water can change the support after setup. A rising tide or incoming runoff is a reason to move, not a reason to add larger discs. Beach conditions can change while the accessory remains correctly attached.
Do not confuse sinking prevention with wind resistance. A broad ground sheet may provide a place for manufacturer-permitted ballast, but that does not establish a universal wind limit or make a canopy safe in gusts. Follow the instructions for any anchor or ballast arrangement. Store lightweight seating when it is unattended and conditions could carry it away.
Clean the complete setup after the beach
Sand trapped in a joint or foot connection can make the next assembly difficult. Remove loose sand using the maker’s permitted method before closing the bag. GCI Outdoor’s product support directs beach users to wash its products with fresh water and dry them before storage. Apply that instruction to GCI gear; consult the relevant brand for other chairs and accessories.
Dry the ground sheet separately if its corners or straps remain damp after the chair feels dry. Open pockets, inspect trapped areas and keep the carry bag open until everything is ready for storage. Photograph worn accessory corners before contacting support. Replacing a damaged fitted sheet with the correct part is more useful than relying on an improvised arrangement that merely looks broad enough.
A small brush reserved for sandy accessories can help keep grit separate from clean luggage, where the material instructions allow brushing. Avoid scraping coated poles with sharp tools. Check that drainage openings remain clear without enlarging them, and never add holes to a frame member as a home drainage improvement.
For the next trip, pack the compatible accessory beside the chair and include it in the weight and bulk comparison. The simplest dependable beach setup is the one that matches the manufacturer’s design, fits your transport, and can be checked without guesswork. If the sand still defeats it, choose firmer permitted ground or a different seating system.
Something unclear or out of date? Send a correction with this article’s title and the detail to check.
Sources, research & corrections policy ↗