A pole frame camping chair should go together through correctly seated connections and the assembly sequence in its own instructions. The fabric can feel taut, but a chair that seems to require violent pulling, tools or heating deserves a pause. Check the frame layout, the seat orientation, and the exact model before adding force. Similar looking chairs can attach their seats differently.
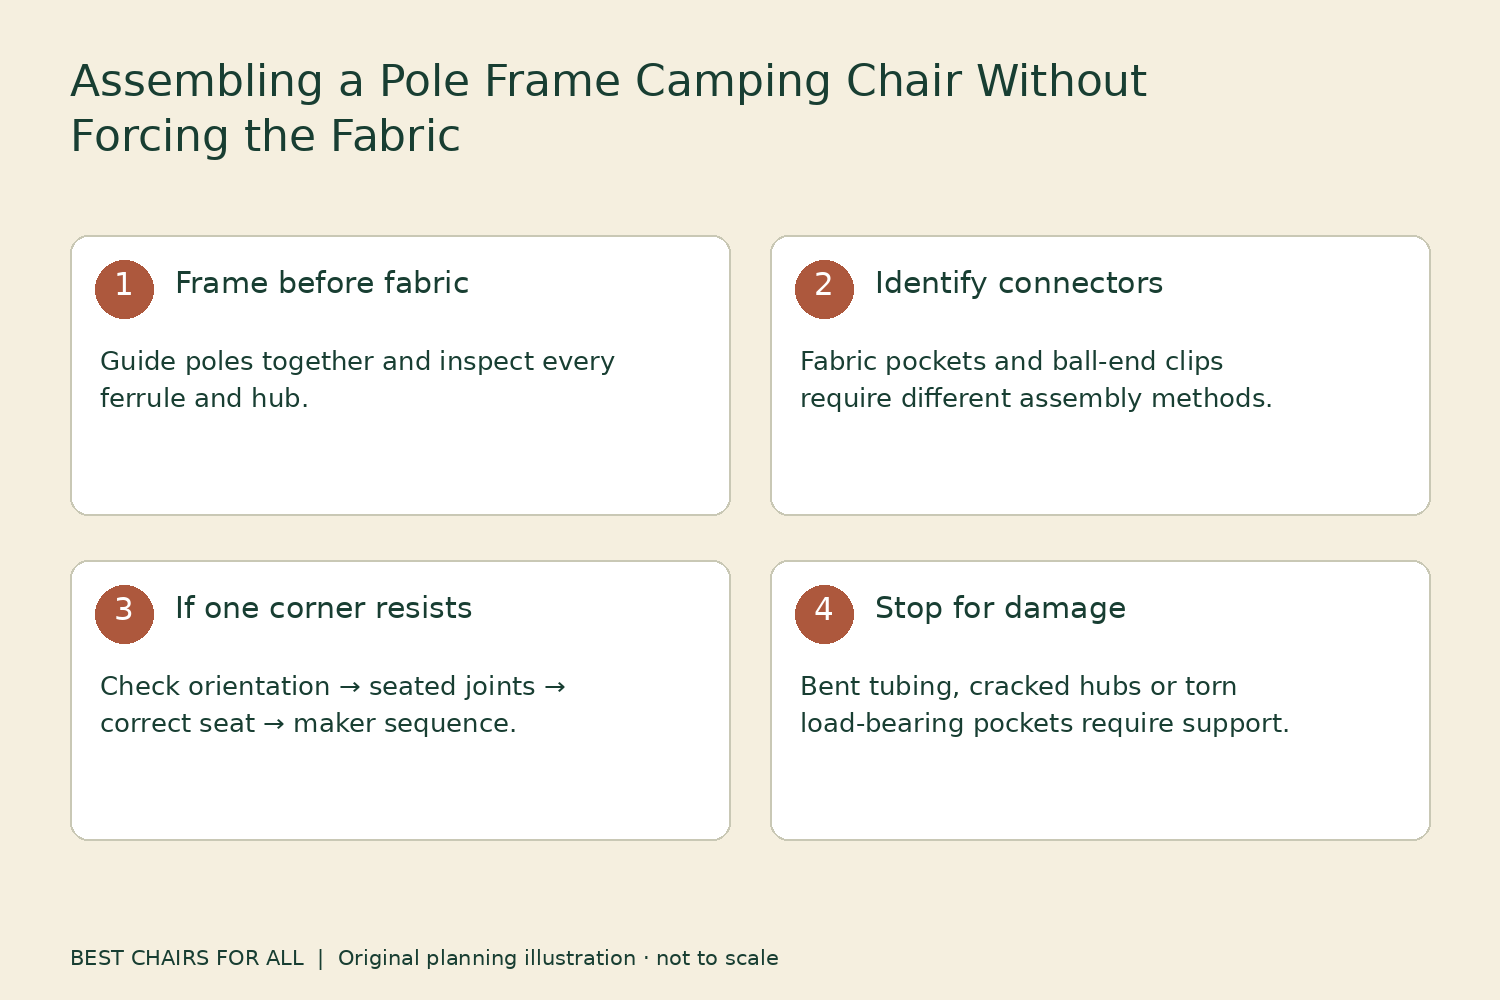
This guide provides a troubleshooting sequence and two documented examples. It does not replace a model’s illustrated instructions. Keep the chair unoccupied during assembly, place loose parts on a clean surface, and keep fingers clear of joints. If you find bent tubing, cracked hubs or damaged fabric pockets, stop and contact the manufacturer instead of trying to assemble around the damage.
Identify the chair before opening the frame
Find the brand, model and generation on the label, bag or receipt. Match those details to the manual. A replacement seat from a related chair can look almost identical while having different pocket spacing or tension. If you inherited a frame and fabric separately, establish compatibility before assuming the final corner is merely tight.
Lay out the components where they cannot roll into a fire, water or a path. Separate the seat from the frame and look at both sides of the fabric. Find any orientation marks, upper corners, reinforced pockets, straps or connection hardware shown in the guide. This first inspection often resolves a seat that otherwise appears impossible to stretch into place.
Photograph the correctly arranged parts once you establish the right layout. That reference can be useful at the campsite without requiring an internet connection. Save the actual manufacturer instructions as well; a photograph of loose components does not show every connection or caution. If the manual is unclear, ask support for the matching version rather than copying a setup video for a different model.
Let the shock cord organize, not strike
A shock-corded frame keeps pole sections associated with one another, but it does not guarantee that every ferrule has entered fully. Guide sections together by hand according to the instructions. Keep the ends away from faces and other people. Do not swing the bundle or let poles whip together as a setup shortcut.
Check each joint before installing the seat. A narrow gap at a pole connection can mean the section is not seated. Compare it with the maker’s drawing and the other matching joints. Sand or grit may prevent engagement, and a damaged ferrule can create the same symptom. Remove contamination only by a method suitable for the component, then inspect again.
Shock cord is not a substitute for the structural connection between tube sections. Pulling harder on the seat does not correct an incomplete joint. It may instead load the edge of a ferrule or hub. If a section remains loose, distorted or impossible to seat, leave the chair unused and seek the correct replacement or repair instructions.
Establish the full frame geometry
Place the assembled frame in the orientation shown by the manual. Confirm which poles are legs and which support the backrest. Do not assume the longest visible poles are always the top pair. Look for the actual diagram and compare the position of the central hubs, cross members and feet.
Check that every intended foot is present. A missing foot can alter the chair’s contact with the surface and expose the tubing end. Do not substitute a random cap simply to finish assembly. Confirm replacement compatibility with the manufacturer. The frame should sit as its design intends before you add the seat, although an unloaded frame may flex differently from a complete chair.
Use the permitted surface for setup and eventual use. A flat patch makes it easier to see whether the frame is correctly arranged. The Helinox Chair One guide requires a flat, solid surface and warns against unbalanced loading and shock. Those restrictions remain relevant after the final pocket is installed.
Example one: follow the Helinox diagram
The Chair One guide includes an illustrated seat attachment sequence and explains that laying the chair on its back after the first indicated attachment makes the next insertion easier. Read that note alongside its diagram. Do not guess which numbered connection it means from a text summary alone. Position changes can reduce awkward pulling without changing the seat or stretching it artificially.
Hold the fabric at its reinforced installation area as shown in the instructions. Keep nails and sharp objects away from the pocket edge. If the pocket will not reach, go back through orientation, fully seated joints and model compatibility. Do not use a screwdriver to lever fabric onto a pole end, or stand on part of the frame to create extra reach.
A fabric pocket needs to receive the pole end as designed. A corner resting partly over the tip can look connected from one angle while still being incomplete. Walk around the chair and inspect every attachment before considering it ready. Use the maker’s illustration as the comparison, including which side of each pocket faces outward.
Example two: NEMO uses a different connection
The NEMO Moonlite Reclining Chair instructions describe ball-end seat connections rather than the same fabric-pocket process. The manual starts with fully joining the frame and hubs, then attaches the upper corners before the lower corners. It notes that seat adjustments in the reclined position make assembly easier.
This difference is why a universal instruction such as “always pull the lower pocket on last” is unreliable. Identify the actual connector and its release method. With the Moonlite example, the manual also explains a specific way to rotate corner connections during disassembly. Pulling indiscriminately on the fabric can work against the intended mechanism.
Use the instructions supplied with your own version, particularly when a manufacturer sells an Elite or revised chair alongside an original model. Names within a product family do not establish identical hardware. A short practice session at home is worthwhile because it lets you recognize proper engagement before poor light or cold fingers make the process harder.
A no-force diagnostic flow
| What you notice | Check next | Stop condition |
|---|---|---|
| One corner does not reach | Seat orientation, specified sequence and model compatibility | Correct layout still requires tools or violent force |
| Frame looks twisted | Every pole section, hub socket and frame orientation | Bent pole or cracked hub |
| Connection will not seat | Visible grit and the matching joint in the diagram | Damaged ferrule, distortion or persistent gap |
| Seat connection partly engaged | Correct pocket or connector position from all sides | Worn pocket, damaged clip or uncertain retention |
| Bag will not close | Disassembly and folding order | Pole under forced bending or zipper straining over hardware |
Work through one question at a time. A repeated failure at the same corner is information worth recording. Photograph the entire frame and that connection for support. Include the model label, whether the seat is original, and when the issue started. “It became difficult after a pole replacement” helps identify a compatibility issue more clearly than “the fabric is too small.”
Do not use heat or soaking as an assembly fix
Heating, soaking or lubricating a tight seat may damage coatings, alter the material or create a cleaning problem. It can also hide the real issue: an incorrect replacement seat or incompletely assembled frame. Follow only a manufacturer-approved preparation method if the specific instructions call for one. A technique suggested for an unrelated brand does not transfer automatically.
Likewise, do not cut stitching, enlarge a pocket or shorten a pole to make the components meet. These changes affect the intended load path. A visibly repaired pocket does not recover an original capacity merely because it can be fitted to the pole. Use the appropriate replacement seat or manufacturer service route when structural fabric is damaged.
The Helinox repair and care program provides an example of brand-specific repair support and care guidance. Consult the relevant regional support team for your chair and purchase. Availability and warranty coverage depend on the product and circumstances; replacement support is a route to investigate, not a promise that every fault is covered.
Practice a low-light setup without improvising
Pack a small light where you can reach it before opening the chair. Arrange the parts on a clean mat or other permitted working surface so dark connectors do not disappear into grass. At home, rehearse locating the upper fabric corners and checking joints by sight while the light is in the position you will use outdoors. Do not turn this into a speed challenge. The purpose is to know which connections need deliberate inspection and where a second look is required. Keep children away from the assembly area and never ask them to hold a tensioned frame while you pull on the seat.
Check the completed chair before sitting
Confirm all intended seat connections, frame joints and feet. Look beneath the seat as well as at the visible upper corners. Ensure no strap, bag handle or clothing is trapped in a moving or tensioned connection. Clear the surrounding area so you can approach and leave the chair without stepping over loose gear.
Follow the manual’s directions for first applying weight. NEMO’s Moonlite instructions caution against aggressive sitting or jumping and call for checking the chair before full loading. Keep within the exact model’s stated capacity and intended use. The fact that another pole-frame chair carries a different rating does not change yours.
Learn disassembly with the same care. Release the seat connectors in the specified way before separating frame sections. Guide the shock-corded pieces into their folded arrangement without bending a connected pole sideways. Keep dry fabric away from grit during packing, and dry damp components before long-term storage. A chair that closes neatly through its intended sequence should not need to be forced into its bag.
Something unclear or out of date? Send a correction with this article’s title and the detail to check.
Sources, research & corrections policy ↗