Check lift-chair size in four layers: the user’s seated fit, the chair’s movement and controls, the room’s operating envelope, and the access needed by any helper or equipment. A chair can have the right weight capacity yet be too deep, too high, or difficult to approach. A lift function also does not establish that an individual can use it independently or that a particular transfer is appropriate.
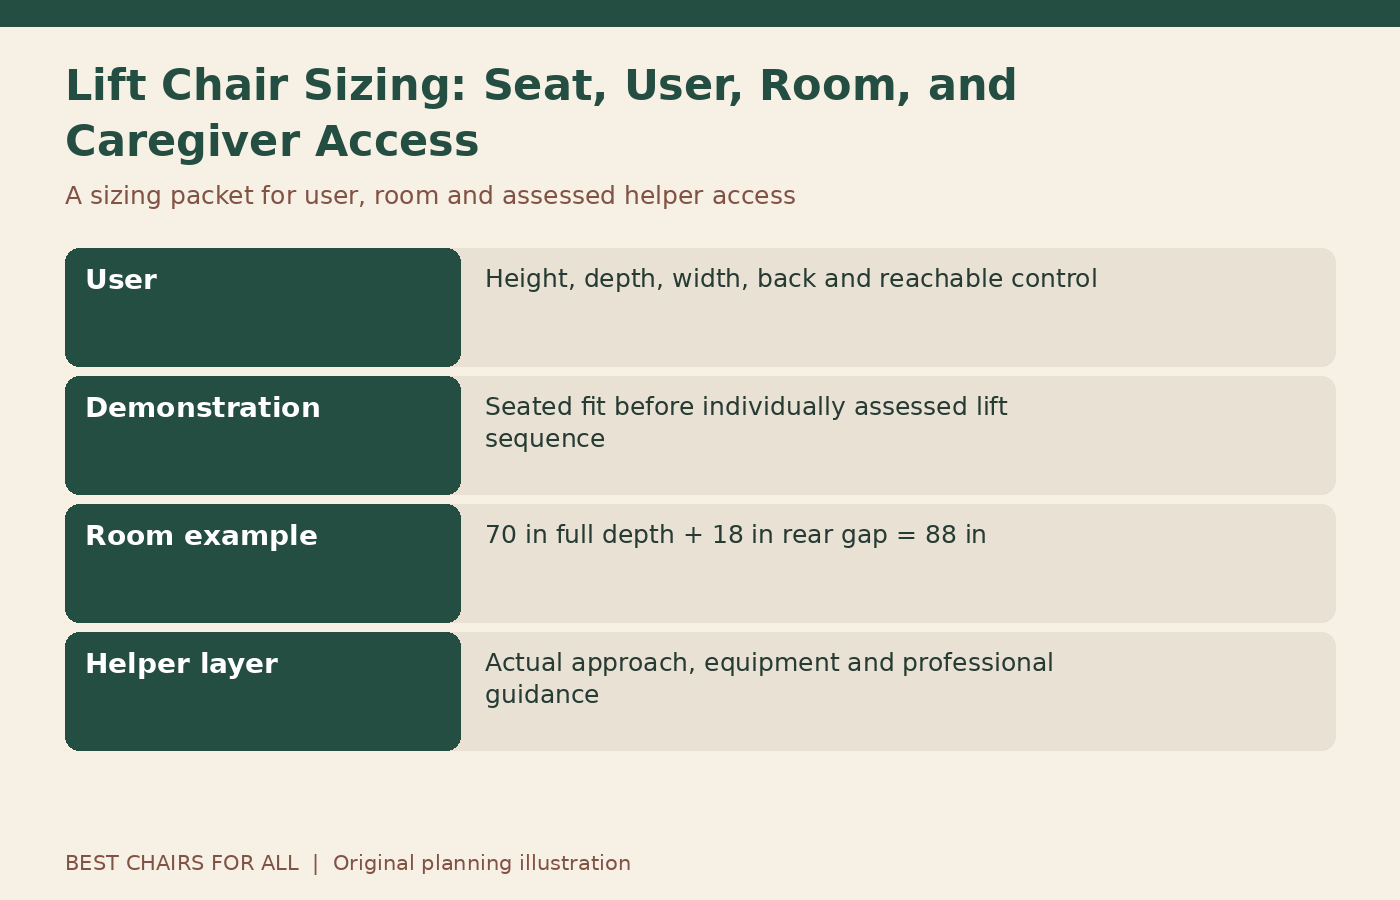
Use measurements to prepare for a provider demonstration, not to replace one. This guide provides a user-room-helper sizing packet and a documented trial record. If mobility, balance, cognition, medical needs, or a care plan affects chair use, involve the appropriate professional and provider in the assessment rather than applying a generic sizing rule.
Identify the main user and actual routine
Write down who will use the chair, the main sitting activities, whether help is expected, and what equipment is normally nearby. Distinguish powered reclining from assistance with sitting and standing. A wish for easy footrest operation is different from a need to assess the lifting sequence. Those needs influence which functions should be demonstrated and who should attend.
Include whether the chair will be shared. A second user’s comfortable reclined position does not establish that the primary user’s upright seat and lift fit are suitable. If the chair is intended as a gift, arrange a meaningful trial or provider consultation instead of relying only on the recipient’s standing height and a family member’s impression of comfort.
Record four seated body measurements
On a suitable stable chair, record seated hip width, lower-leg height from the knee bend toward the floor, the horizontal distance from the back of the seated body to the knee bend, and seat-to-top-of-head height. Note footwear, posture, and measurement method. A helper can improve consistency, but avoid forcing a person into a position that is unsuitable for them.
Golden Technologies’ sizing guidance maps these measurements to seat width, seat height, depth, and back height. It explicitly treats charts as a way to narrow choices and recommends trying the actual model. Follow that limitation: measurements create a shortlist, while cushioning, construction, and the occupied sitting position can change how a nominal dimension feels.
Keep seat dimensions independent
Make separate columns for seat height, usable depth, width between arms, and interior back height. Do not assume a larger size changes all four in the direction you need. A petite-wide model may provide more width without a longer sitting surface, while a tall version may increase height and depth together. Read the exact size’s specification rather than a family-level description.
Pride’s sizing FAQ also separates these dimensions and cautions owners to check the specific chair. A recommended height range is a screening tool, not a guarantee. Weight capacity is another independent requirement and must be verified for the exact configuration, following the manufacturer’s load instructions.
Check the normal seated position first
Before any lifting demonstration, assess the chair upright and stationary. Can the person sit comfortably back with the intended floor support? Does the seat front create intrusive contact behind the knees? Are the arms useful and the back cushion positioned comfortably? Record what happens without assuming one chair height or a fixed knee angle is appropriate for every user.
If the person slides forward to reach the floor, determine whether seat height, depth, or both are involved. Do not treat a cushion placed behind the back or an improvised riser as a proven fix. Any proposed adaptation needs manufacturer compatibility and, where relevant, individual professional guidance. Repeat the complete trial with an approved support that will actually be part of everyday use.
Evaluate controls as part of sizing
A chair that fits the body can still be unusable if the remote is hard to reach or interpret. Ask the provider to explain the exact control, including which actions require holding a button, how movement stops, and any lock or memory features. Let the intended user try appropriate actions under the provider’s guidance rather than accepting a demonstration performed entirely by someone else.
Check the storage pocket or holder as well as the buttons. A remote that slips out of reach can create a practical dependence on another person. If a helper will operate or retrieve controls, discuss that arrangement explicitly with the provider and follow the model’s intended-user restrictions. Do not reroute cables or substitute a different control without approval.
Have the lifting sequence assessed individually
The lifted seat changes height and angle during movement. Its suitability depends on the user and how the chair is used, not merely on its maximum raised position. Ask a knowledgeable provider to demonstrate and assess the sequence with the assistance appropriate to the person. If the user has transfer or balance concerns, include the relevant professional rather than copying a generic demonstration.
Do not prescribe an exit angle, lifting height, hand placement, or walking-aid position from an article. Those details require the matching manual and individual assessment. Record the provider’s instructions and unresolved questions. Stop a trial that feels unsafe or confusing, and do not assume more practice will solve a mismatch in seat dimensions or support needs.
Draw the operating envelope with exact reference points
Obtain overall width, upright depth, fully reclined depth, required rear clearance, and the dimensions relevant to lifting. Ask what each measurement includes. Some published lengths describe a section from seat back to footrest end rather than the whole chair. Adding incompatible reference points can produce a misleading room calculation.
Tape the confirmed envelope on the floor using a surface-safe method. Mark the back’s travel, the footrest tip, and any other permitted movement. Include tables, curtains, heating equipment, doors, and outlets. A wall-saving description is not proof that the chair can be placed against any wall or that it requires little space in front.
Add a helper-and-equipment layer
On the same drawing, mark the actual approach route and the areas a helper needs to use under the person’s assessed routine. Include a walking aid, wheelchair, or other equipment where relevant, following individual guidance. Do not present the space left beside the chair as an accessibility approval merely because a tape measurement looks generous.
Pride’s caregiver guide emphasizes matching the user and room and assessing safe operation. Use the room sketch at the provider appointment so the discussion includes the real home. If more information is needed, ask what measurements or an in-home assessment should resolve it before purchase.
A worked room-depth example
Suppose a retailer confirms that a hypothetical lift chair measures 70 inches front to back fully reclined and requires a separate 18-inch rear gap from the same rear reference point. Its planned wall-to-front depth is 88 inches. In a 126-inch room section ending at a fixed cabinet, 38 inches remains. That result describes furniture space only; it does not establish adequate access for a particular person or helper.
Now add the actual approach, equipment, and assessed assistance positions. A nearby door may swing into the remaining area, or the helper may need access from a side blocked by a table. These details can fail the layout even though the arithmetic is correct. Keep the measured envelope and individual access assessment as separate approvals in the packet.
Plan power and interruption arrangements
Locate the specified outlet, external supply, cable path, and any approved battery backup before finalizing placement. Keep equipment in the manual’s permitted ventilated location and cables clear of movement and walking routes. Ask whether the supplied backup is intended only for emergency return or supports another documented use. Do not assume any battery feature guarantees continuous operation.
Where the user depends on powered movement, discuss an appropriate outage and equipment-failure assistance plan with the provider and relevant support people. A battery cannot repair a failed control or mechanical problem. Record maintenance responsibilities so readiness does not depend on someone remembering an unspecified future battery replacement.
Build a user-room-helper trial record
Use four sections: seated fit observations, control and movement demonstration, room envelope, and assessed assistance arrangement. Under each, mark Confirmed, Requires change, or Unresolved. Include who confirmed it and the exact model and size tested. This keeps a successful cushion trial from being mistaken for completion of every part of the decision.
A hypothetical record might show comfortable seat fit and controls but unresolved right-side helper access at home. The next action is to revise the room or obtain an in-home assessment, not to choose upholstery and hope the issue disappears. Another might show adequate space but excessive depth, directing the shortlist toward another size rather than another room layout.
Check delivery and setup responsibilities
Measure the route into the home, including clear door openings, turns, stairs, and elevators. Obtain the dimensions and weight of the largest delivered piece and clarify approved assembly. Ask whether the delivery team will verify placement, cable routing, and normal operation. Do not plan to dismantle a lift mechanism or remove powered components to solve a tight doorway.
Clarify return and exchange terms before purchase, particularly when fit depends on a showroom sample or custom upholstery. A manufacturer’s sizing chart is not itself a return guarantee. Keep the provider’s written answers, model code, and trial record with the order. Ask who will handle a setup or fit discrepancy after delivery and what charges may apply.
Reassess after installation and later changes
At setup, compare the installed configuration with the documented trial and room plan. Have the appropriate provider confirm the normal operating sequence and any individualized instructions. Make sure the manual, controls, and service information are accessible to the user and relevant helpers. Report a meaningful mismatch promptly rather than adding improvised cushions or platforms.
Revisit the packet if the user’s abilities, equipment, helper arrangement, or room changes. Lift-chair sizing is complete only when the person, controls, movement, room, and assessed support routine work together. A size label and weight rating begin the search; a documented model-specific demonstration and practical home arrangement finish it.
Something unclear or out of date? Send a correction with this article’s title and the detail to check.
Sources, research & corrections policy ↗