A gaming chair’s height recommendation is a useful first filter. It does not tell you whether its side bolsters leave enough hip room, whether your feet reach the floor, or whether its lumbar support meets your back. Two people of equal height can need different seat depths and armrest positions.
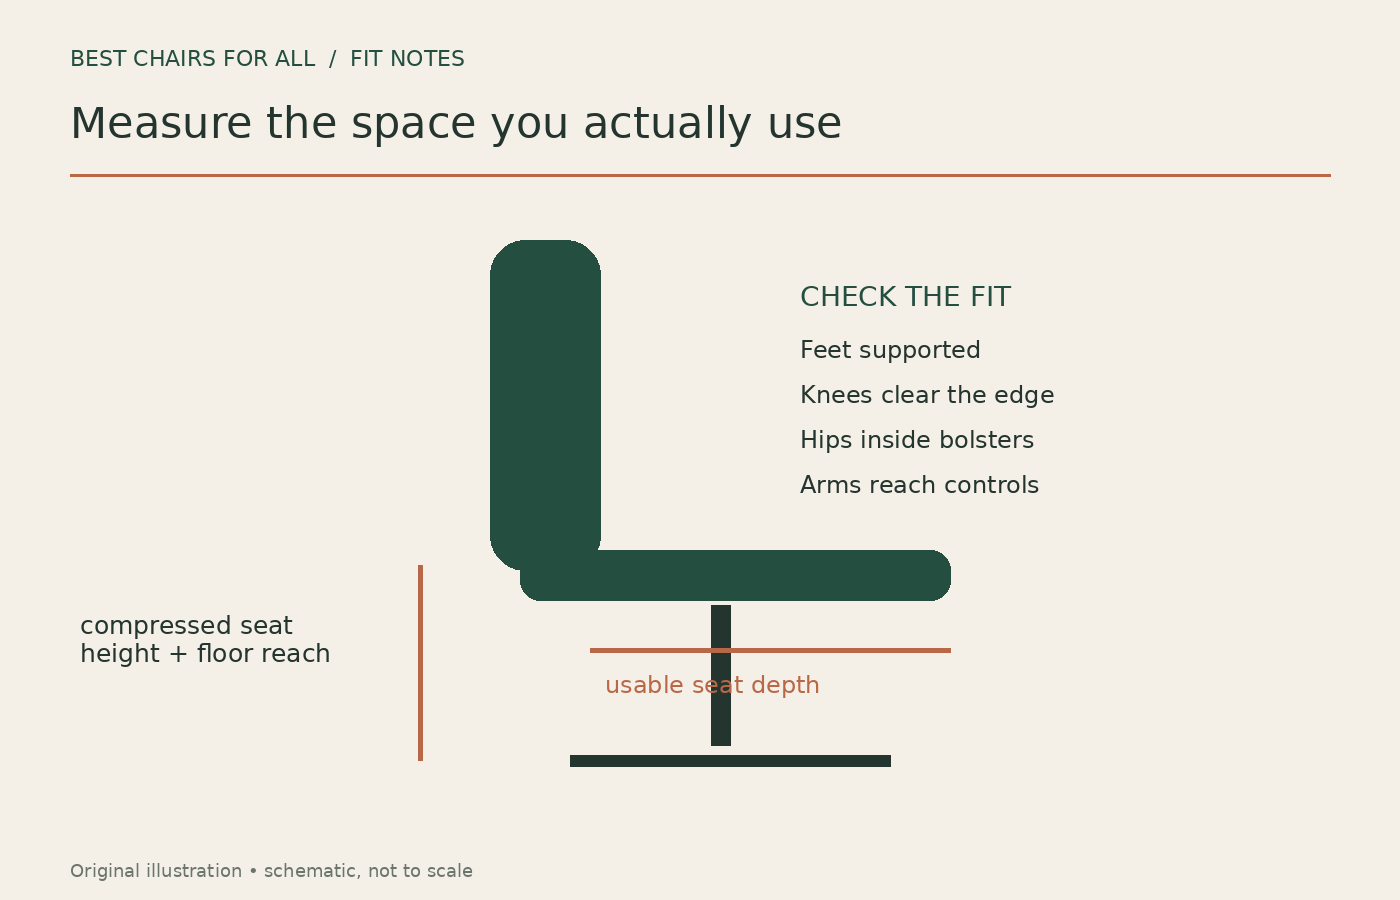
Measure your body, desk and an existing chair before comparing models. This guide turns those measurements into a fit worksheet and explains how to read gaming-chair specifications. The examples are illustrative calculations, not measurements of a product we tested. Always check the current size chart and technical drawing for the exact chair, upholstery and region you are buying.
Start with the limits you cannot adjust around
Find the manufacturer’s maximum supported weight and any recommended size range. Treat a maximum capacity as a limit, not a promise that the chair will be comfortable for everyone below it. A chair can safely support a person yet have arms too narrow, a seat too deep or a headrest that sits in the wrong place.
Recommended user ranges and maximum capacities can appear side by side. Keep them in separate worksheet columns. Secretlab’s sizing guide uses several sizes and discusses people who cross height or weight recommendations. That illustrates why simply choosing the largest size is an incomplete solution: changing size changes the geometry too.
If a specification is unclear, send the seller a precise question before buying. “What is the usable width between the raised seat sides?” is more useful than “Will this fit a large person?” Keep the response with your order details, especially if the answer affects the return decision.
Gather simple tools and a helper
Use a tape measure, a rigid ruler or straightedge, paper, and your normal indoor shoes or slippers. A helper makes it easier to hold the tape level while you sit naturally. A firm, level seat is useful for body measurements. Record everything in one unit before converting, so inches and centimeters do not get mixed together.
Also measure a chair you already know. Even a chair that fits badly is informative if you describe the problem. For example, “the seat is two fingers too long when I reach the backrest” gives context that an overall height measurement lacks. Take photos of the tape positions so you can repeat the measurements later.
Measure lower-leg height for floor support
Sit with your feet supported and lower legs in a natural position. Measure vertically from the floor to the underside of the thigh near the knee, without pushing the tape into soft tissue. This gives a starting point for comparing seat height, rather than a universal prescription for one exact height.
Manufacturer seat heights may be measured differently from what you experience under load. Foam compresses, the seat may slope, and footwear changes the relationship. Ask whether published dimensions are measured with the chair unloaded. During a trial, assess the height with your weight on the seat and feet resting normally.
If the chair must be raised to meet a fixed desk, a stable footrest may become part of the setup. Record that as an extra requirement and cost. A chair whose lowest setting is already too high deserves special attention; lowering armrests cannot correct dangling feet.
Measure thigh length, then compare usable depth
While sitting against a straight reference surface, measure horizontally from that surface to the back of your knee. The chair’s usable depth must allow you to sit against its back support without the front edge pressing into the knee area. Avoid selecting a depth by body height alone.
Now measure the chair from the surface that actually meets your lower back to the front edge. A removable lumbar pillow can shorten usable depth substantially. A product drawing may show the cushion’s full length, including the space behind the pillow, so ask for clarification if the drawing does not match the intended setup.
Oregon OSHA’s workstation checklist includes both seat-size accommodation and space behind the knees. Use those observations in the trial: back supported, legs supported, knee area clear. You do not need to force every person into the same arbitrary gap measurement.
Measure width where you actually sit
Sit on a firm surface in your usual clothing and measure the widest relevant part of your seated hips and upper thighs. Do not squeeze the tape tightly. Next, note how much room you need to change position comfortably. People who shift, sit with knees apart, or wear bulky clothing may need more usable space than a static measurement suggests.
Separate three chair dimensions: outside seat width, flat center width, and space between the armrests. A chair can have a broad outside dimension but a narrow center because of pronounced bolsters. Its armrests can also intrude above the seat. The correct comparison is your body’s space requirement against the available space at each contact point.
During a trial, place a hand beside your thigh and feel for a hard edge or frame under the foam. Sit normally for more than a moment and change position. Do not assume a structural bolster will soften enough to solve a width mismatch.
Check backrest shape and shoulder clearance
A tall gaming backrest is not automatically a good match for a tall torso. Measure from the seat surface to the area where you would want shoulder freedom and, if desired, head support. The shape matters as much as the height: wings that look supportive can interfere with moving your arms back or changing shoulder position.
Try reaching toward your keyboard, moving a mouse, and holding a controller. If the back wings push your shoulders forward, first confirm you are sitting back naturally and have not overfilled the lumbar area with a pillow. If the interference remains, compare a flatter back or a different size rather than forcing a new posture.
Head pillows add another variable. Check their adjustment range and attachment method. A pillow fixed too low may push on the wrong area; one too high may contribute nothing. Confirm whether it can be removed without affecting the chair’s intended operation.
Measure the desk, not just the chair
Record the height from floor to keyboard surface, the height to the underside of the desk or drawer, and the clear width where the chair enters. Include a keyboard tray, desk apron, cable basket or central drawer. These can stop armrests or knees even when the tabletop height looks suitable.
Then record the armrest height range relative to the seat and the overall floor-to-arm height if available. Manufacturers may quote one and omit the other. Ask whether the arms move inward, outward, forward and backward, rather than relying on a “4D” label whose usable travel varies by model.
For a worked example, imagine a desk with a low drawer lip. Chair A has arms that rise high enough for typing but cannot drop below the drawer during entry. Chair B has less dramatic adjustment marketing but lower minimum arms and a shorter seat. Chair B may fit that workstation better even though it has fewer listed features.
Build a fit worksheet before browsing
| Record | Your measurement or observation | Question for the chair specification |
|---|---|---|
| Lower-leg height | Measure in normal footwear | Will the compressed minimum seat height allow foot support? |
| Buttock-to-knee length | Measure horizontally while seated | Is usable seat depth short enough with lumbar support installed? |
| Seated width | Include normal movement | What is the clear width inside bolsters and arms? |
| Desk clearance | Include drawers and tray | Can arms and knees approach the work surface? |
| Shoulder and head position | Check upright and relaxed positions | Do wings and pillows clear or support the intended areas? |
Mark each candidate pass, uncertain or fail for every row. Do not average a failure away with a high overall score. A chair with attractive upholstery and an excellent warranty still fails your shortlist if its fixed seat is clearly too deep.
Use a real-world trial to settle uncertainty
A specification sheet cannot capture every contour. When a showroom is available, bring your worksheet and wear normal clothing. Adjust the chair in a sensible order: height, depth if available, lumbar support, back angle, and arms. Ask to use a surface similar to your desk rather than judging the chair in an empty aisle.
If you buy online, read return conditions before ordering. Check whether assembled chairs can be returned, who pays freight, whether original packaging is required, and whether upholstery variants are treated differently. Save the box until you have completed the fit trial and made a decision within the return period.
During that period, test the actual activities: typing, precision mouse work, controller play, and a modest recline. Record what happens after changing only one setting. This helps distinguish a setup problem from a size mismatch and gives customer support something specific to work with.
When to choose another size or another design
Try another size when its published dimensions solve the failed measurement without creating a new one. Try another design when the basic shape is the problem: deep fixed cushion, restrictive bolsters, arms that remain too wide, or a headrest outside your useful range.
The right outcome is a chair that fits your body and workstation with settings you can comfortably maintain. Height charts narrow the search. Your measurements, the technical drawing and a real trial finish it.
Keep measurement errors from becoming expensive mistakes
Label each number with its reference points. “Seat width: 20 inches” is ambiguous; “flat cushion width between raised bolsters: 20 inches, measured at mid-thigh” is usable information. Do the same for height: floor to top of unloaded foam is different from floor to the sitting surface under your weight.
Repeat your most important measurements on another day or with a helper. If the readings differ enough to change the shortlist, investigate the setup instead of taking their average automatically. A sloping tape, thick cushion or different shoes can explain the difference. Measurements are a way to reduce uncertainty, not a reason to ignore how the chair feels during an actual trial.
Keep conversions sensible. One inch equals 2.54 centimeters, but a rounded catalog number does not become more accurate when displayed with three decimal places. If a chair and your measurement appear almost exactly on a limit, ask for clarification and favor a trial or a seller with a workable return route.
Finally, keep the worksheet for future purchases. Recording why a chair failed—such as a front edge meeting your knees before your back reaches the support—is more useful than simply writing that it was uncomfortable.
Something unclear or out of date? Send a correction with this article’s title and the detail to check.
Sources, research & corrections policy ↗